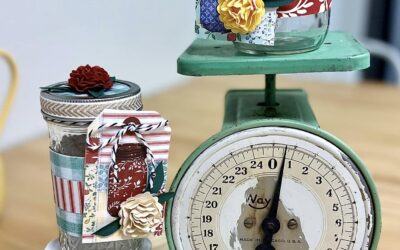
We are going to be playing with canning jars of all different shapes and sizes today. I love to use jars for all different kinds of things, but my favorite way to repurpose them is to make creative gift containers. We are going to be embellishing them with patterned paper, ribbons, and the cutest paper flowers.
The Blog
The Latest Projects & Posts!
Unleash Your Creativity with My Four Unique Memberships
Did you know that I offer four unique creative memberships? They are all a little different, and each is designed to ignite your imagination, inspire your craft, and connect you with fellow art enthusiasts. If you’re a creative looking for an online space to learn and thrive, we have something for everyone! The best part? If you are thinking of joining, doors are opening on August 28th. Learn about each of my memberships below and join the waitlist so you are the first to know when the doors open!
Creative Composition Books
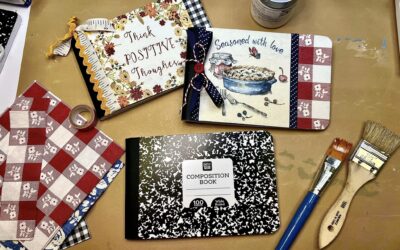
It’s that time of year again when you can get all of the best school supplies, which work great for crafting too! I am showing you how to get creative with composition books, adding all of the napkin art and embellishments to the cover. This is a great project to use up any leftover scrap paper, napkins, ribbons, and more hiding in your stash.
How to Make Scissor Cozies
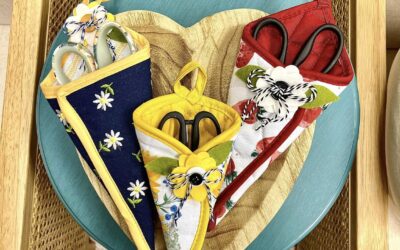
I’m bringing you the easiest and most FUNctional craft I’ve ever done – scissor cozies! This is something you can create for yourself, friends, family members, or fellow crafters. All you need to create these cozies are some pot holders, hot glue, and any embellishments you would like to add. These are fast, cute, easy, and functional!
DIY Christmas Creative Canvas
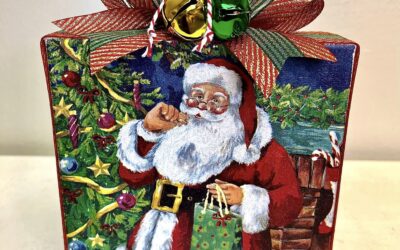
We are creating holiday napkin art that is giftable using our new Creative Gift Canvas Kits and a handful of basic supplies. We have four different kits available, so you can pick and choose which design you like best. On the back side of each canvas, you will have a special pocket to hold sentiments, gift cards, treats, and more.
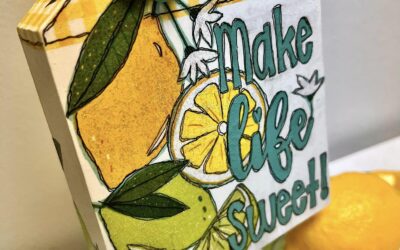
DIY Decor Kit – Make Life Sweet
We released a brand new DIY Decor Kit that includes a 5×7 chunky house and everything you need to add embellishments and napkinize! This would be perfect as part of your summer kitchen decor or would make a really sweet gift. Your kit includes a chunky wood house, decorative napkins, a vinyl stamp that says “make life sweet”, transfer tape, and wooden beads.
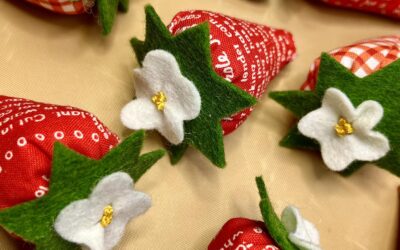
How to Make Fabric Strawberries
Today, I am showing you how to make these adorable fresh fabric strawberries, which is an example of a fabric fun workshop that we would do in the Fabric Fab Club
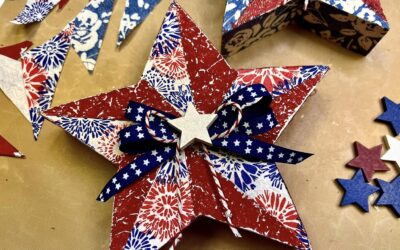
DIY Patriotic Stars Decor
I am creating with these adorable chunky wooden stars, which I love because they are a great size (about 7 inches tall) and they can stand up on their own for the best decor. I’ll be adding some napkin art, aluminum tape, and all of the cute embellishments to these patriotic wooden stars. Grab a set for yourself and get creative!
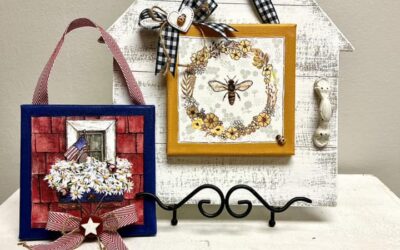
Summer Canvas Decor
Have you been participating in our Welcome Home Canvas kits program? You’ll get a gorgeous shiplap house that you can hang and switch out different canvas decor.
My SubSummit Recap
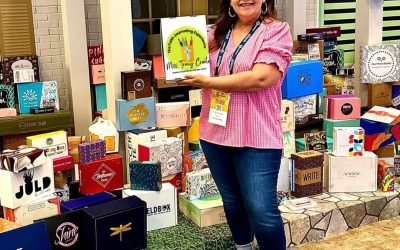
I am feeling so inspired after attending the incredible SubSummit last week. It was an absolute blast getting to work on my business, bond with my fellow entrepreneurs, and learn even more about memberships. Let’s do a quick recap!
Bible Journaling for Beginners
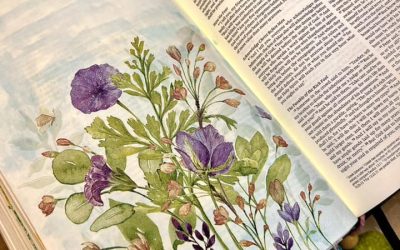
Bible journaling is one of my favorite things to do with my napkin art. Not only is it a creative outlet, but it’s an amazing way to connect with the Word in a whole new way. I’m using my specialty faith napkin bundle, Risen, to do some bible journaling. I’ll be showing you how I apply napkins on my bible pages and add color and details.
DIY Mini Fabric Flag
We are creating adorable mini patriotic flags, perfect for adding to your summertime decor! These are very easy to make and you can even use scrap fabric you have hiding in your stash. Customize these, get creative, and embellish them any way that you would like!

