Supply List:
- So Loved & So Lucky DIY Decor Kit
- So Loved & So Lucky DIY Decor Kit with House
- Mod Podge Matte
- Plastic Wrap
- Crystal Stickles
- Scissors
- Hot Glue
- Pitt Pens
- Gold Krylon Pen
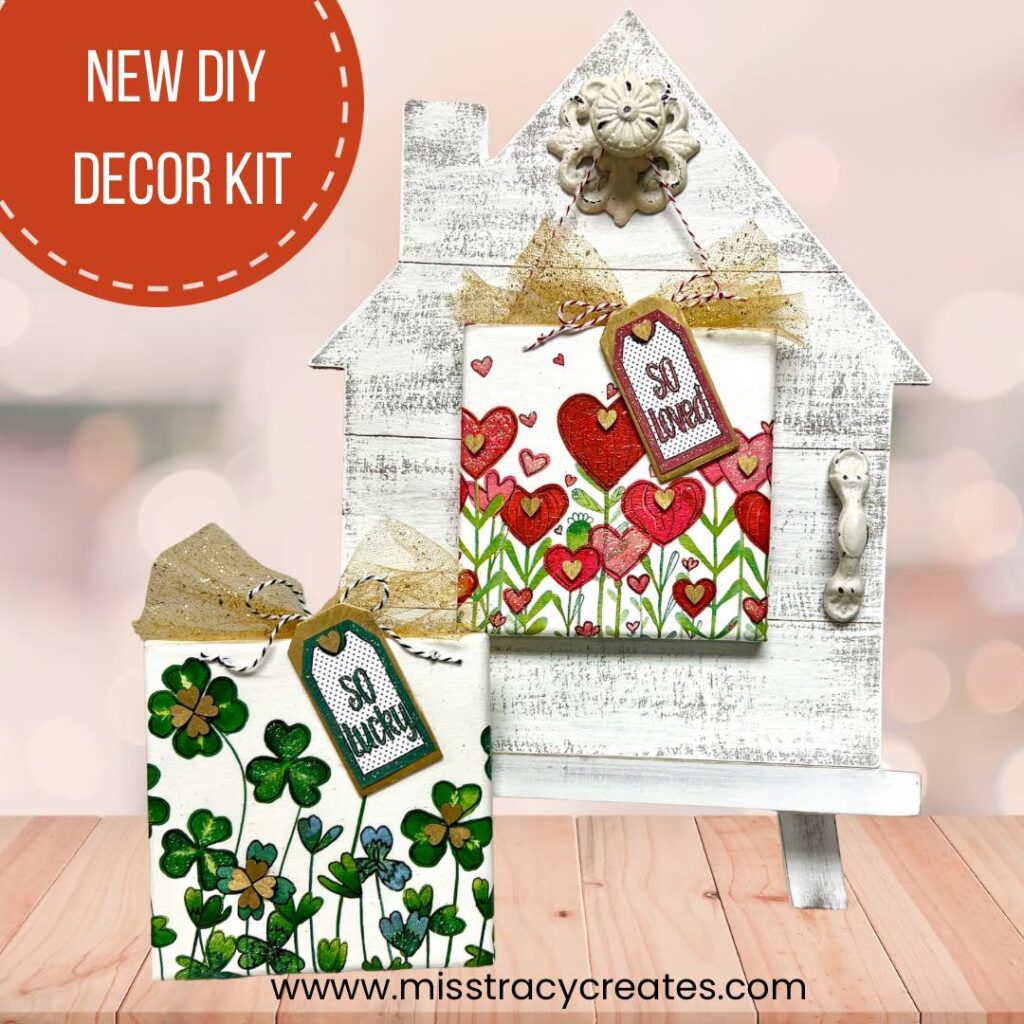
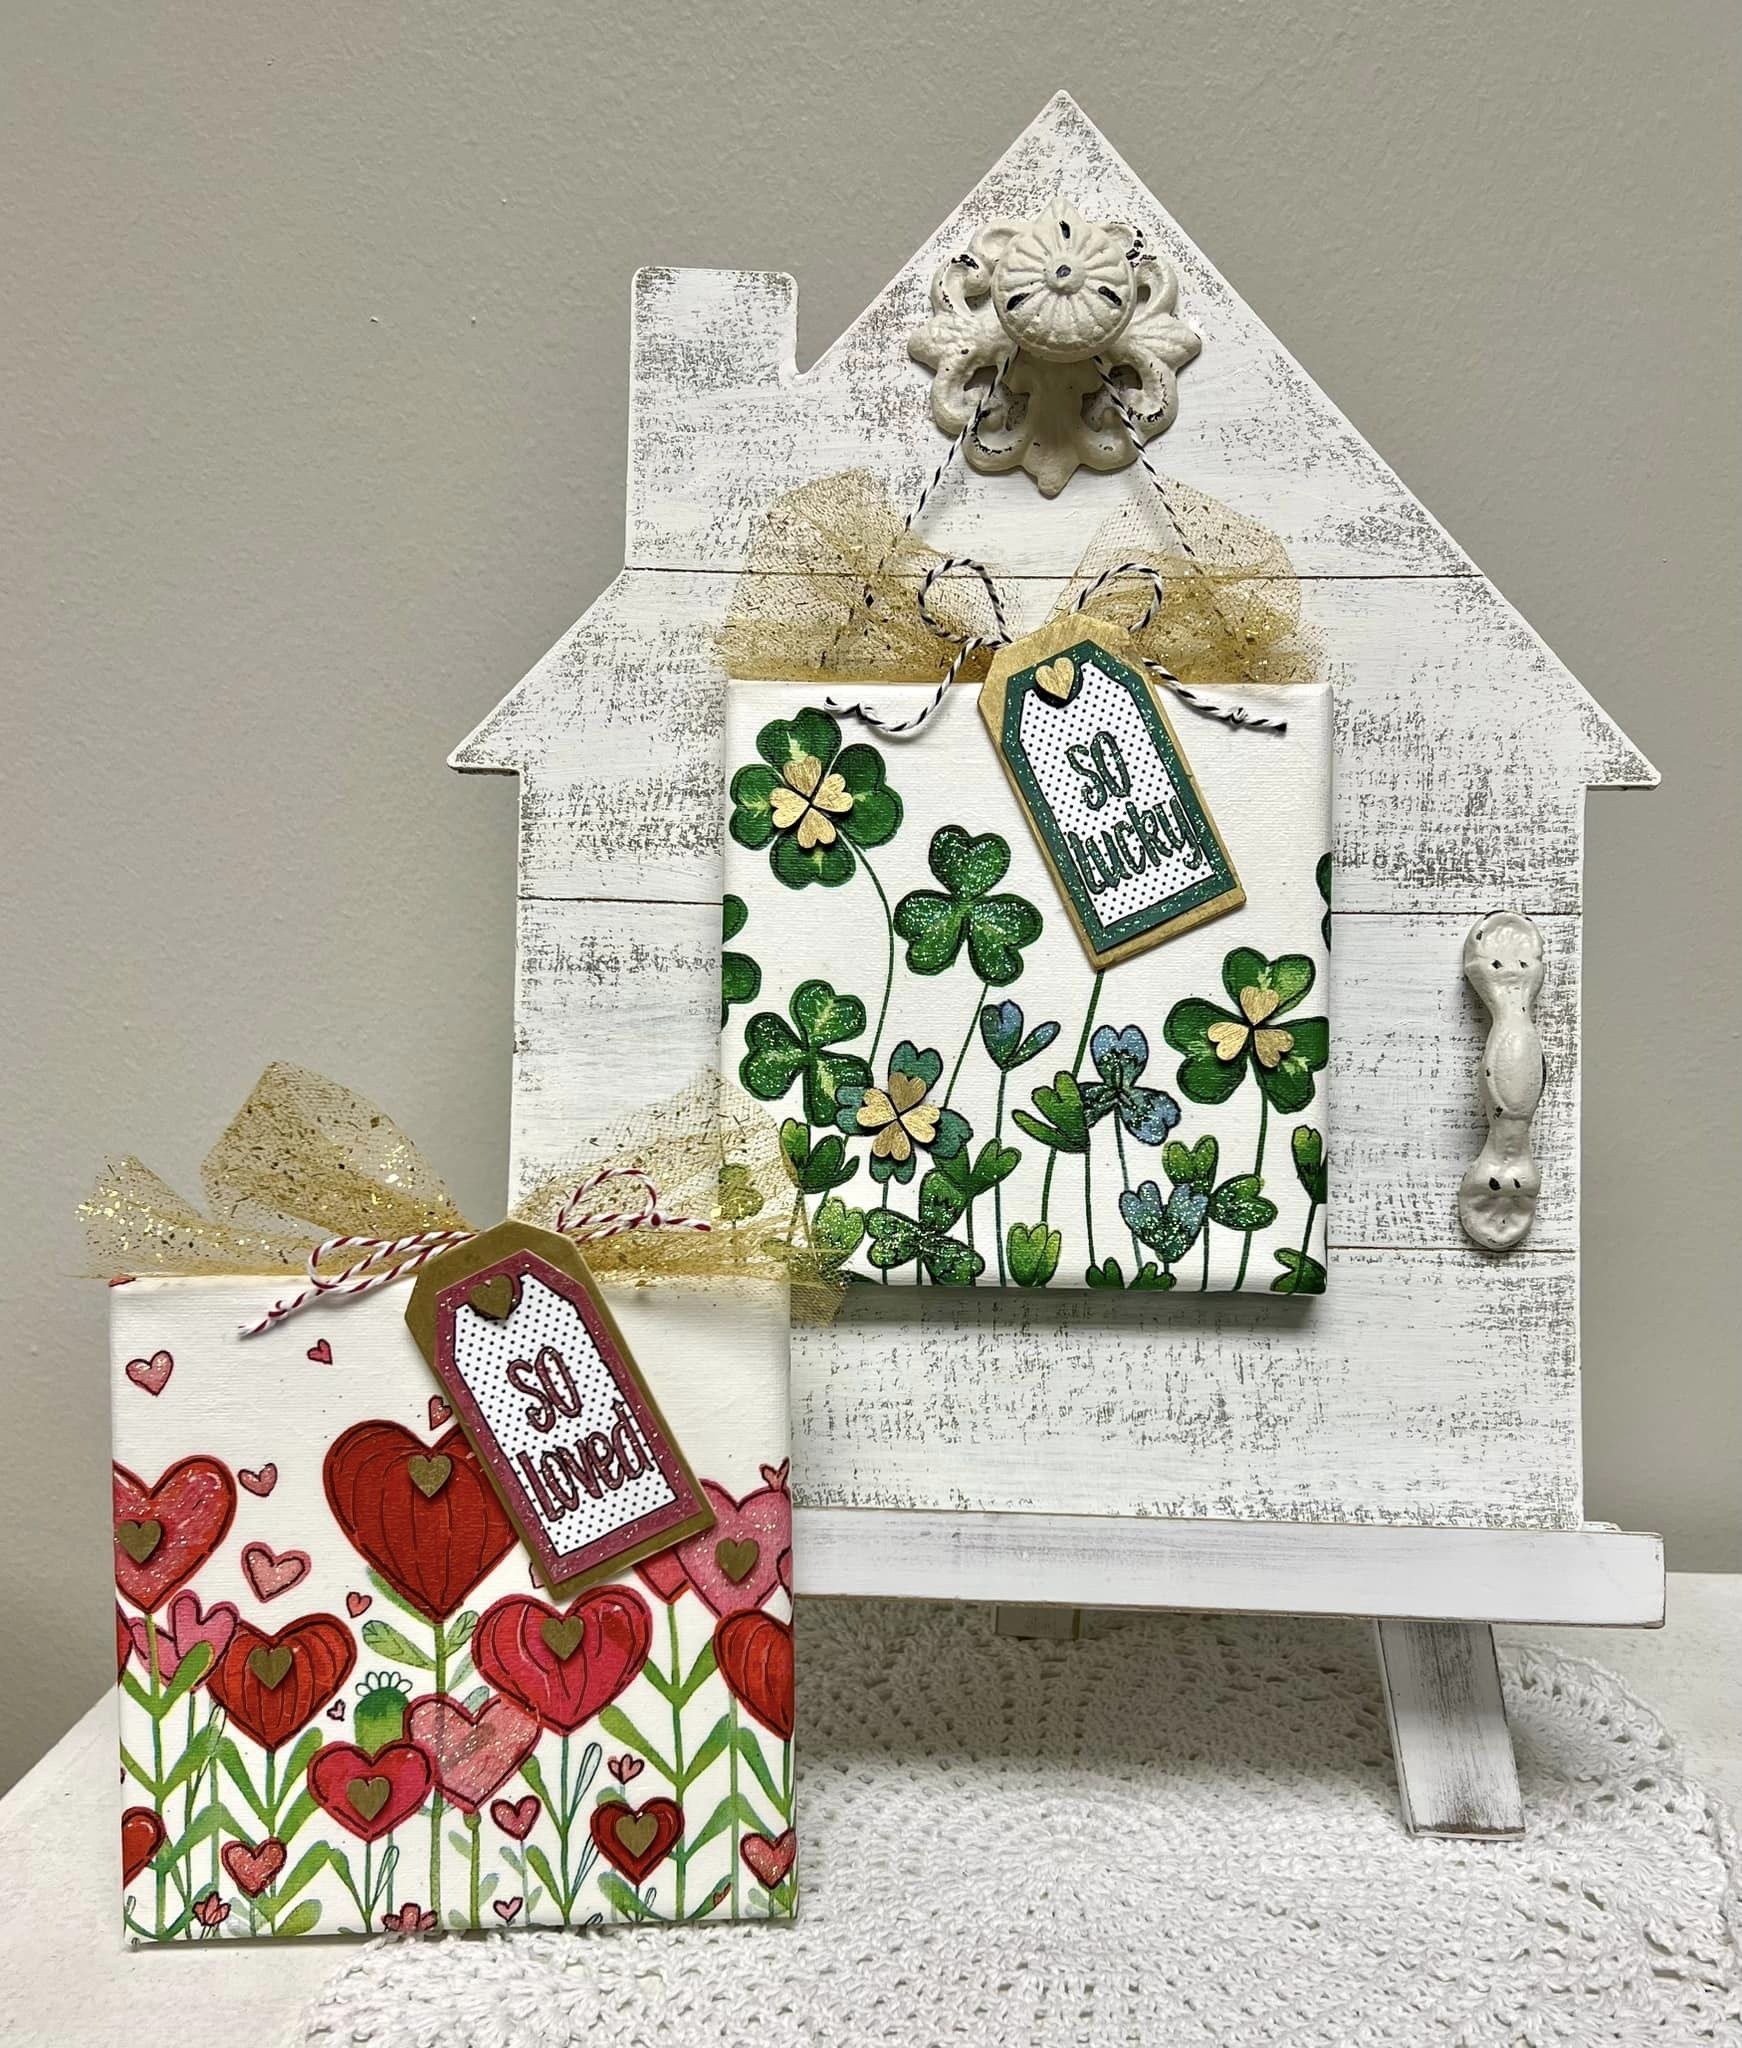
Exciting news! Our Welcome Home Canvas Set for Valentine’s Day and St. Patrick’s Day was just released. In case you don’t know, our Welcome Home Seasonal Canvas Display program offers different DIY decor kits throughout the year. You’ll get a gorgeous shiplap house to hang and switch out different canvas decor, or if you already have the house, you can just grab the kit. I’ll show you how to create these adorable canvases using the newest kit – So Loved and So Lucky.
Our kit includes almost everything you need to complete this project – two 6×6 canvases, Hearts & Shamrocks napkins, 2 printed tags, 2 wood tags, 20 little wood hearts, glitter tulle, and red & black twines.
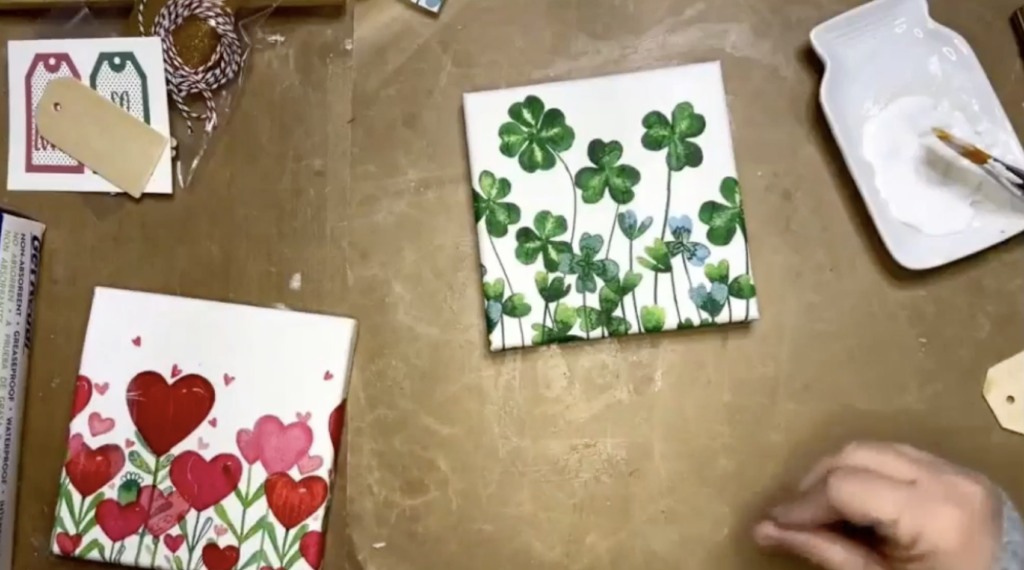
Adding Napkin Art to Your Canvases
Separate the plys of your napkin until you have that top layer of napkin art. Add a coat of Mod Podge Matte to your canvases, add your napkins on top, place some plastic wrap over the top, and smooth the napkin onto the canvas with your hands.
If you have any overlapping napkin, let it wrap around your canvas. You can also sand off any excess that is hanging off the edge. Dry with a heat tool, add another coat of Mod Podge Matte to seal it, and let it dry again.
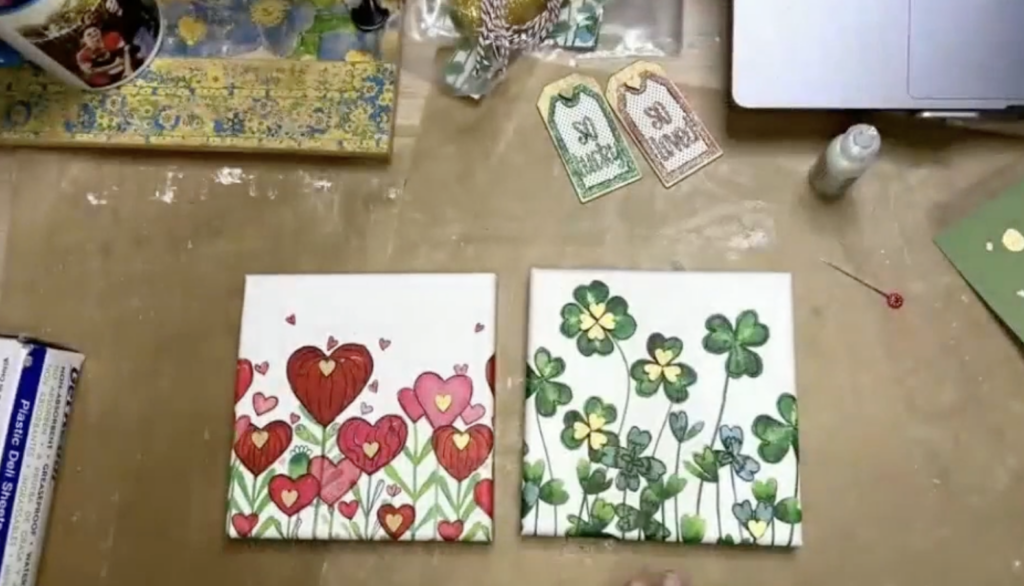
Adding Details and Embellishments
In your kit, you will have two tag printables, two wooden tags, and wooden hearts. Grab your Gold Krylon Pen or gold paint and color the edges of your wooden tag and around the front of each tag. You will also color each wooden heart with your gold pen as well. To make this easier, use double-sided tape to stick the hearts to your work surface so you can color them.
Cut out the two tag printables that are included in your kit. Hot glue them to your wooden tags, making sure there is gold showing around the outer edge. Hot glue one of your wooden hearts where the tag hole is. Use Pitt Pens to add detail lines to your tags. I’m outlining the border and each letter on my tag. Next, I’ll use Crystal Stickles around the red border and the green border on my tags and inside of the letters.
For my napkins on my canvases, I’ll use my Pitt Pens again to add detail lines to my hearts and my four-leaf clovers. I’ll also hot glue my wooden hearts to my clovers and my hearts.
Then, we will make a pretty bow! Lay out the longer piece of baker’s twine (there should be a piece for each canvas) and your glitter tulle. Make a tribute ribbon shape with your tulle, bring the loop down, and then wrap and tie the baker’s twine around the middle of the tulle until you have your bow. Then, hot glue the bow to the top of the canvas.
Finally, hot glue your wooden tag to your canvas so that it looks like it is hanging from that bow on the top of your canvas. You want it to be at a slight angle sticking up on your canvas.
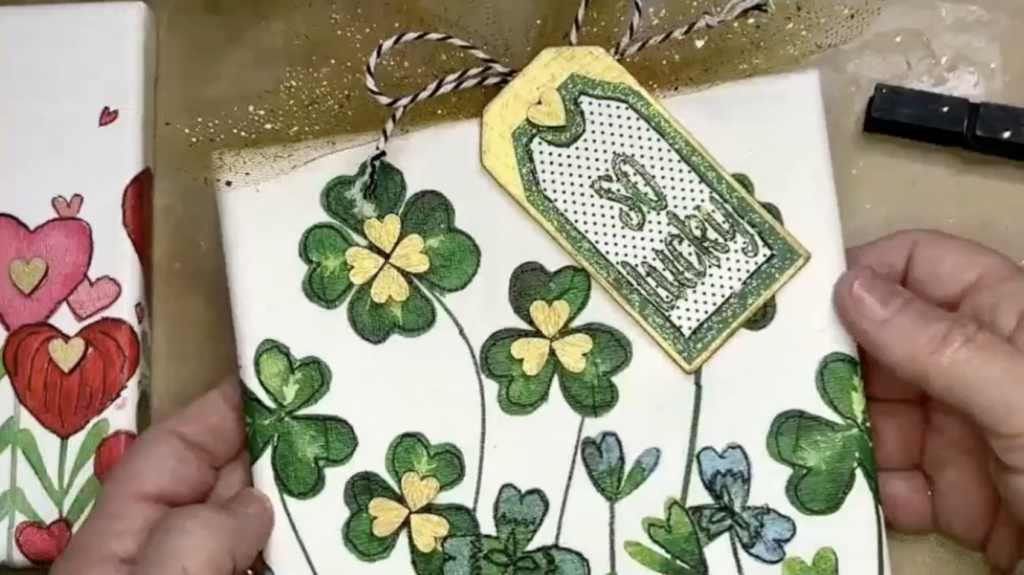
At this point, you can finish off your canvas by adding Stickles to your hearts and four-leaf clovers. You also have a smaller piece of twine in your kit, which will be the hanger. You can simply hot glue this to the back of your canvas.
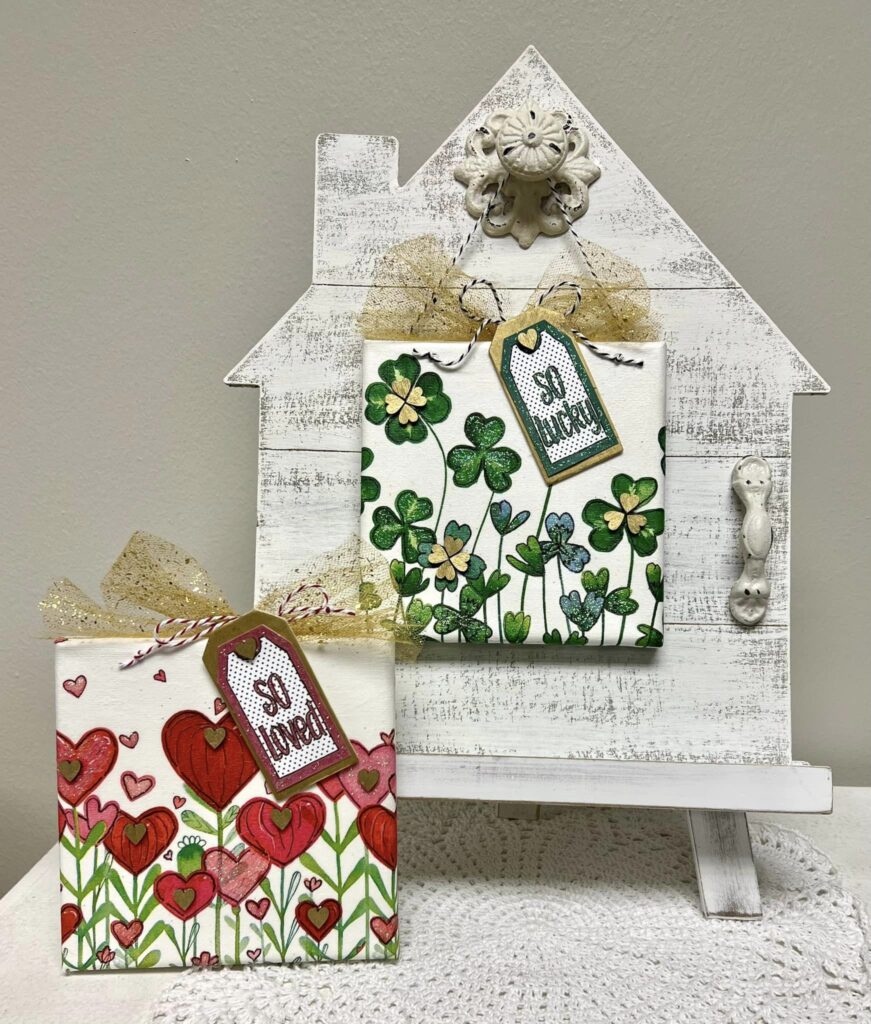
Enjoy making these beautiful canvases for the upcoming holidays to make seasonal decorating easy. Go ahead and make these two at the same time since the techniques are so similar, so you are ready to go for both! If you’ve never tried any kind of napkin art, this is a great kit and project to give you a taste of this type of crafting.
I go LIVE on my Facebook page every Friday at 11 am CST for a fun and easy Craft-n-Chat Session. Come learn something new while creating something beautiful!
Join the waitlist for The Napkin Club where Unique Makers can connect, learn, and be inspired to create with the Individual Unique Napkin Collections that you will receive every month! A place where Napkin Lovers can unite and be inspired!



0 Comments