


Supply List:
- Joy to the World Napkin Bundle (Napkins)
- Glass Ornaments – Disc and Square from Hobby Lobby
- Country Chic Paint – Simplicity
- Hard Coat Mod Podge (Purple Label)
- Crystal Stickles
- Plastic Wrap or Plastic Sheet
- Heat Tool for expedited drying
- Snips Scissors
- Frixion Pen
- Metallique Wax – Vintage Gold, Old Silver
- Optional – Gold Krylon Pen
- Faux Snow and Gold/Silver Glitter Pebbles
- Ribbon, Sprigs, and Embellies to top your ornaments
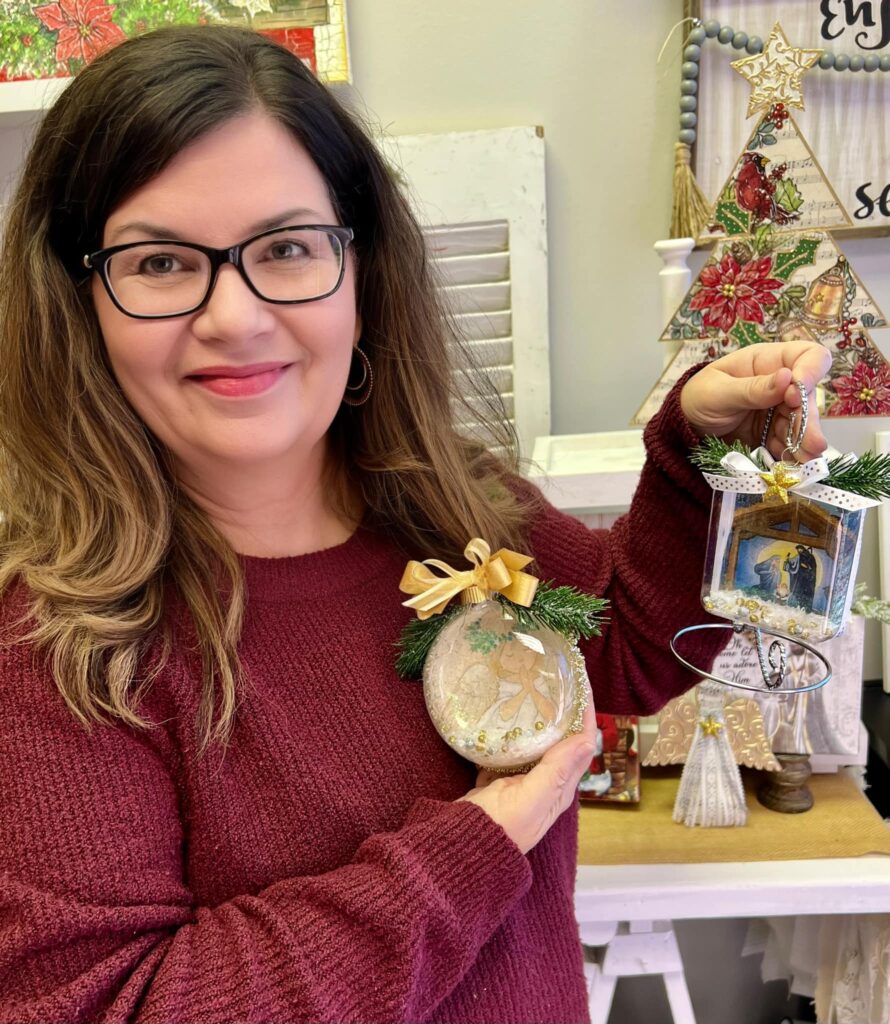
Take your holiday decorations up a notch with these beautiful reverse decoupage ornaments! I will show you how I apply napkin art to these clear glass ornaments and add all of the fun embellishments. This would make a great gift for a loved one in your life! We are also using the Joy to the World Napkin Bundle (Napkins), so these also serve as a reminder of keeping Jesus’ birth at the center of our celebrations. Let’s get started!
Applying Napkin Art to Glass Ornaments
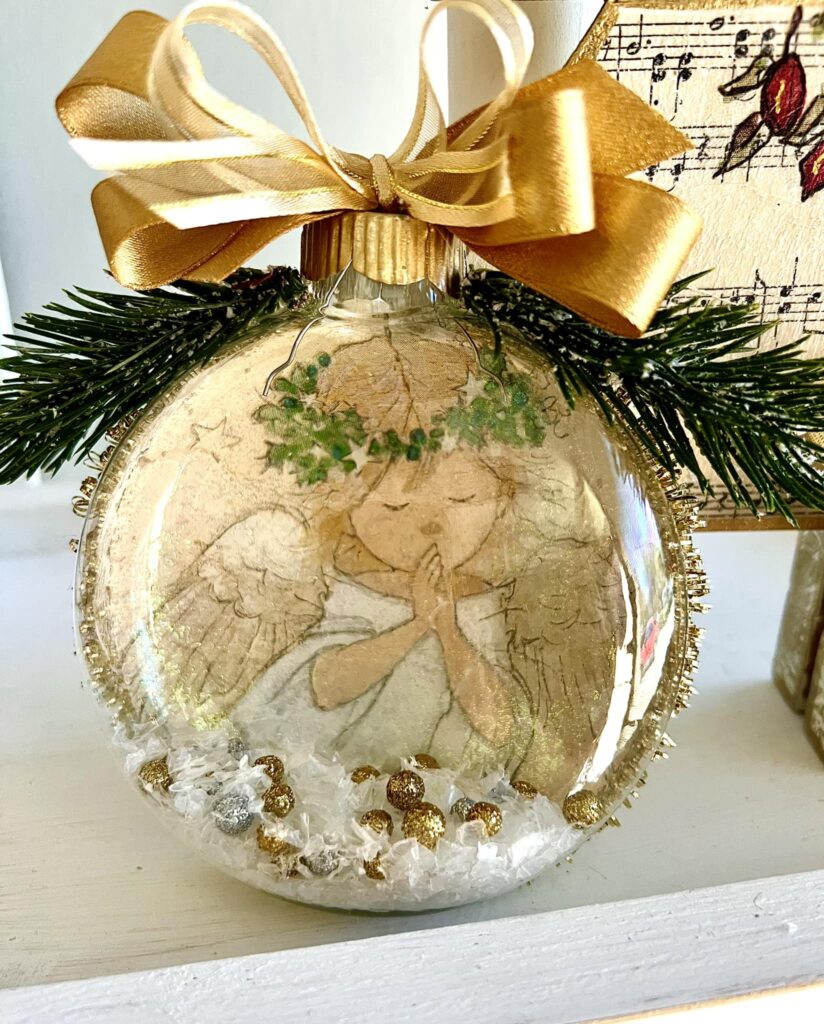
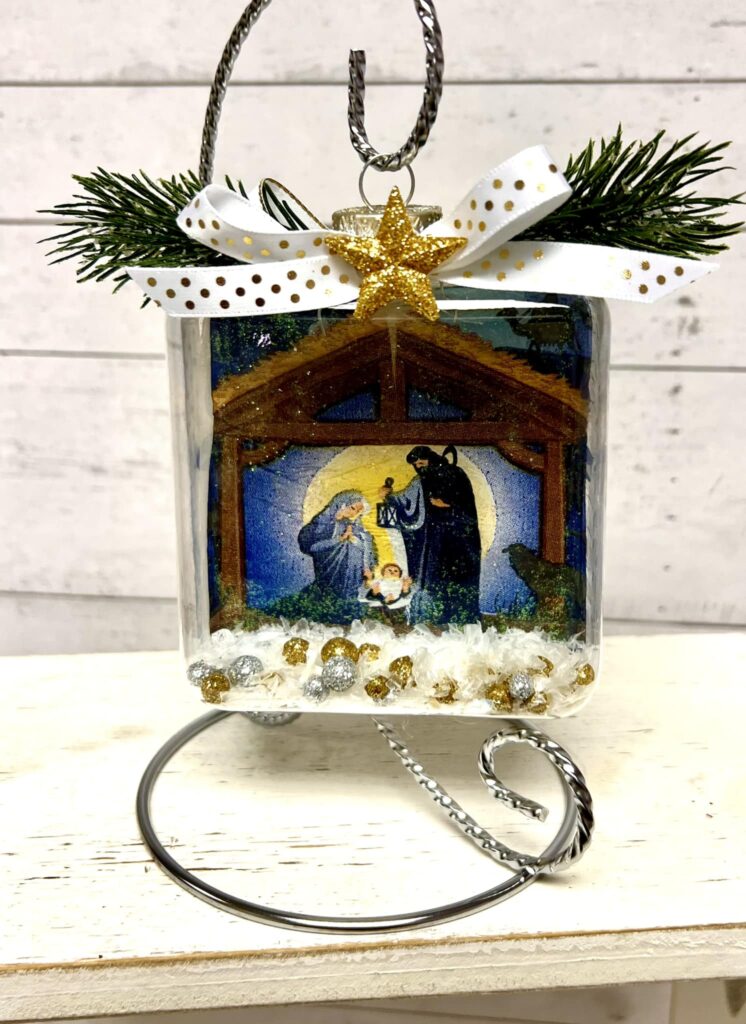
I have a gorgeous angel napkin that I will be using for my circular ornament. Cut the napkin to one square image, then trace the ornament onto your napkin with a Frixion Pen so you can cut it to size. I also have a nativity scene napkin that I’ll be using for the square glass ornament. Take your Frixion Pen again and trace your ornament onto the napkin so you can cut it to the right size as well. Separate the plys of your napkin.
With this reverse decoupage technique, we will be doing everything in reverse! So, we will first add our Crystal Stickles to our glass ornament. I am going to start with my circular ornament, add the Stickles, and use my finger to tap and spread it around. I will do the same thing with my square ornament. Use a heat tool to dry them both.
Next, we will be applying the napkin art. Apply a coat of Hard Coat Mod Podge (Purple Label) on top of the glitter on your square ornament. Place your nativity scene napkin face down and smooth it down with plastic wrap and your hands. I will do the same thing with the circular ornament. Dry with a heat tool and then add another coat of Mod Podge to seal it.
To make our napkin art pop, we are going to add a coat of Country Chic Paint – Simplicity to our napkins. Give it a little bit of time to dry and then add a second coat of paint. Dry again.
I want the back to look a little prettier than this, especially if this is a gift, so I’m going to use some Metallique Wax in Vintage Gold and apply some to the ornaments with my finger. You can also add some to the top of your ornament if you want to tone down that silver a little bit.
I have a piece of napkin that says “Merry Christmas” that I’m going to add to the back of my nativity ornament. I’m going to cut the words out and then separate the plys. I’ll add a coat of Mod Podge, place my napkin art on top, and smooth it down with plastic wrap and my hands. I’ll do the same thing to my circular ornament with one of my printables with some song lyrics.

Adding Embellishments to Glass Christmas Ornaments
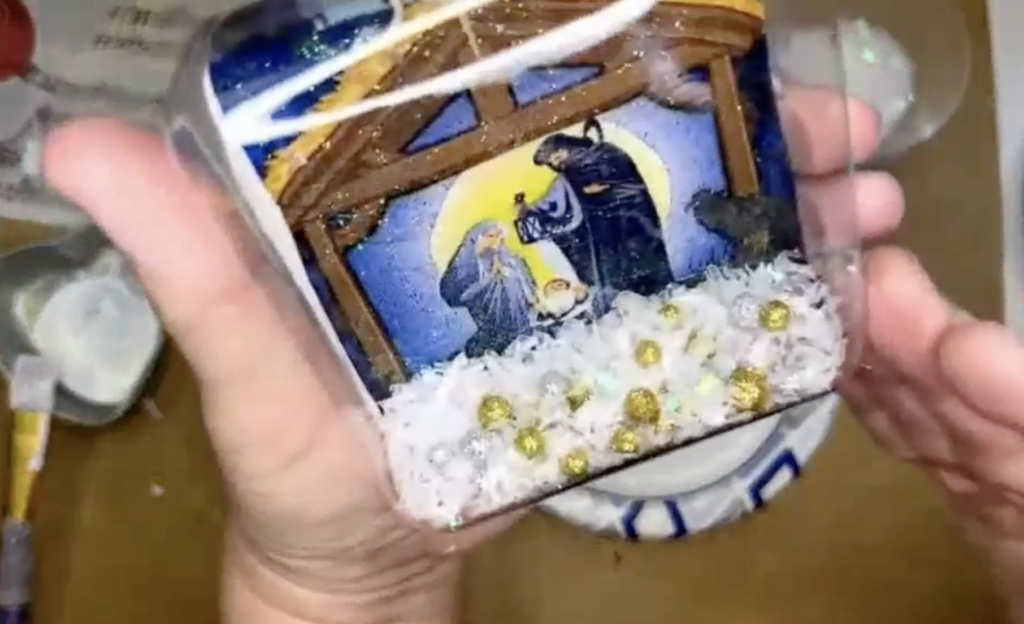
At this point, we are going to put some things inside of our ornaments! You can really add anything that can fit through the top of your ornament. I am going to be using iridescent faux snow along with some gold and silver glitter pebbles.
Remove the top of your ornament and add your embellishments. You just want to fill the bottom of your ornament because you don’t want to cover up your napkin art.
If you don’t love the edges of your ornament, you can use hot glue to add ribbon or tinsel around your entire ornament. You can also wrap some ribbon around the top of your ornament and create a simple bow. I also hot-glued some greenery sprigs and a star to the top.
If you don’t want to add a ribbon around your ornament, you can use a Gold Krylon Pen to outline your napkin art or color on your ornament topper.
Enjoy making these beautiful Christmas ornaments – whether you are gifting these to loved ones or creating them to decorate your own home. I hope these can help you celebrate your faith this holiday season!
I go LIVE on my Facebook page every Friday at 11 am CST for a fun and easy Craft-n-Chat Session. Come learn something new while creating something beautiful!
Join the waitlist for The Napkin Club where Unique Makers can connect, learn, and be inspired to create with the Individual Unique Napkin Collections that you will receive every month! A place where Napkin Lovers can unite and be inspired!


0 Comments