

Supply List:
- Recycled Metal Cans
- Country Chic Paint- Simplicity
- Decorative Napkins
- Mod Podge Matte
- Chip Brush and Plastic Wrap
- Scissors
There are so many ways to be creative in your craft storage solutions, and I am going to be sharing one container to use that I know that you all have – recycled metal cans! These could be soup cans, vegetable cans, tomato sauce cans, and more! I am going to show you step-by-step how to upcycle your cans with napkin art and embellishments.
Adding Napkin Art to Recycled Cans
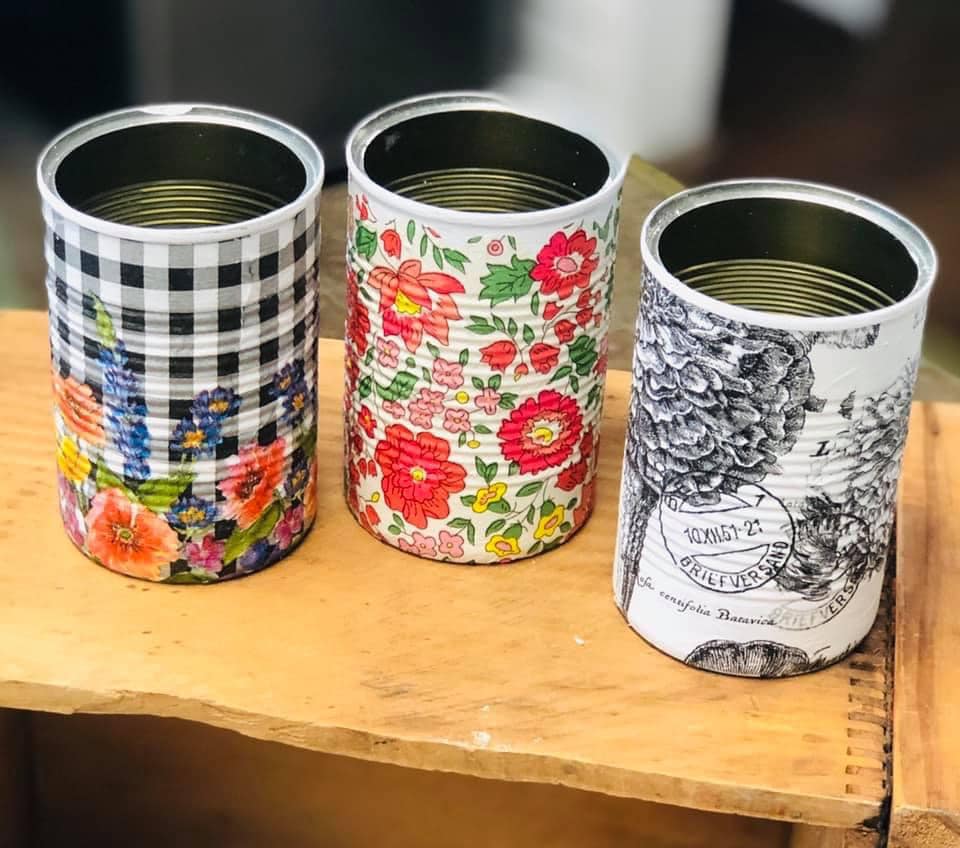
Find a metal can, remove one of the ends, and make sure it is cleaned out and ready to repurpose. If you have some leftover label or glue stuck to your can, that’s okay! Paint your can with a coat of Country Chic Paint- Simplicity. Dry with a heat tool. Then, paint a second coat of Simplicity paint. This will make a world of difference for your napkin art. Dry with a heat tool again.
I love flowers and patterns, so I am going to take a napkin that I would like to apply to my can and measure it to size for my can. Wrap the napkin around your can to see where to trim it so that it doesn’t overlap.
Separate the plys of your napkin until you just have that top layer of napkin art. Add a coat of Mod Podge Matte to your can and lay your napkin on top. Take a dry chip brush and pounce it all over your can to help your napkin conform to all of those ridges. Then, take a piece of plastic wrap and smooth it down with your hands even more. Dry with a heat tool.
Finally, add a thin coat of Mod Podge Matte on top to seal your napkin art. Let dry. At this point, you could hot glue ribbon, lace, pom poms, or whatever you have in your stash to embellish your container and make it even cuter!
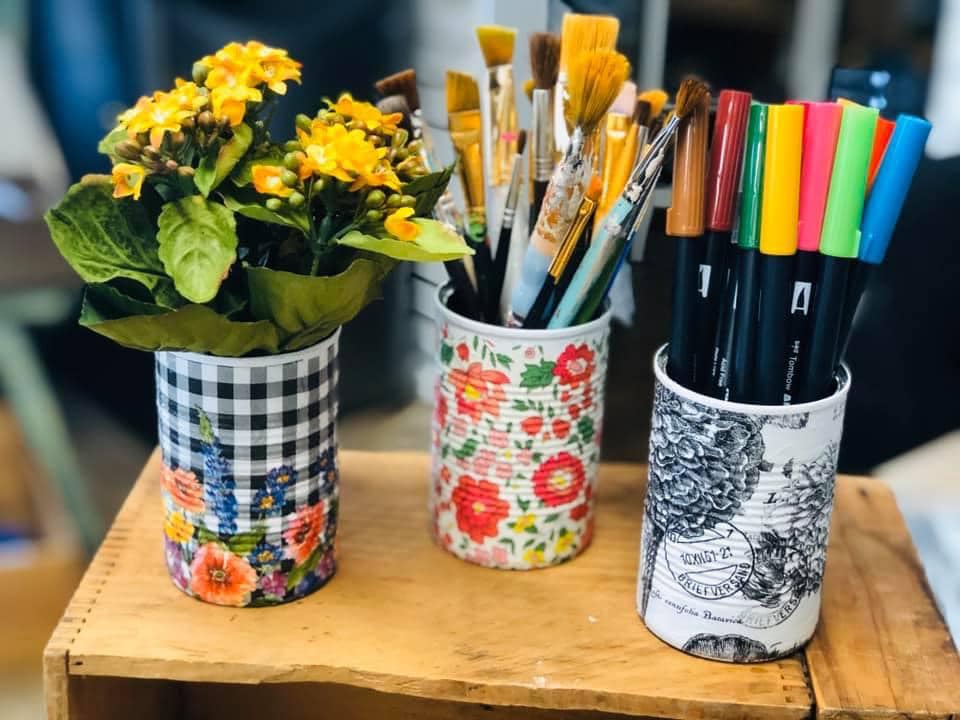
These creative containers are perfect for storing your scissors, paintbrushes, markers, pens, and more! The best part is that you are repurposing something that you would have otherwise thrown away while getting your craft space organized.
I go LIVE on my Facebook page every Friday at 11 am CST for a fun and easy Craft-n-Chat Session. Come learn something new while creating something beautiful!
Join the waitlist for The Napkin Club where Unique Makers can connect, learn, and be inspired to create with the Individual Unique Napkin Collections that you will receive every month! A place where Napkin Lovers can unite and be inspired!


0 Comments