


Supply List:
- DIY Decor Kit – Bunnies and Blossoms Canvas Set
- DIY Decor Kit – Bunnies and Blossoms Canvas Set WITH House
- Mod Podge Matte
- Pitt Pens
- Glaze Pens – Bright
- Stickles – Unicorn
- Hot Glue
- Scissors
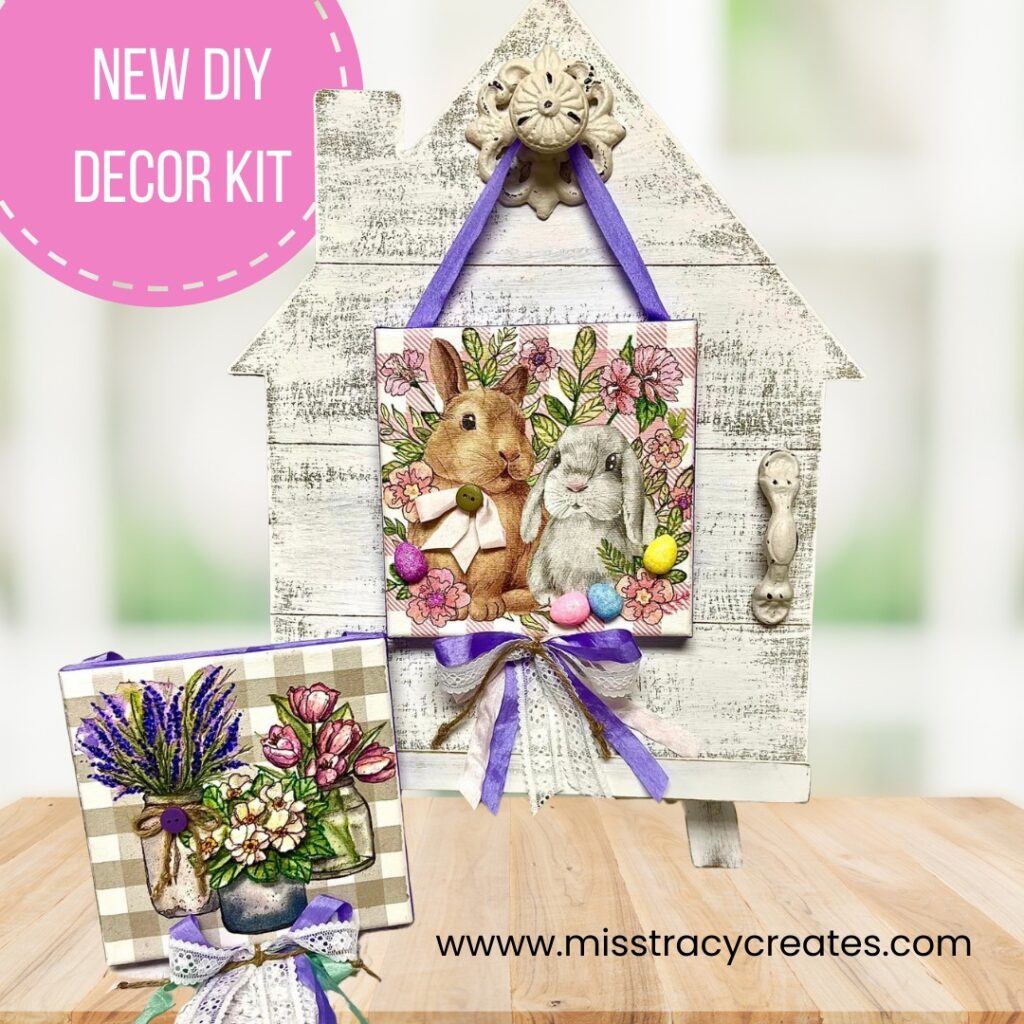
It’s that time again! We’ve just launched our Welcome Home Canvas Set for Spring and Easter. If you’re not familiar, our Welcome Home Seasonal Canvas Display program introduces various DIY decor kits throughout the year. The set features a beautiful shiplap house to hang your canvas, allowing you to easily switch out different decor. If you already own the house, you can simply grab the kit. Join me as I guide you through creating charming canvases with our latest kit – Bunnies and Blossoms.
Your kit will include two 6×6 canvases, Bunnies & Blossoms napkins, four little Easter eggs, two buttons, and beautiful ribbons and twine for the bow portions and hanger.
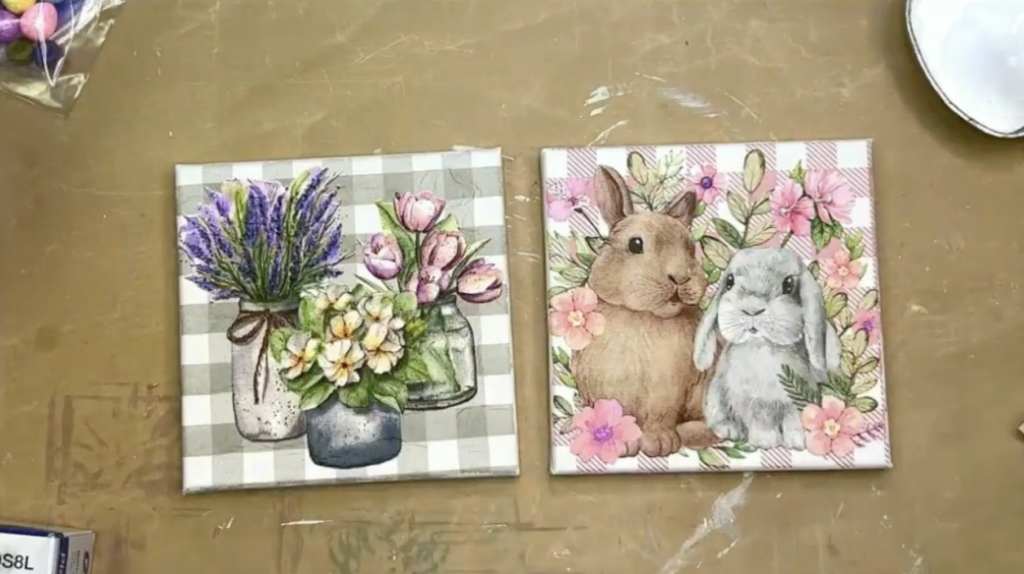
Adding Napkin Art to Your Canvases
Separate the plys of your napkin until you have that top layer of napkin art. Add a coat of Mod Podge Matte to your canvases, add your napkins on top, place some plastic wrap over the top, and smooth the napkin onto the canvas with your hands.
If you have any overlapping napkins, you can sand them off with a small piece of sandpaper. Dry your canvases with a heat tool, add another coat of Mod Podge Matte to seal it, and let it dry again.
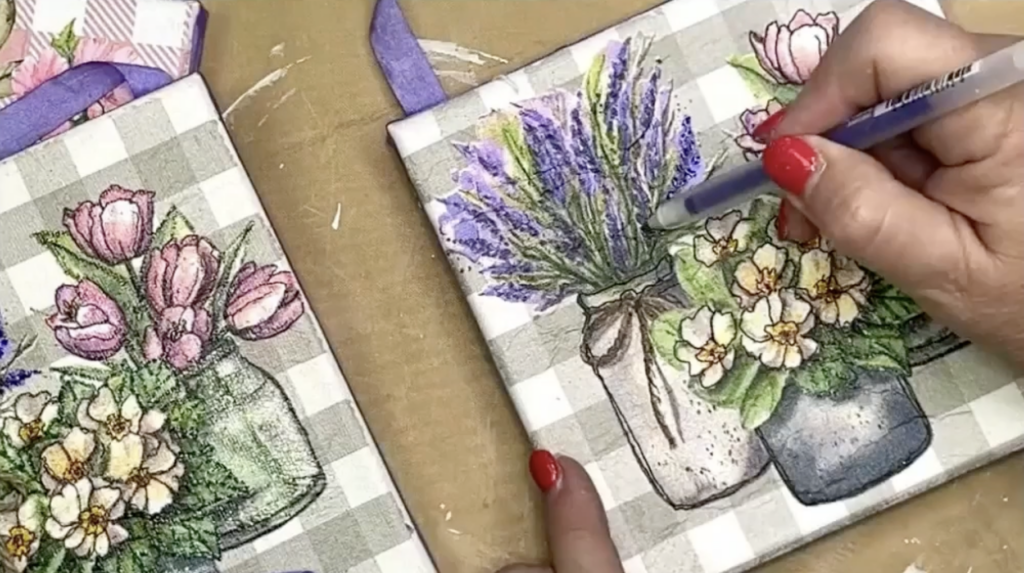
Adding Details to Your Canvases
Grab the lavender ribbon that is located in your egg bag. This ribbon is two yards long and we will use this to wrap around the edges of each canvas. Add a layer of Mod Podge on the edge and smooth your ribbon down on top, trimming off the excess and adding a dot of hot glue to secure it in place.
Take the last bit of your lavender ribbon to create your canvas hanger. Cut these pieces to 11 inches each and hot glue each end to the back of your canvas so that your canvas can hang on your house.
Next, we will add detail lines to our napkin art using Pitt Pens. You don’t have to outline and add details to everything on your napkin, but I will be adding some lines to a few places, such as the flowers. I’m also going to use Glaze Pens – Bright to add detail lines in different colors to my flowers – for example, I’m going to use an olive green color to outline some of my leaves. These are very free-flowing and pretty but do take longer to dry.
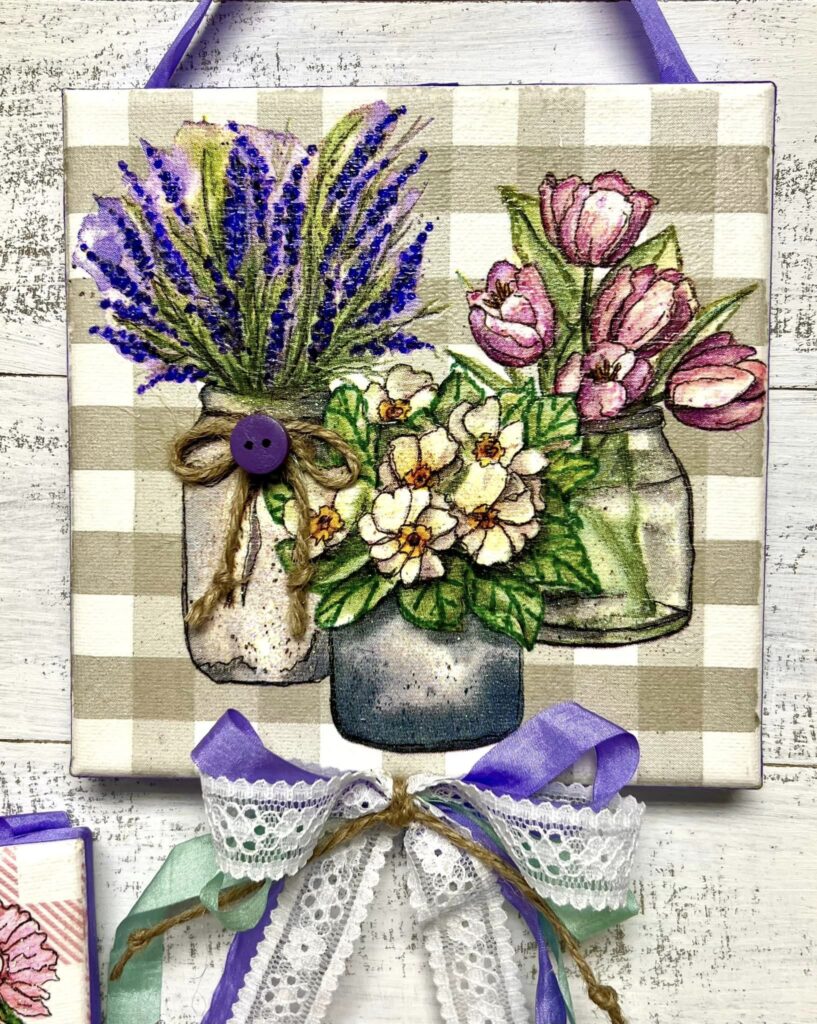
Finishing Your DIY Canas Decor
On the Blossoms canvas, I’m going to add a real jute bow to the napkin art, which you will have in your kit. Tie the twine into a bow and hot glue it to your canvas right on top of the napkin art bow. Hot glue the purple button from your kit right in the middle of the bow.
In your kit, you will have a light pink ribbon that you will tie into a bow and hot glue to the brown bunny’s neck on your Easter canvas. Hot glue the green button to the middle of your bow.
You will have four styrofoam Easter eggs that you will cut in half, which will make them easier to glue in place. Take these eggs and hot glue them onto your Easter canvas
In your kit, you will have a bag of ribbons, lace, and twine. Separate these ribbons between the two canvases. Layer the ribbons on top of each other – purple, lace, and light pink. Bring both ends down to create a tribute ribbon shape, bunch it up, and tie it off with the piece of jute twine. Hot glue this bow to the bottom of your canvas. Use this same technique to create a bow for your second canvas too.
Finally, finish off your canvas decor with Stickles – Unicorn wherever you would like!

Make decorating for the upcoming spring season effortless with this Welcome Home Canvas Set. This is such a fun way to streamline your seasonal decor by crafting both canvases at the same time and switching them out when you need to! Even if you’ve never tried napkin art before, this kit and project are perfect for getting started.
I go LIVE on my Facebook page every Friday at 11 am CST for a fun and easy Craft-n-Chat Session. Come learn something new while creating something beautiful!
Join the waitlist for The Napkin Club where Unique Makers can connect, learn, and be inspired to create with the Individual Unique Napkin Collections that you will receive every month! A place where Napkin Lovers can unite and be inspired!


0 Comments