
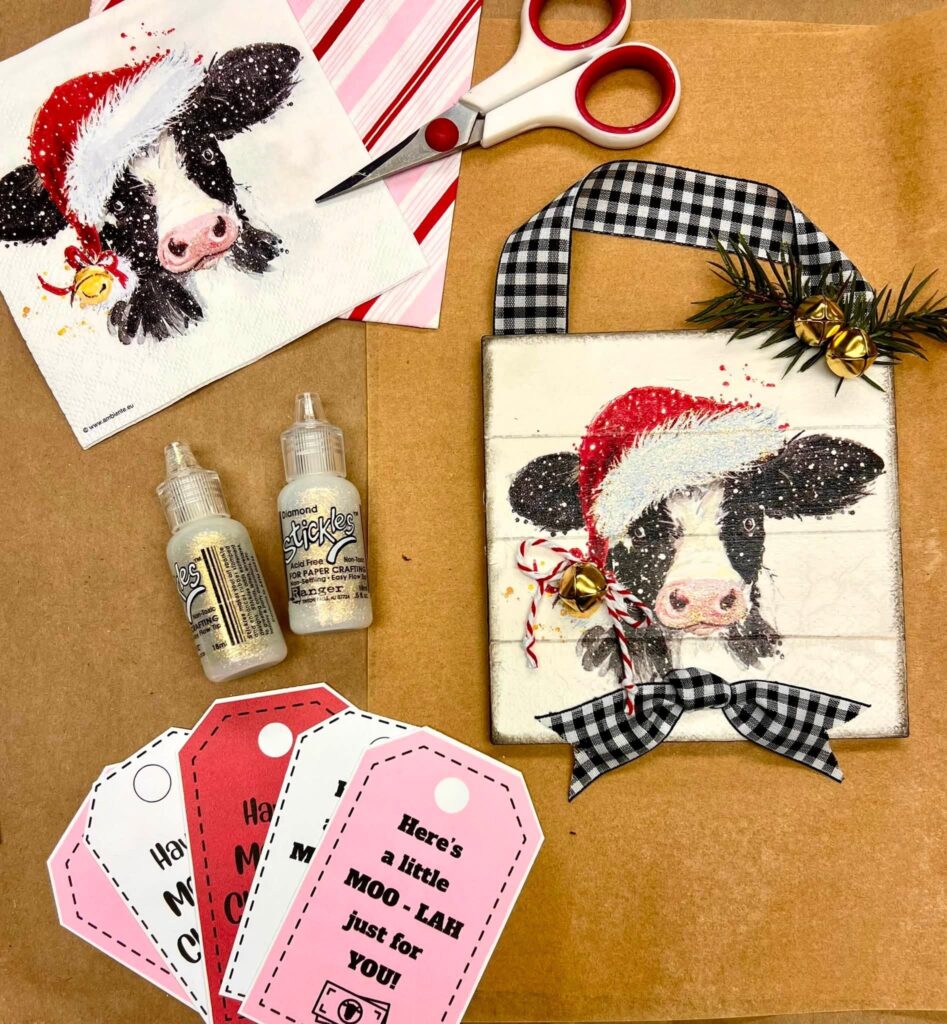
Supply List:
- 5 x 5 Shiplap Square
- Napkins
- Merry Moo-Lah Tag Printable
- Country Chic Paint – Simplicity
- Mod Podge Matte
- Bakery/Deli Plastic Sheet
- Cardstock
- Chalk Ink
- Scor-tape
- Ribbon and Twine
- Buttons
- Jingle Bells
- Greenery Sprigs
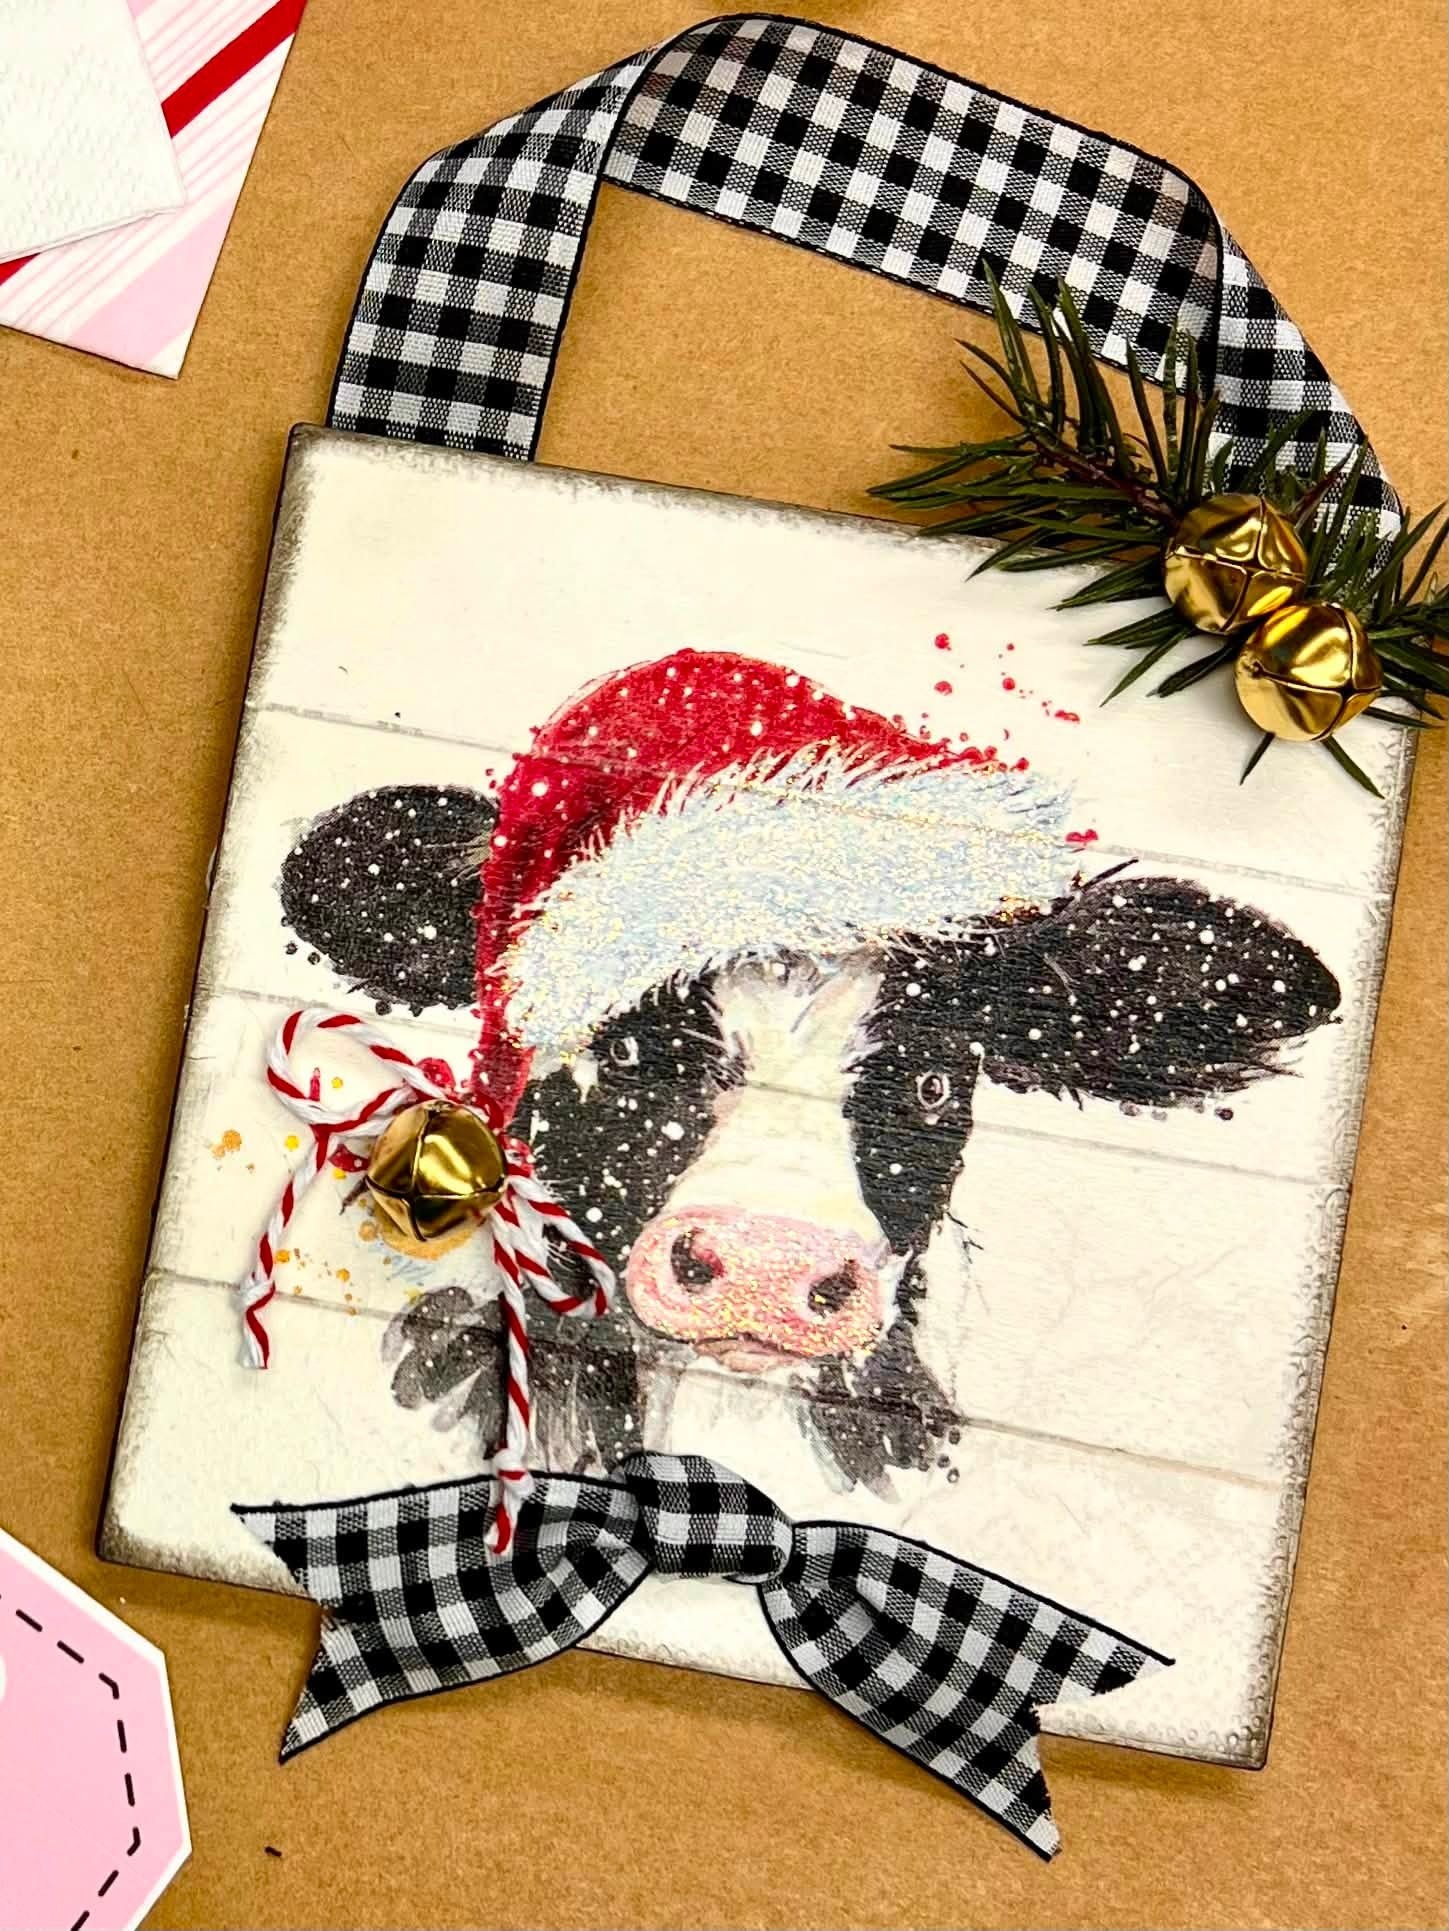
Looking for a fun Christmas in July craft, a creative way to give cash or gift cards, or an easy handmade ornament that doubles as a gift? This adorable Christmas cow gift card holder checks every box.
Using a small shiplap square, decorative paper napkins, Mod Podge, ribbon, jingle bells, and a simple cardstock pocket, you can create a festive Christmas keepsake with room on the back for a gift card or a little “moola.” It is perfect for teenagers, grandchildren, coworkers, teachers, neighbors, or anyone who would rather receive cash or a gift card but still deserves something handmade and special.
Step 1: Prepare the Shiplap Square
Paint the front, back, and sides of the wooden shiplap square white. While the paint is still slightly wet, use a toothpick, paper piercer, small file, or similar pointed tool to clear excess paint from the shiplap grooves.
Keeping those lines visible adds texture to the finished project and makes the cow look as though it has been painted directly onto individual wooden planks. Allow the paint to dry completely before adding the napkins.
Step 2: Cut and Separate the Napkins
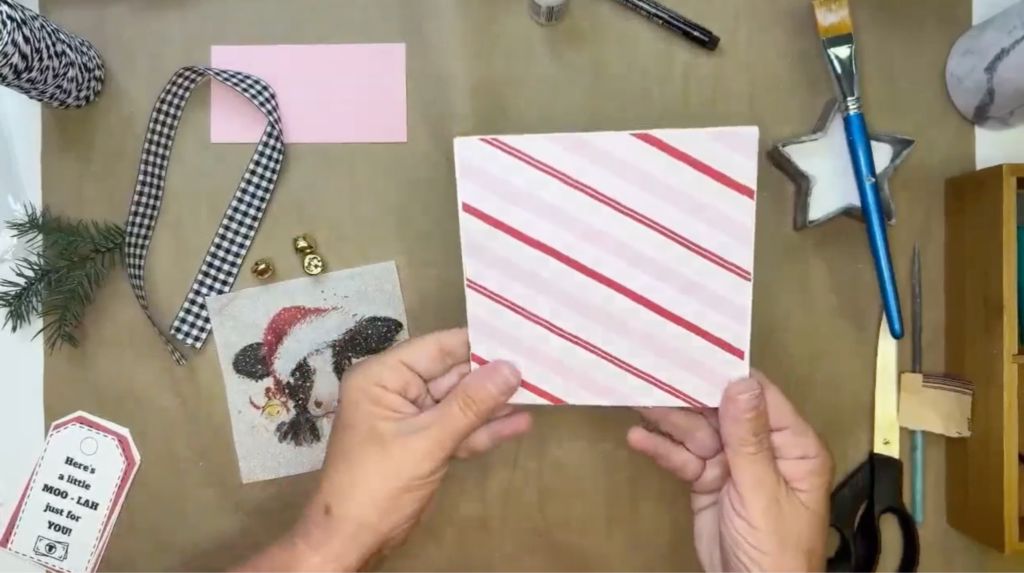
Cut one full square from the Christmas cow napkin and one square from the red-and-white striped napkin.
Before applying either napkin, separate all of the paper plies. Most decorative napkins have two or three layers, but you only want the thin printed top layer. Leaving an extra ply attached may cause the printed layer to bubble, lift, or tear when you apply the Mod Podge.
A quick way to separate the layers is the “lick and stick” method. Lightly dampen your thumb and fingertip, press them together over one corner of the napkin, and gently pull the plies apart. You can also place a tiny amount of Mod Podge on your fingertips, tap until it feels tacky rather than wet, and use that to separate the layers.
Step 3: Apply the Striped Napkin to the Back
Turn the shiplap square over so the smooth back faces upward. Brush an even, generous coat of Mod Podge Matte over the entire surface.
Position the striped napkin over the wood and center it as evenly as possible. Place a deli sheet or piece of plastic wrap over the napkin. Beginning in the center, smooth outward in gentle circular motions, pressing the napkin into the Mod Podge and removing air pockets.
Peel the plastic away carefully. Seeing a little Mod Podge residue on the plastic is a good sign that you used enough adhesive.
Dry the surface completely with a heat tool or allow it to air-dry.
Step 4: Sand and Seal the Back
Once the napkin is fully dry, use fine-grit sandpaper, a sanding block, or an emery board to remove any napkin tissue hanging over the edges.
Brush a thin, even coat of Mod Podge Matte over the entire napkinized surface. This top coat seals and protects the delicate tissue. Dry it thoroughly before turning the piece over.
A heat tool is optional, but it makes this process much faster if you are an impatient crafter or creating several gifts at once.
Step 5: Add the Christmas Cow to the Front
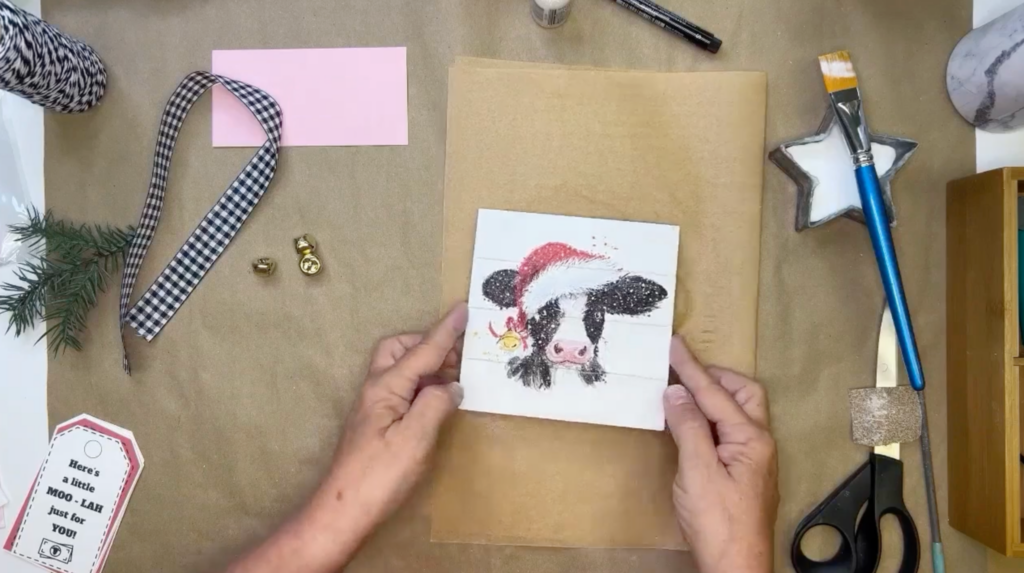
Brush a healthy coat of Mod Podge over the front of the shiplap square. Carefully position the Christmas cow napkin so the image sits where you want it.
Place a clean deli sheet or plastic wrap over the napkin. Begin smoothing over the cow’s face, then work outward toward the edges.
Use your fingernail, a toothpick, or a small file to gently press the napkin down into the shiplap grooves. This allows the lines to remain visible through the artwork and creates the look of a hand-painted shiplap sign.
Remove the plastic slowly, then dry the napkin completely.
Step 6: Seal the Cow Napkin
Apply a thin, even top coat of Mod Podge Matte across the front of the project. Avoid repeated brushing over the same wet area, since the napkin remains delicate until it dries.
Dry the surface completely. The Mod Podge Matte should leave a smooth finish without the lingering tackiness that can sometimes happen with glossy formulas.
Step 7: Distress the Edges
Use black chalk ink to lightly darken the edges and corners of the wooden square. Apply the ink directly from the pad, using a light touch to create a soft, smoky outline.
Add a little ink around the back and sides as needed. The dark edging complements the black-and-white cow and gives the project a finished, slightly distressed farmhouse look.
Use the heat tool briefly to set the chalk ink into the sealed Mod Podge surface so it will not smear.
Step 8: Make the Gift Card Pocket
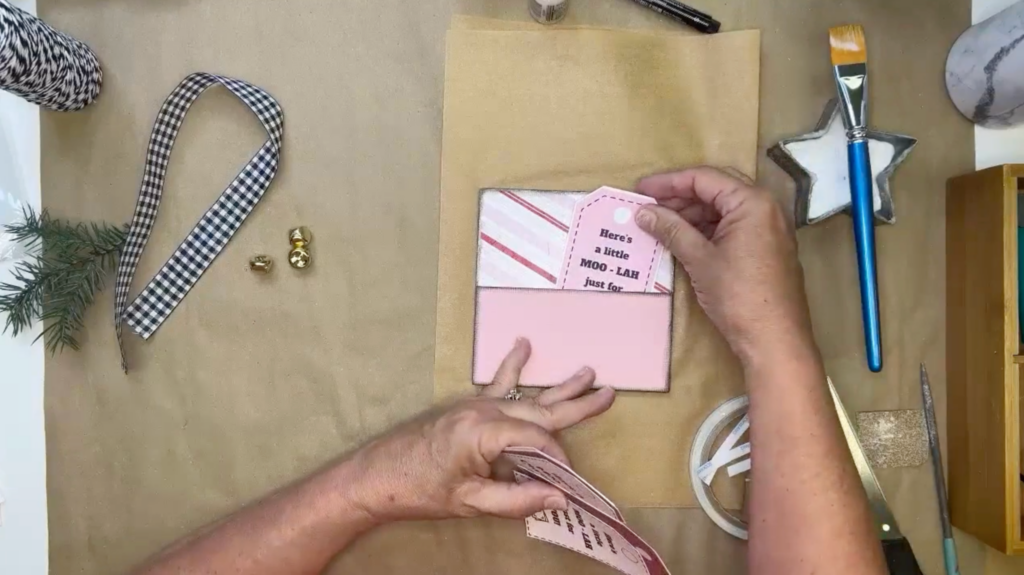
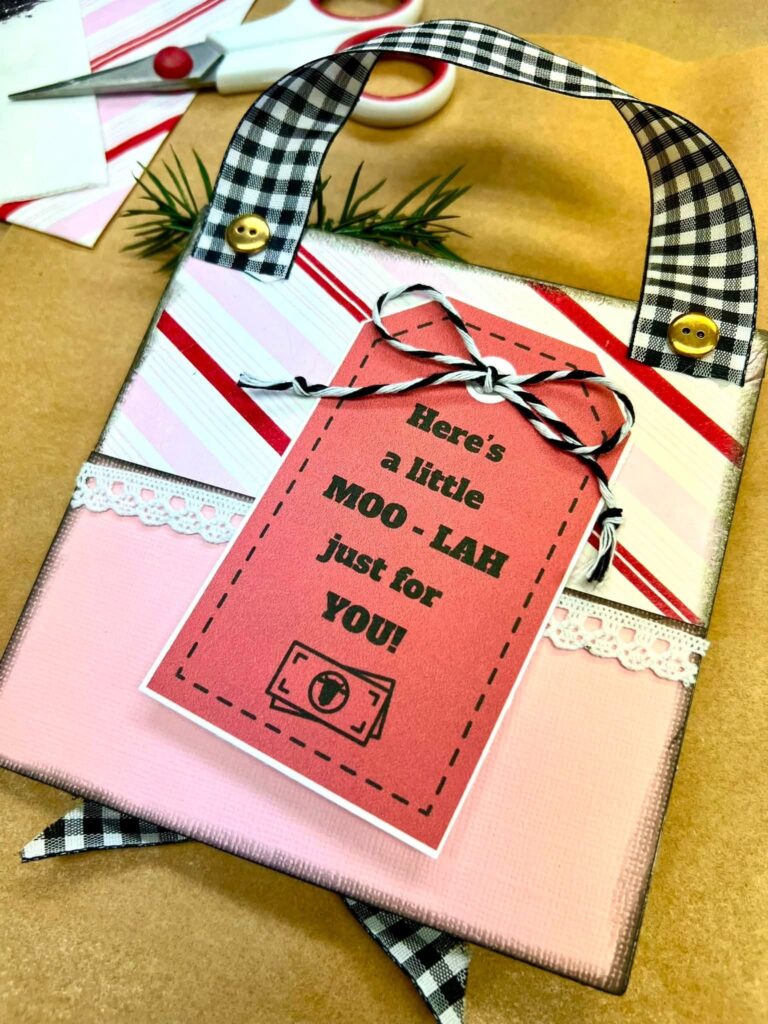
Cut a strip of coordinating cardstock approximately 2 inches tall and just slightly narrower than the wooden square. Trim it until it fits comfortably across the lower back of the project.
Ink the cardstock edges with the same black chalk ink for a coordinated finish.
Apply double-sided Scor-tape to the two short sides and the bottom edge of the cardstock. Leave the top edge open so it becomes a pocket. Craft glue or a thin line of hot glue can also work, but be careful not to seal the opening.
Before attaching the pocket, confirm that the cow on the front is facing upright. Press the cardstock firmly onto the back.
The pocket can hold cash, a gift card, a handwritten note, or a small printed tag.
Step 9: Add the Free “Moola” Gift Tag
Print and cut out a playful Christmas cow tag with a message such as:
Here’s a little moola just for you!
or
Have a mooey Christmas!
Write your personal greeting on the back of the tag. Add a small black-and-white baker’s twine bow to the top, then slide the tag into the cardstock pocket with the gift card or cash.
You can also decorate the upper edge of the pocket with ribbon, trim, or Christmas washi tape to make it stand out.
Step 10: Add the Ribbon Hanger
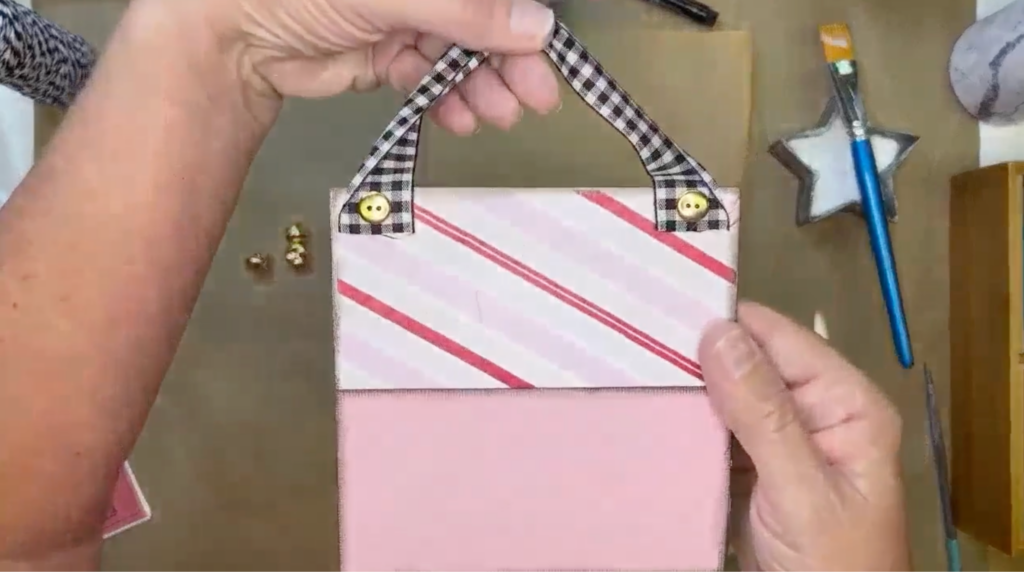
Cut a length of black-and-white gingham ribbon long enough to form a loop. Turn the project over and hot glue each end of the ribbon near the upper corners of the back.
Check the front to make sure the ribbon is facing the correct direction and creates a neat hanger.
Glue a small button over each ribbon end on the back. The buttons help disguise the attachment points and make the hanger look as though it has been buttoned onto the sign.
This allows the recipient to hang the finished piece on a Christmas tree, wall hook, cabinet knob, or seasonal display after removing the gift.
Step 11: Add a Gingham Bow
Cut another piece of gingham ribbon and tie it into a loose knot rather than a tight traditional bow. Keeping the knot slightly open creates a fuller shape.
Trim each tail with a flag end by cutting a small slit up the center and trimming diagonally from each outside corner toward the top of the slit.
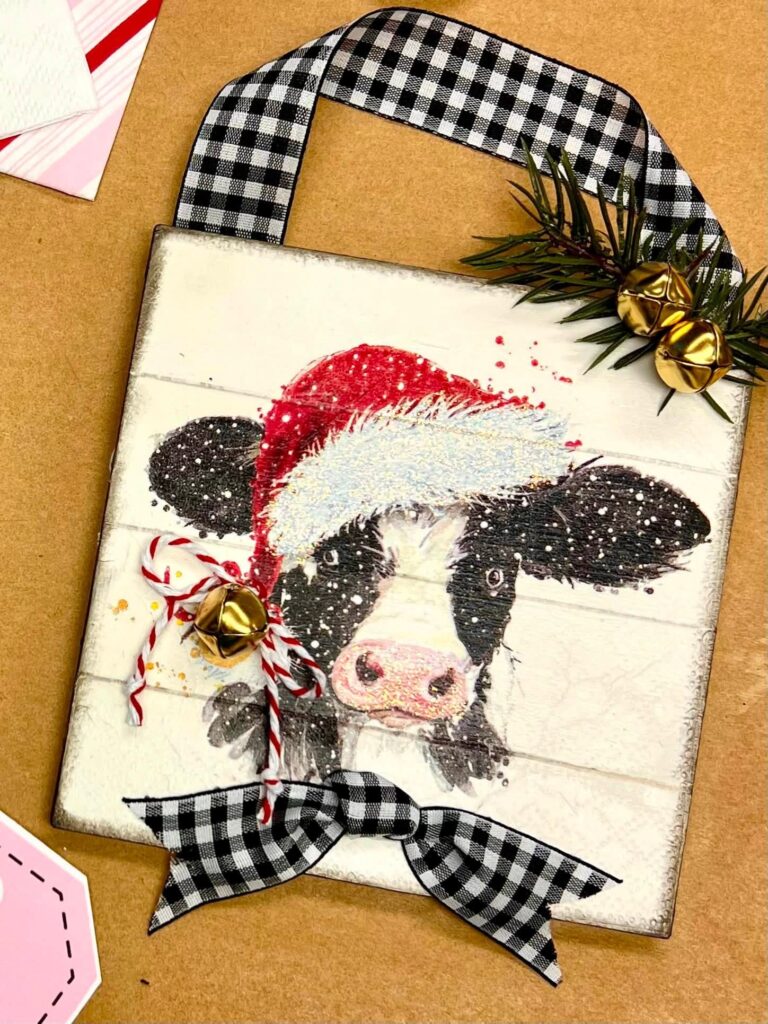
Hot glue the knotted ribbon beneath the cow’s face or around the lower neck area.
Step 12: Add a Real Jingle Bell
Cut a short length of red-and-white baker’s twine. To make threading the jingle bell easier, dip the end of the twine into Mod Podge or craft glue, twist it tightly, and allow it to stiffen.
Thread the twine through a small gold jingle bell and tie it into a tiny bow. Add knots to the ends of the twine and unravel them slightly to create miniature tassels.
Glue the bow directly over the printed bell on the cow napkin so the real bell hangs naturally from the image. This small dimensional detail makes the project especially charming.
Step 13: Add Greenery and Bells
Cut two small sprigs of faux Christmas greenery. Glue them near the upper corner of the project, arranging one slightly inward and the other outward around the ribbon hanger.
Add one or two small gold jingle bells over the greenery. You could also use berries, miniature pinecones, buttons, or another small Christmas embellishment from your craft stash.
A budget-friendly way to collect greenery is to purchase discounted Christmas wreaths and cut them apart into individual sprigs for future craft projects.
Step 14: Add Christmas Sparkle
Finish the project with Stickles glitter glue. Add Diamond or Unicorn Stickles to the white fur on the Santa hat, the cow’s pink nose, the gift tag, or any snowy areas you would like to highlight.
Squeeze out a small amount and use the fine applicator tip to color in each section. Set the project aside until the Stickles are completely dry before turning it over or placing anything inside the pocket.
How to Use Your Christmas Cow Gift Holder
This finished project works as both creative gift packaging and a keepsake Christmas ornament. Fill the back pocket with cash, a coffee shop gift card, a restaurant card, a Visa gift card, or a handwritten coupon.
It is an especially fun gift for teenagers, grandchildren, coworkers, teachers, Secret Santa exchanges, craft show customers, and anyone who loves farmhouse Christmas decor, cows, or playful holiday puns.
You could also use the same concept with other animal napkins and create coordinating phrases for each one.
Love Creating with Napkins?
The Napkin Club is a creative community for crafters who love learning new napkin art techniques and receiving exclusive inspiration. Members explore projects using wood, canvas, paper, fabric, glass, metal, and other surfaces while learning how to apply, seal, embellish, and transform decorative napkins.
Joining the club is a wonderful way to build your skills, grow your napkin collection, and create alongside other people who enjoy turning simple supplies into something beautiful!


0 Comments