

Supply List:
- Patriotic Napkins
- Metal Can (Like a soup can, etc.)
- Mod Podge Matte
- Chip Brush
- Plastic Deli Sheets
- Country Chic Paints (Simplicity, Poppy, Starstruck)
- Ribbon, Jute, Twine
- Wired Curly Ribbon Picks (Hobby Lobby)
- Hot Glue
- Stickles
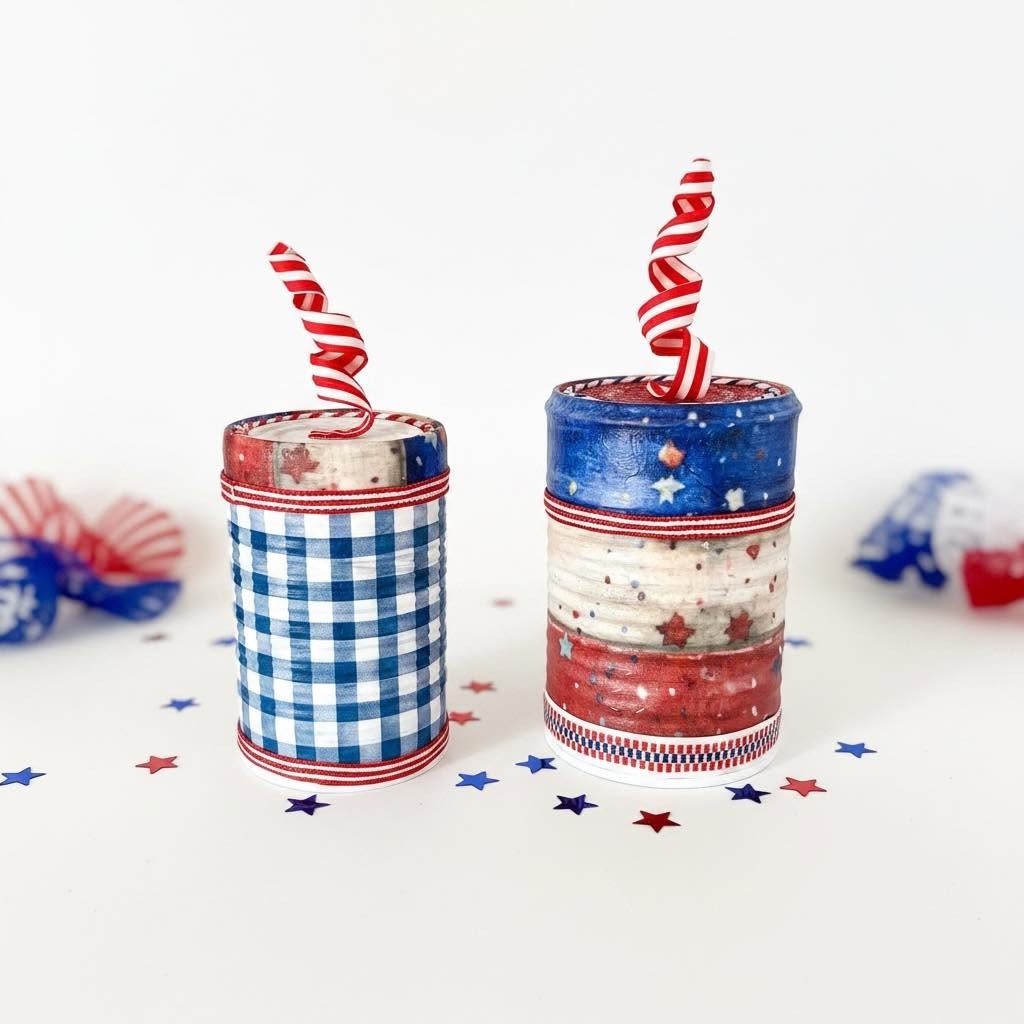
Turn empty tin cans into adorable patriotic firecrackers with this easy napkin art craft. This project is perfect for summer decorating, Fourth of July decor, Memorial Day, Labor Day, patriotic tiered trays, or red, white, and blue table displays. Using recycled cans, white paint, decorative napkins, Mod Podge, ribbon, and a curly “fuse,” you can create a fun set of handmade firecrackers from supplies you may already have at home.
Step 1: Choose and Clean Your Cans
Start by saving a few empty cans from your pantry. Choose cans in different heights so your finished firecrackers look cute grouped together. A tall soup can, a medium vegetable or tomato can, and a smaller soup can work really well.
Remove the paper label and wash the can thoroughly. If there is sticky glue left behind from the label, don’t worry too much about it. As long as the paper is removed, the paint and napkin art will cover most of that area.
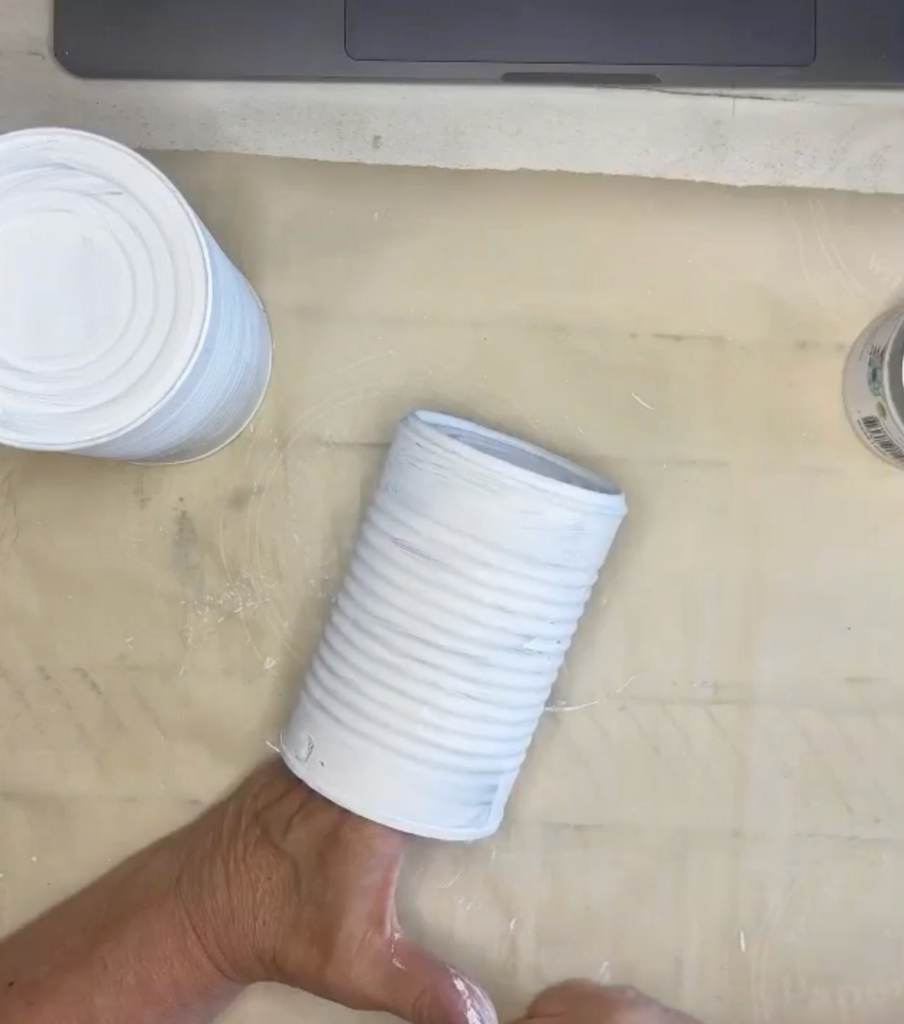
Step 2: Paint the Cans White
Paint the outside of each can with white chalk paint. You do not need to paint the inside because the cans will be turned upside down and displayed on the open end.
This white paint layer works like a primer and helps the napkin design show up clearly. Napkins are thin, so the white background gives the design a brighter look. Let the paint dry completely before adding napkin art.
Step 3: Choose Your Napkins
Pick patriotic napkins in red, white, and blue patterns. Stripes, checks, stars, patchwork designs, gingham, and distressed patterns all work beautifully for this project.
Decide which napkin will go on each can. You can make all three firecrackers match, or you can use different coordinating patterns so each one has its own personality.
Step 4: Cut the Napkin to Fit the Can
Wrap the napkin around the can to measure how much you need. Cut a strip that will wrap around the can with a little overlap. If you want the napkin to wrap over the top rounded edge of the firecracker, leave a little extra napkin at the top.
Before applying the napkin, separate the plies so you are left with only the top printed layer. This step is important because napkin art works best with the thinnest printed layer.
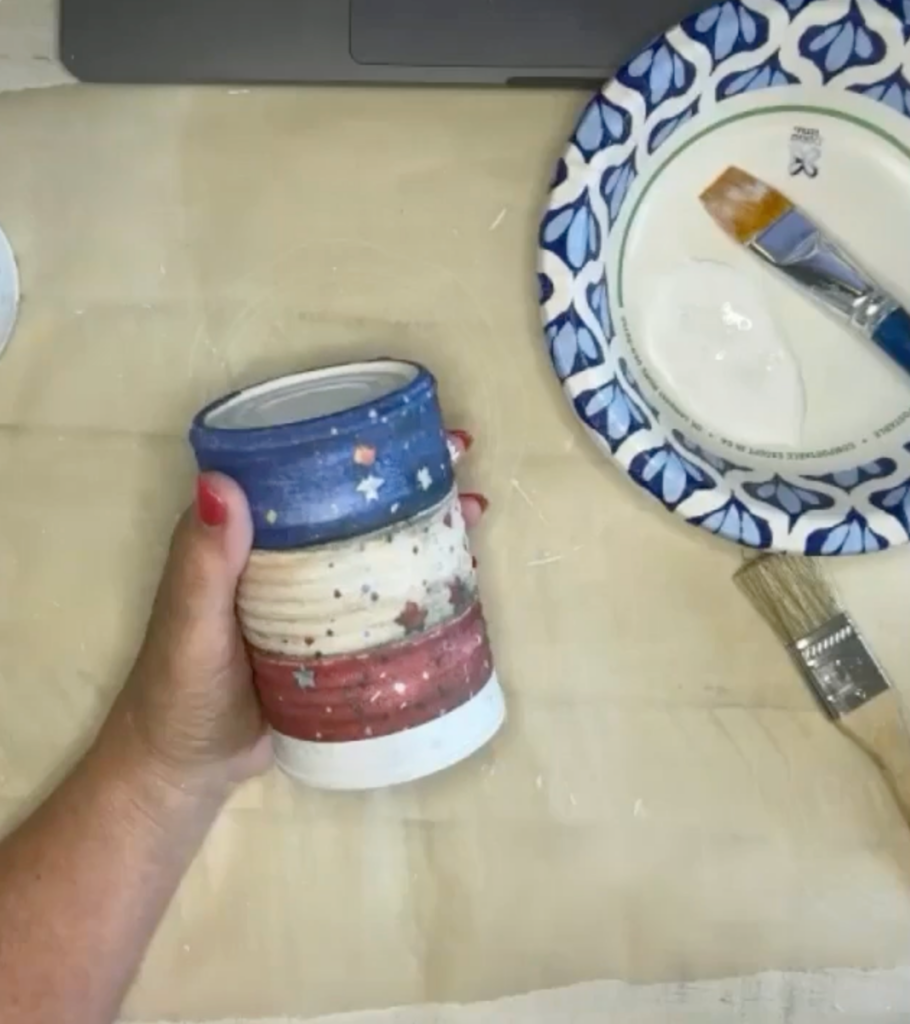
Step 5: Apply the Napkin with Mod Podge
Place the can on parchment paper to protect your work surface. Brush Mod Podge Matte onto one section of the painted can, then gently lay the napkin onto the wet Mod Podge.
Work in sections because Mod Podge can dry quickly. Use light pressure to press the napkin into place. A dry chip brush works well for pouncing the napkin into the grooves and ridges of the can.
Step 6: Smooth the Napkin
Once the napkin is in place, wrap a deli sheet or plastic sheet around the can and gently smooth over the napkin. This helps press the tissue into the ridges without tearing it.
Remove the plastic carefully. The napkin should look like it has become part of the can, with all those pretty metal ridges showing through.
If you left extra napkin at the top, brush a little Mod Podge over the top edge of the can and gently press the napkin over the rounded edge. This creates a finished look and adds color to the top of the firecracker. Use plastic wrap or a deli sheet to smooth it down, then dry the can completely.
Step 7: Seal the Napkin Art
Once the first layer is dry, brush a thin coat of Mod Podge over the entire napkin-covered can. This seals and protects the napkin art so your firecracker decor will last.
Let it dry fully before adding ribbon or paint details.
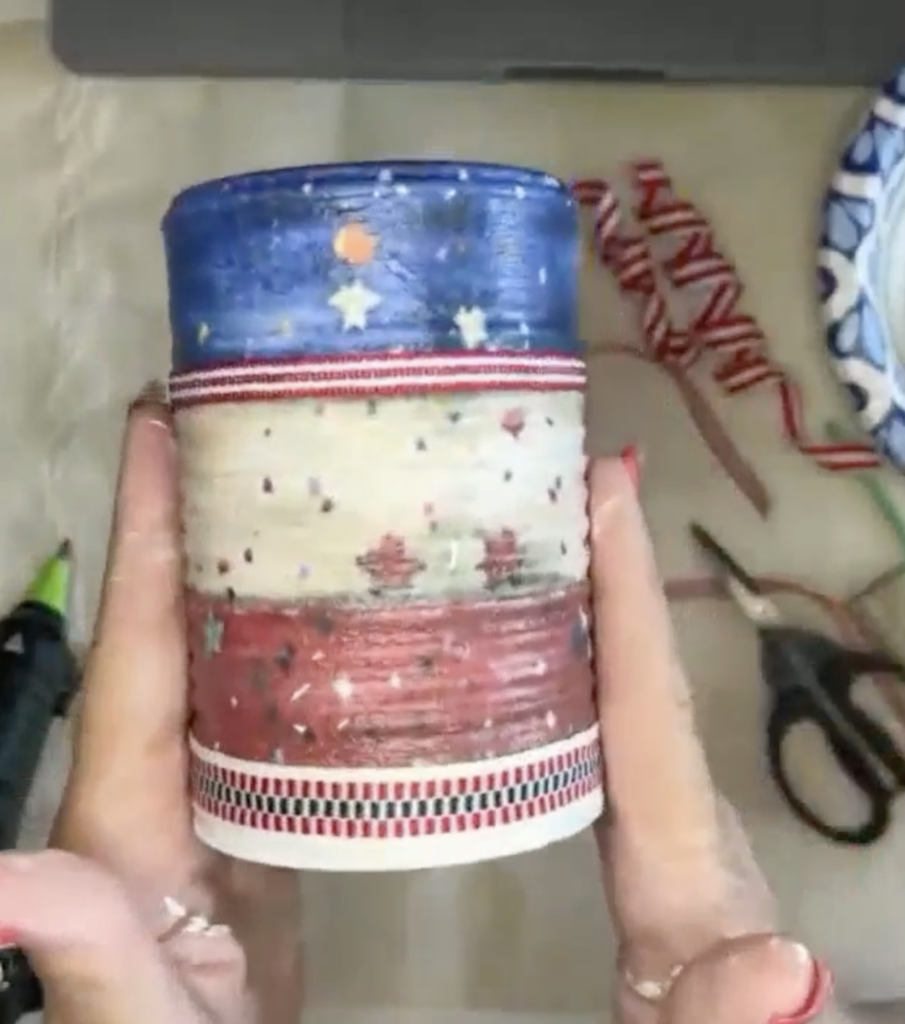
Step 8: Add Ribbon and Twine
Add ribbon around the bottom or top of the firecracker using hot glue. Choose different ribbons for each can to give the set a collected, handmade look.
You can also wrap baker’s twine around the top edge for extra texture. To keep twine ends from fraying, dip the ends lightly in Mod Podge and twist them with your fingers before gluing.
Step 9: Paint the Top of the Firecracker
For extra color, paint the top of the firecracker red, white, or blue. Since the can is turned upside down, the bottom of the can becomes the top of the firecracker.
Use red for one, blue for another, and leave one white if you are making a set of three. This gives the whole grouping a fun patriotic look.
Step 10: Add the Fuse
Create a firecracker fuse using curly wired ribbon, thick jute, a patriotic pick, or another fun embellishment from your craft stash. Flatten the bottom of the fuse piece and hot glue it to the top center of the can.
Once it is attached, bend and shape the fuse so it has movement and personality.
Step 11: Add Sparkle
If you love sparkle, add Stickles to small details on the napkin, ribbon, or painted top. You can also spray the finished firecrackers with a glitter spray, such as Diamond Dust or a similar sparkle finish. This step is optional, but it gives the firecrackers a festive summer shine.
This patriotic firecracker craft is such a fun way to repurpose tin cans instead of throwing them away. With a little paint, Mod Podge, napkin art, ribbon, and creativity, plain pantry cans become charming red, white, and blue summer decor! It’s a simple project, but the finished firecrackers look festive, vintage-inspired, and full of handmade personality.Want more napkin art projects like this? If you loved this technique, you’ll love learning inside the Napkin Club, where I teach napkin art projects, creative techniques, seasonal crafts, and tons of inspiration using napkins in fun, unexpected ways. Join the Napkin Club here and craft along with us!


0 Comments