


Supply List:
- Pattern Paper
- Scor-Board or Scoring Tool
- Hot Glue
- Scor-tape (or Double Sided Craft Tape)
- Buttons, Twine, Ribbon
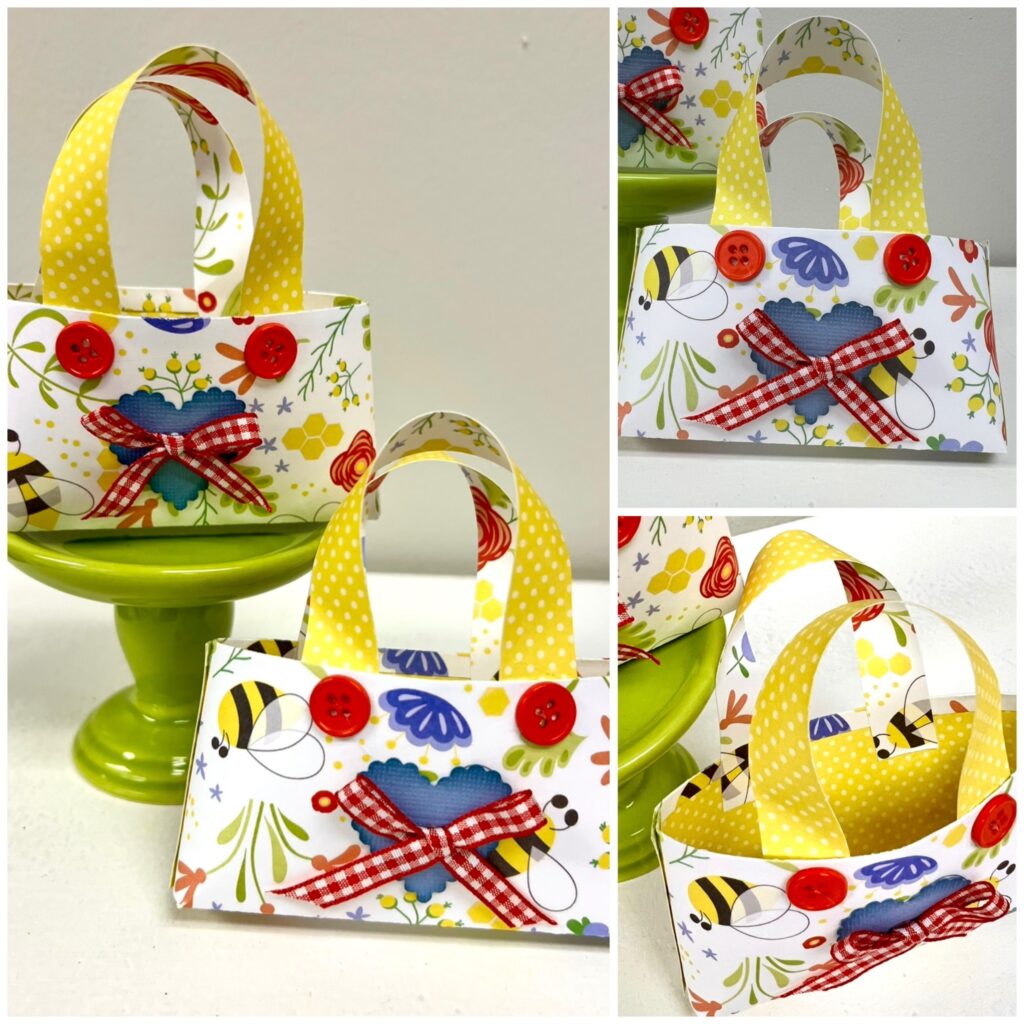
If you need a quick, little handmade gift idea, this paper gift card holder bag is such a fun project to make. It is perfect for graduation gifts, teacher appreciation, birthdays, party favors, or any time you want to tuck in a gift card, cash, a small treat, or a little note.
This is one of those paper crafting projects that looks adorable but comes together quickly. You only need a small piece of double-sided paper, a few score lines, and some simple embellishments to turn it into the cutest mini paper bag.
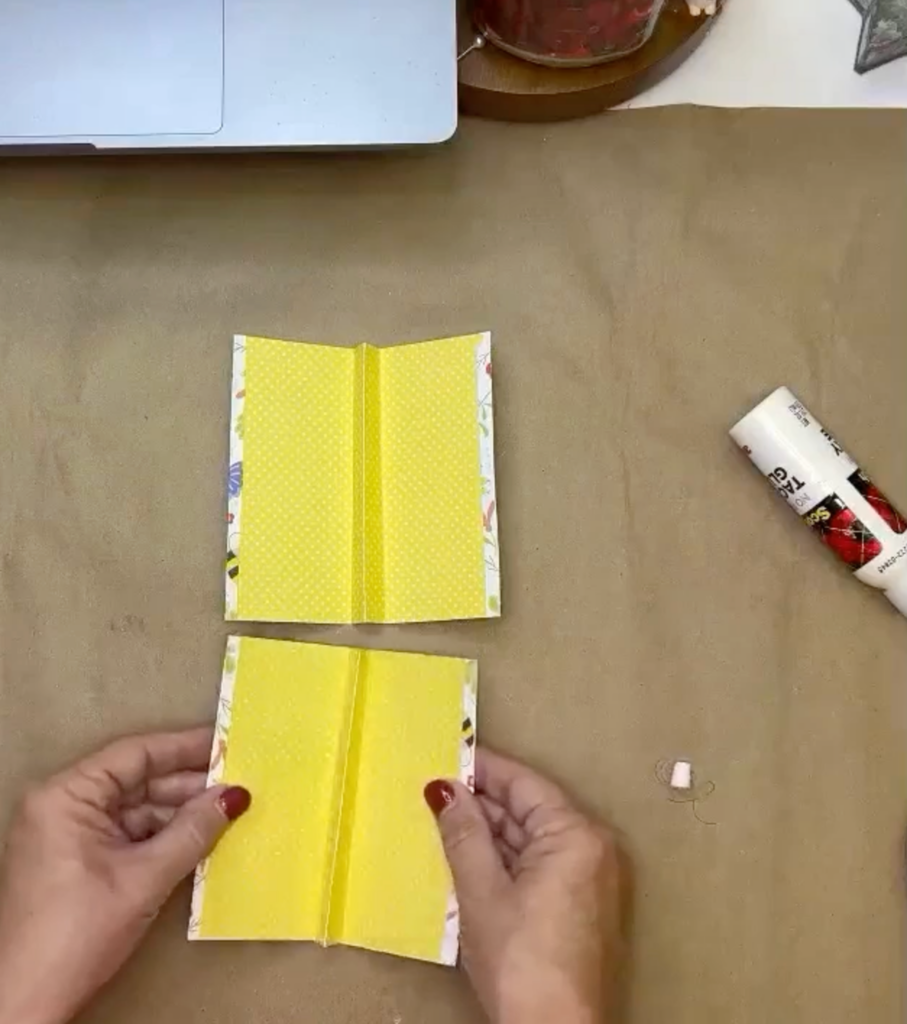
Step 1: Start with Your Paper
Begin with a piece of double-sided patterned paper cut to 5 inches by 6 inches. Cardstock or sturdy double-sided paper works best because the bag needs enough structure to stand on its own. Fold the paper in half by bringing the two short sides together.
Once folded, place the paper on your scoreboard with the folded edge on one side and the open edge on the other. Score 1/2 inch from the folded edge, then score 1/4 inch from the open edge. These score lines will help form the shape of your little bag.
Step 2: Glue the Top Edges
Open the paper so you are looking at what will become the inside of the bag. Fold the two small 1/4-inch scored edges down and glue them in place. This gives the top of the bag a clean, finished edge.
Next, fold along the 1/2-inch score lines so the center section raises up slightly. This creates the bottom structure of the bag and helps it stand once assembled.
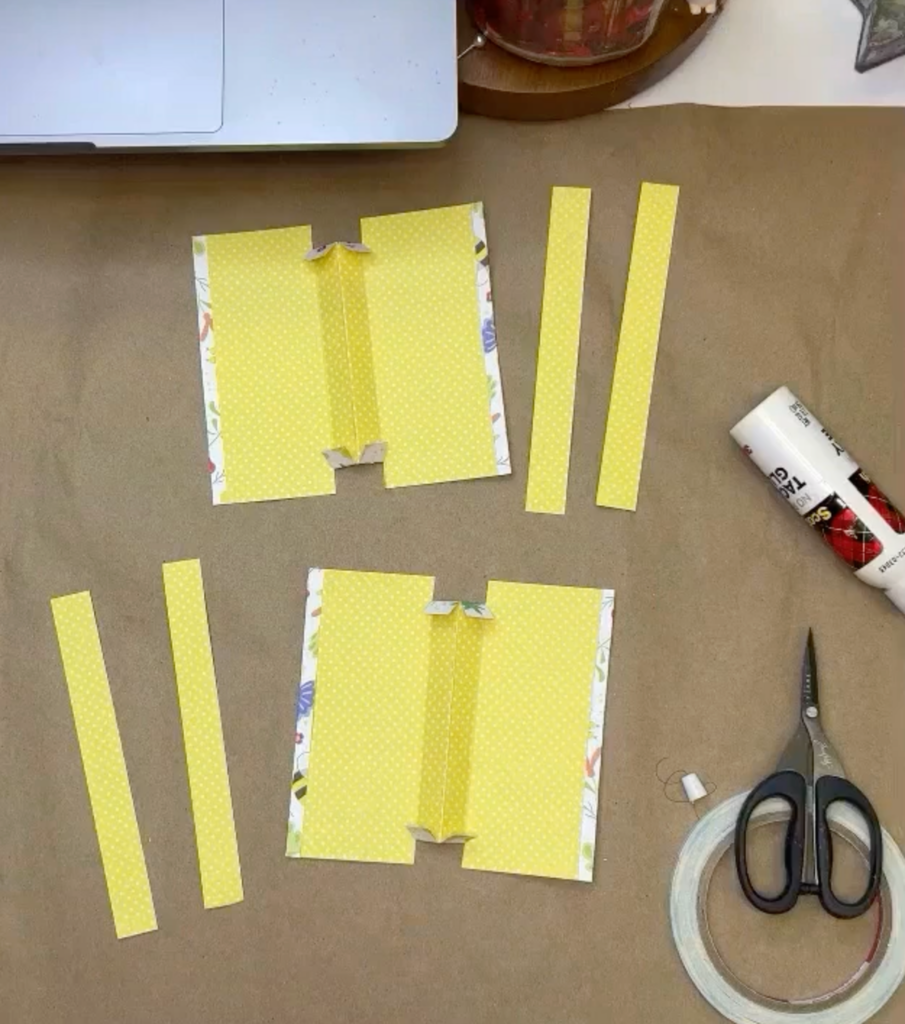
Step 3: Cut the Bottom Flaps
Open the folded paper slightly and cut a small slit about 1/2 inch in from each side along the bottom fold area. Do this on both sides of the paper. Fold those small cut pieces upward to create the bottom flaps.
These little cuts help the bag fold into shape and give it that sweet mini tote bag look.
Step 4: Add Double-Sided Tape
Apply double-sided tape or Scor-tape to the two side edges of the bag. Scor-tape works especially well because it grabs quickly and holds the paper securely.
Remove the backing from one side of the tape, fold the bag inward, and press the two sides together. Keep the bottom flap folded upward as you attach the sides. Repeat on the other side. If the edges do not line up perfectly, simply trim them with scissors.

Step 5: Make the Handles
Cut two paper strips measuring 3/4 inch by 6 inches. These will become the handles. Use the reverse side of your double-sided paper if you want a coordinating pattern to show.
Add a small amount of hot glue inside the top edge of the bag and press one end of the handle into place. Curve the handle over and glue the other end inside the bag. Repeat on the other side with the second handle.
Paper handles work especially well because they stay upright and give the project a finished, little handbag look.
Step 6: Embellish the Bag
Once the bag is assembled, dress it up with simple embellishments. Add buttons to the front where the handles attach, glue on a punched paper heart or flower, or tie a small ribbon bow to the front.
You can also add a tiny tag to one of the handles for a “to” and “from” message. Keep it simple or dress it up as much as you like.
Ideas for Filling the Bag
These little paper bags are perfect for gift cards, cash, checks, wrapped candy, tea bags, lip balm, nail polish, small cookies, mini sunscreen, or other small gifts. They would also be cute for baby shower favors, beach-themed party favors, teacher gifts, graduation gifts, or other surprises.
Because the bag can be made larger or smaller, you can adjust the starting paper size depending on what you want to tuck inside.
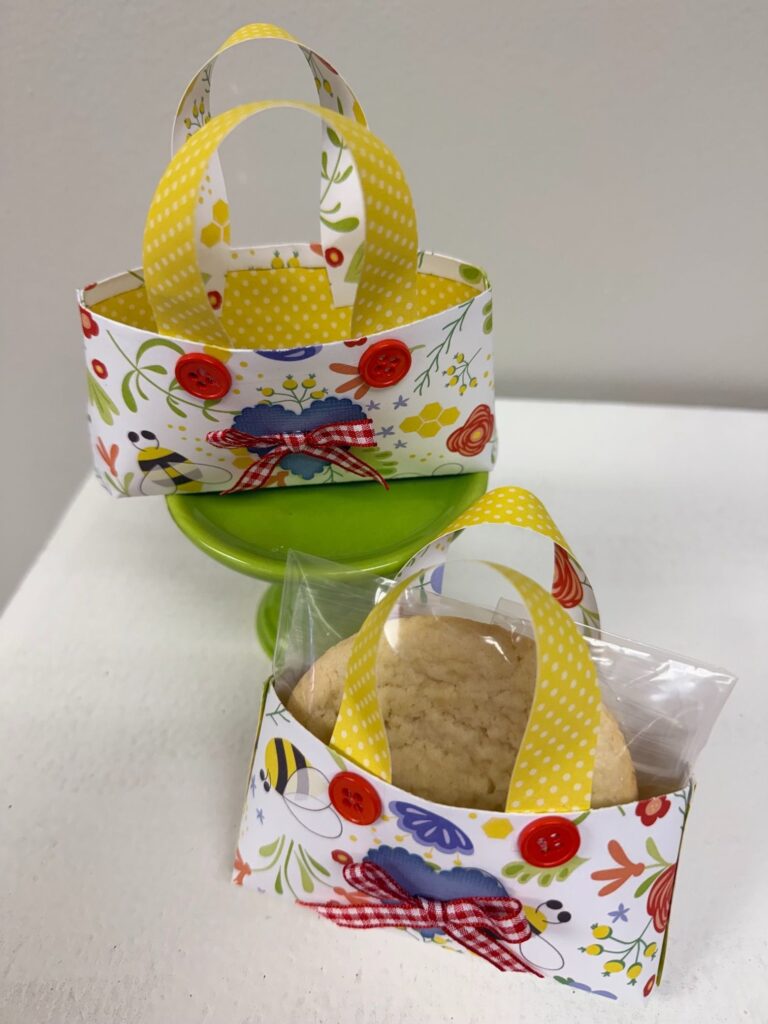
This easy paper gift card holder bag is a sweet way to turn a small gift into something extra special. It uses simple supplies, comes together quickly, and is a great project for using up pretty patterned paper from your stash.
Make one as a prototype, then create a whole batch for upcoming gifts, parties, or celebrations!
Do you love paper crafting? The Paper Crafters ClubHouse is a warm, welcoming monthly membership designed especially for women who love all things scrapbooking, cardmaking, and creative paper crafting. Join here!


0 Comments