


Supply List:
- DIY Decor Kit – Halloween & Autumn
- DIY Decor Kit – Halloween & Autumn WITH House
- Clear Stickles
- Glossy Accents
- Black Pitt Pens
- Bright Glaze Pens Set
- White Pen
- Mod Podge
- Country Chic – Persimmon Paint (Orange)
- Country Chic – Simplicity (White)
- Brown Chalk Ink
- Heat Tool
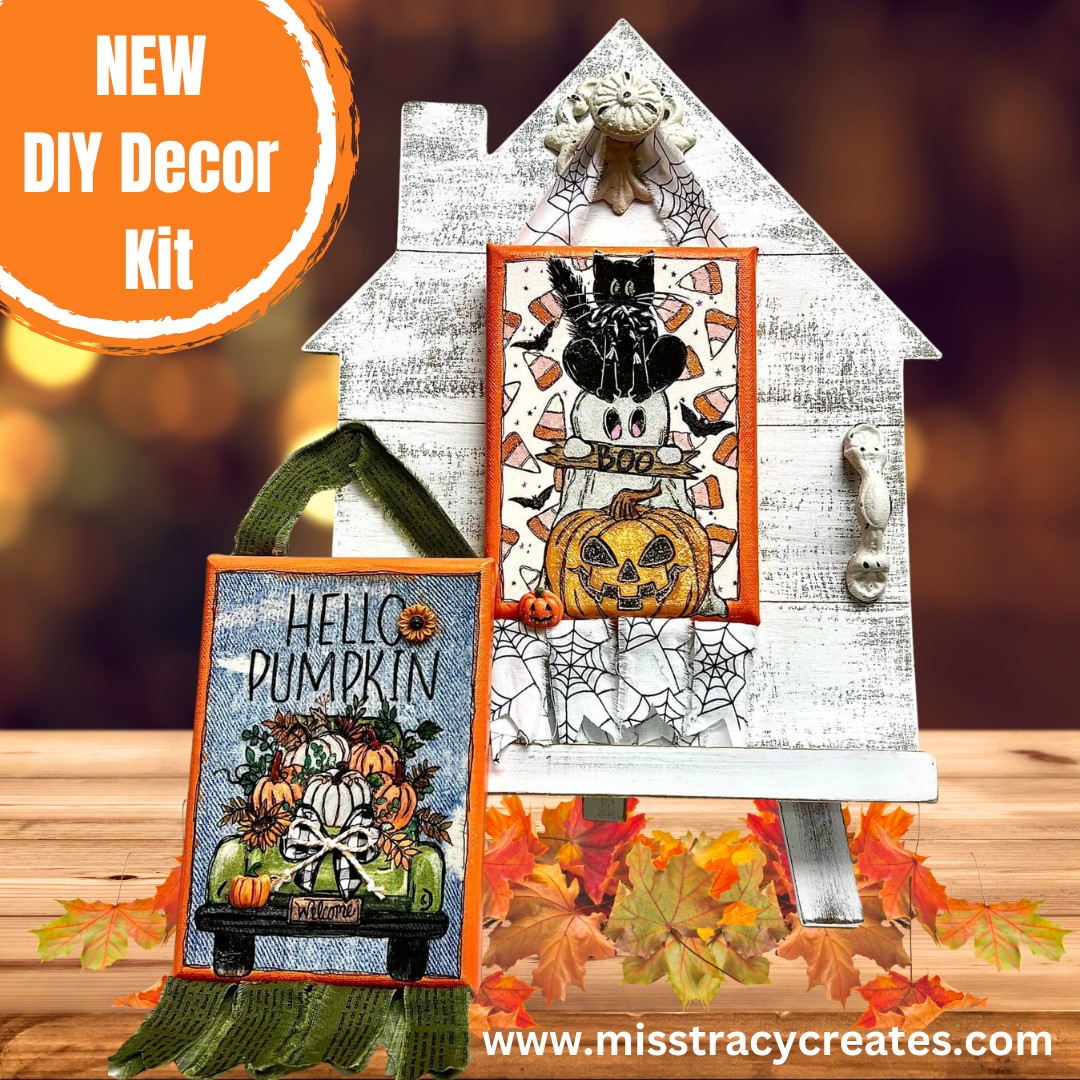
It’s that time again! We’ve just launched our Welcome Home Canvas Set for Halloween & Autumn. If you’re not familiar, our Welcome Home Seasonal Canvas Display program introduces various DIY decor kits throughout the year. The set features a beautiful shiplap house to hang your canvas, allowing you to switch out different decor easily. If you already own the house, you can simply grab the kit. Join me as I guide you through creating two charming canvases with our latest kit!
Your kit will include: two 5×7 canvases, Hello Pumpkin Truck & Boo Friends Napkin, Candy Corn Napkin, a Miss Tracy Creates custom-designed Denim napkin, strips of fabric for each canvas, and cute little fall embellishments.
Adding Napkin Art to Your Canvases
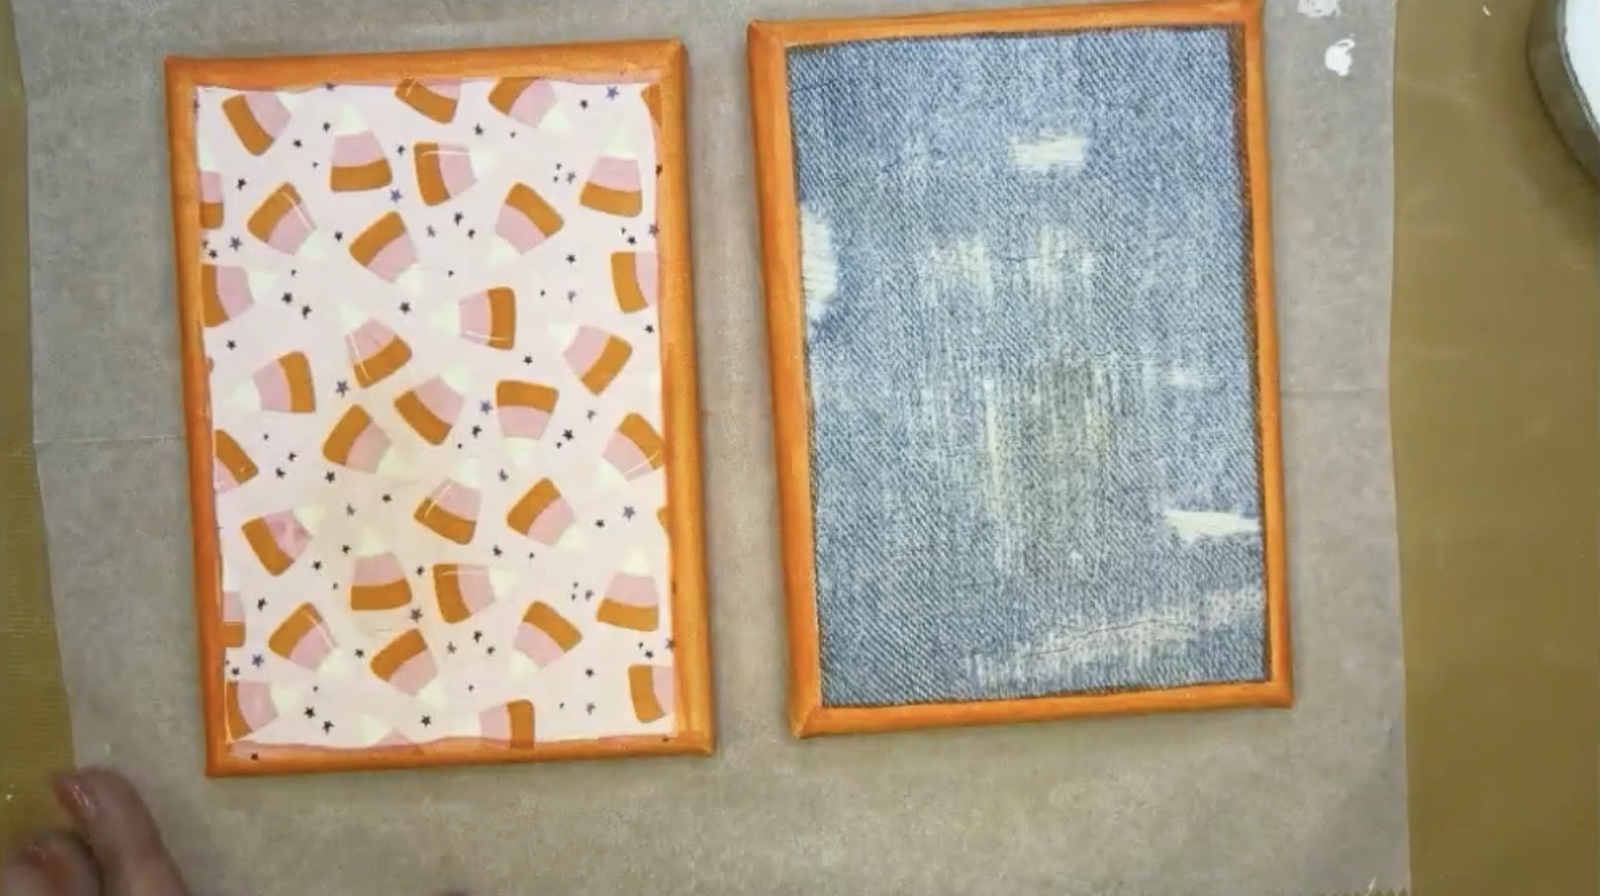
We’ll begin by using the Candy Corn and Denim napkins for our canvas backgrounds. To create a small border, cut the napkins to fit your canvas. Use a Frixion pen to trace the napkin outline on the canvas, as we’ll be painting the borders and edges next.
With a paintbrush, apply Country Chic Persimmon (Orange) paint to the outlined areas.
Next, separate the napkin layers until you’re left with the top layer of napkin art. Apply a coat of Mod Podge Matte to your canvas, place the napkin on top, cover it with plastic wrap, and smooth it down with your hands. Finish by drying it with a heat tool.
Next, we’ll focus on cutting out the images and text from the “Hello Pumpkin Truck” and “Boo Friends” napkins.
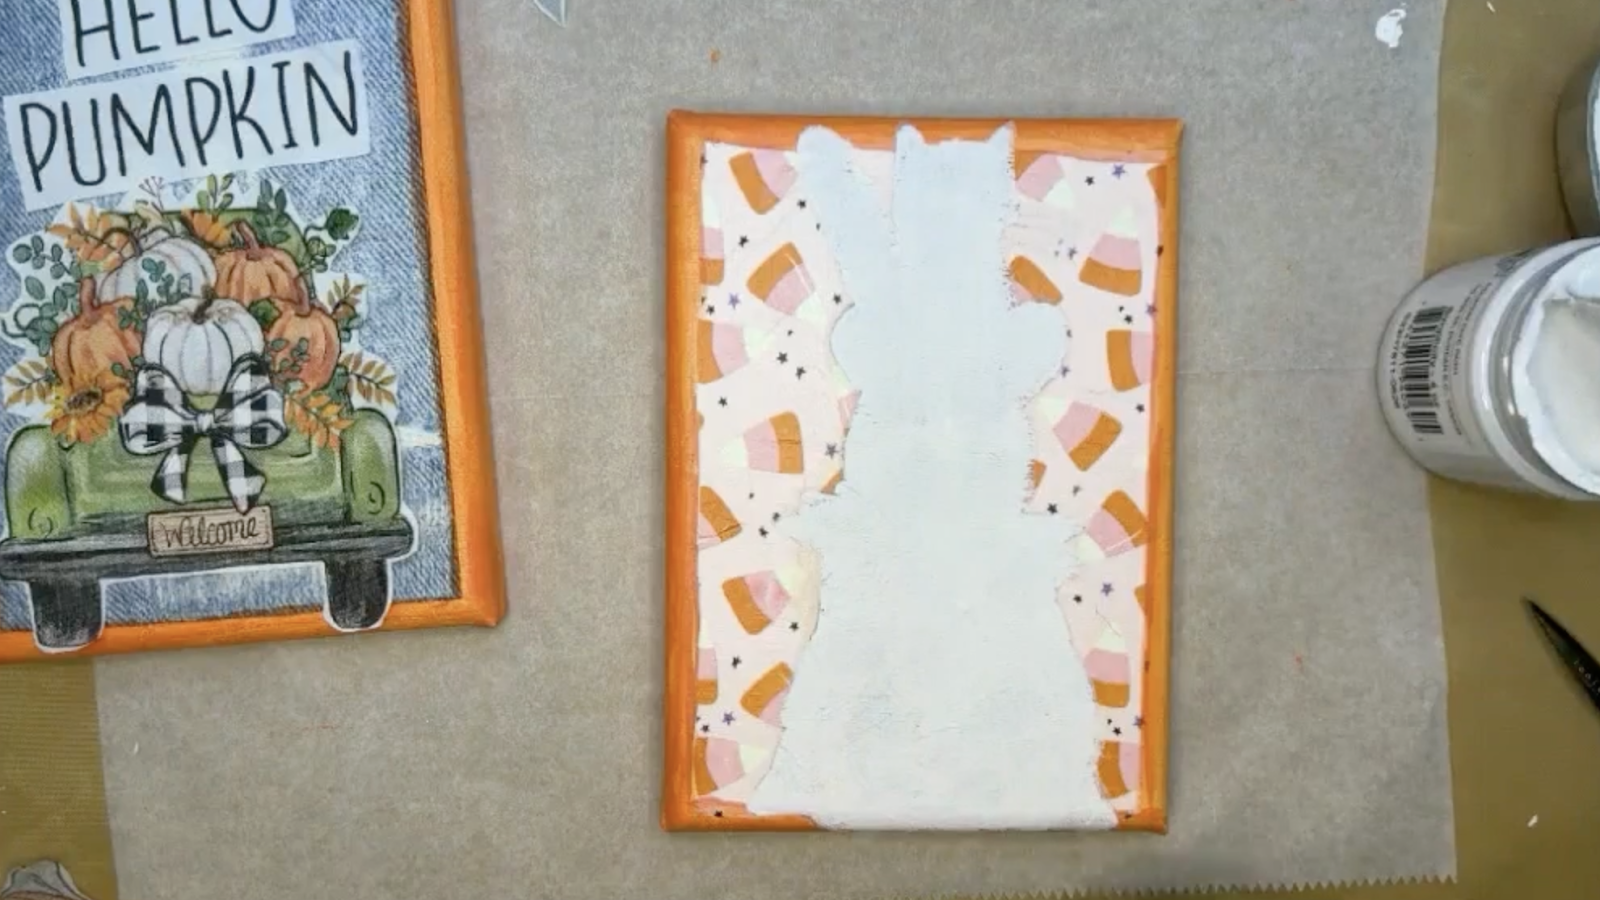
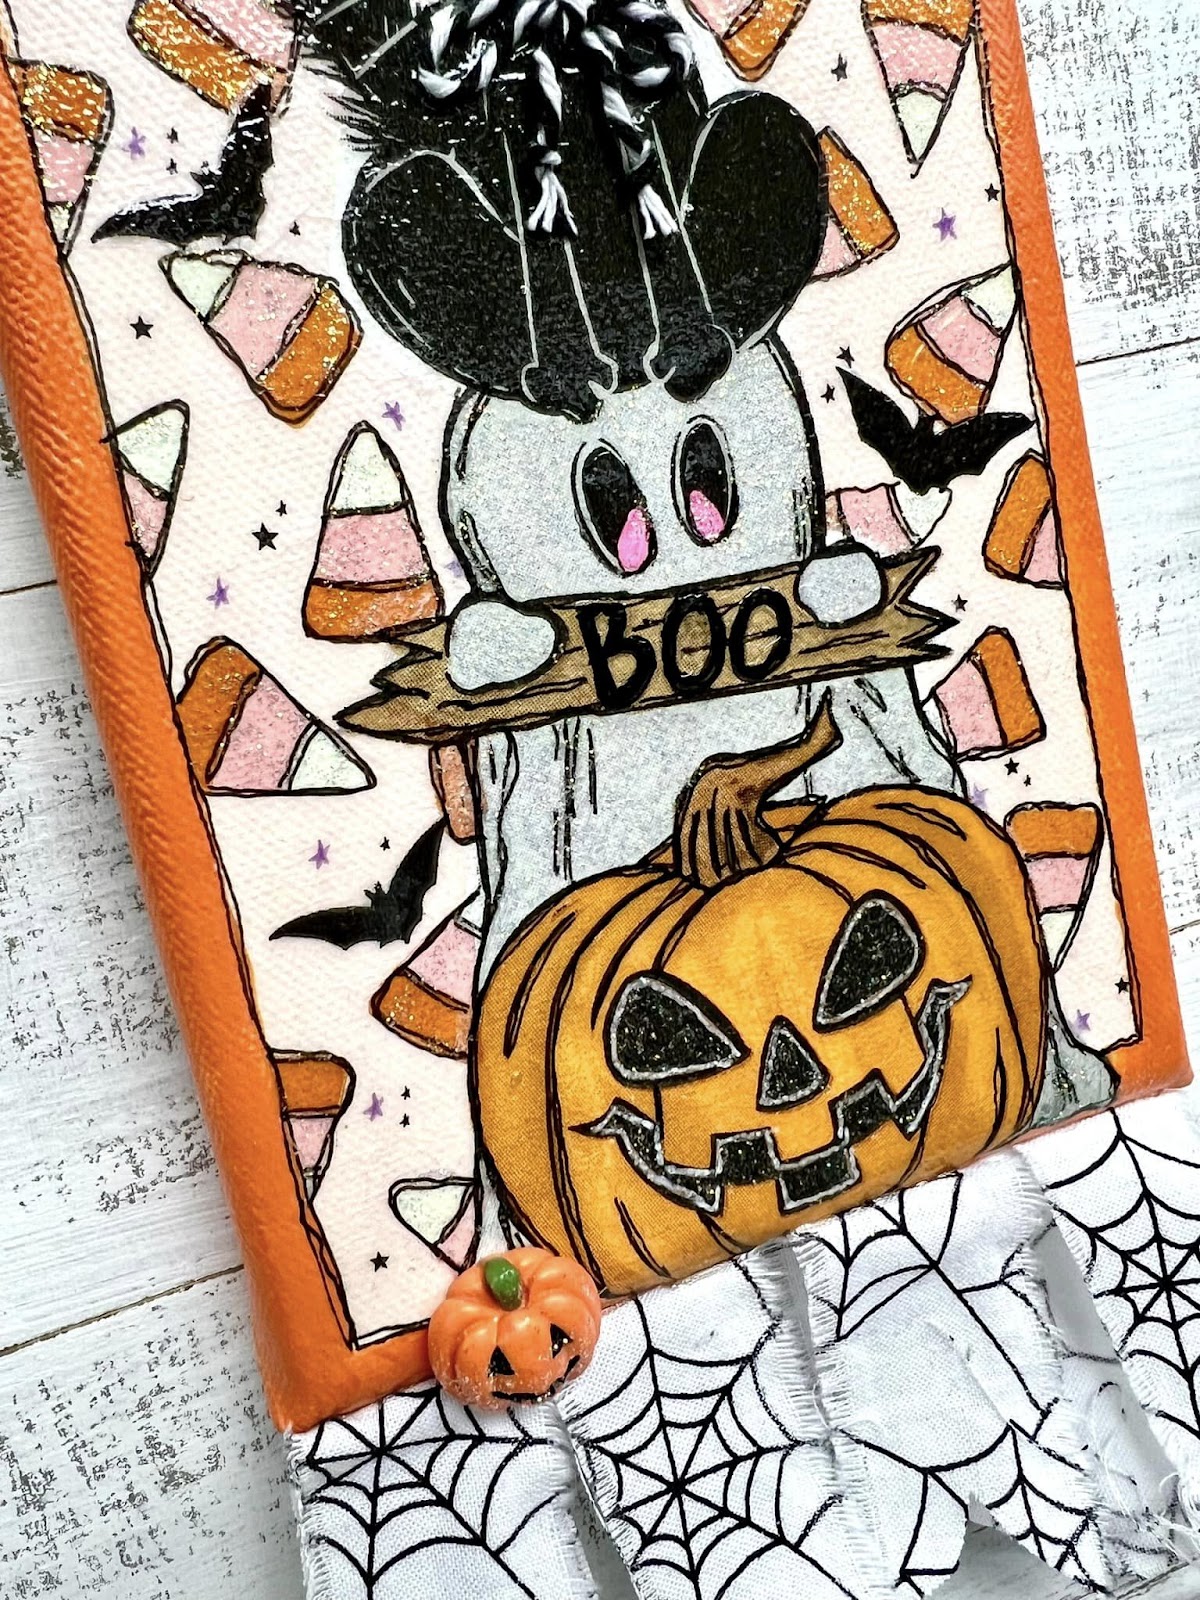
For the “Boo Friends” art, we’ll apply it to the Candy Corn canvas, but I want to ensure the candy corn graphics don’t show through. After separating the layers of the napkin, we’ll decoupage one of the white plies onto the canvas to mark where the paint should go.
Once that’s dry, we’ll apply a coat of Country Chic’s Simplicity (White) to the entire image silhouette, then dry it using a heat tool.l.
Start by applying a coat of Mod Podge Matte to your surface. Place the napkin art on top, then smooth it down gently using plastic wrap and your hands. Once that’s set, I’ll add the cut-out bat images and seal the entire piece with another coat of Mod Podge Matte.
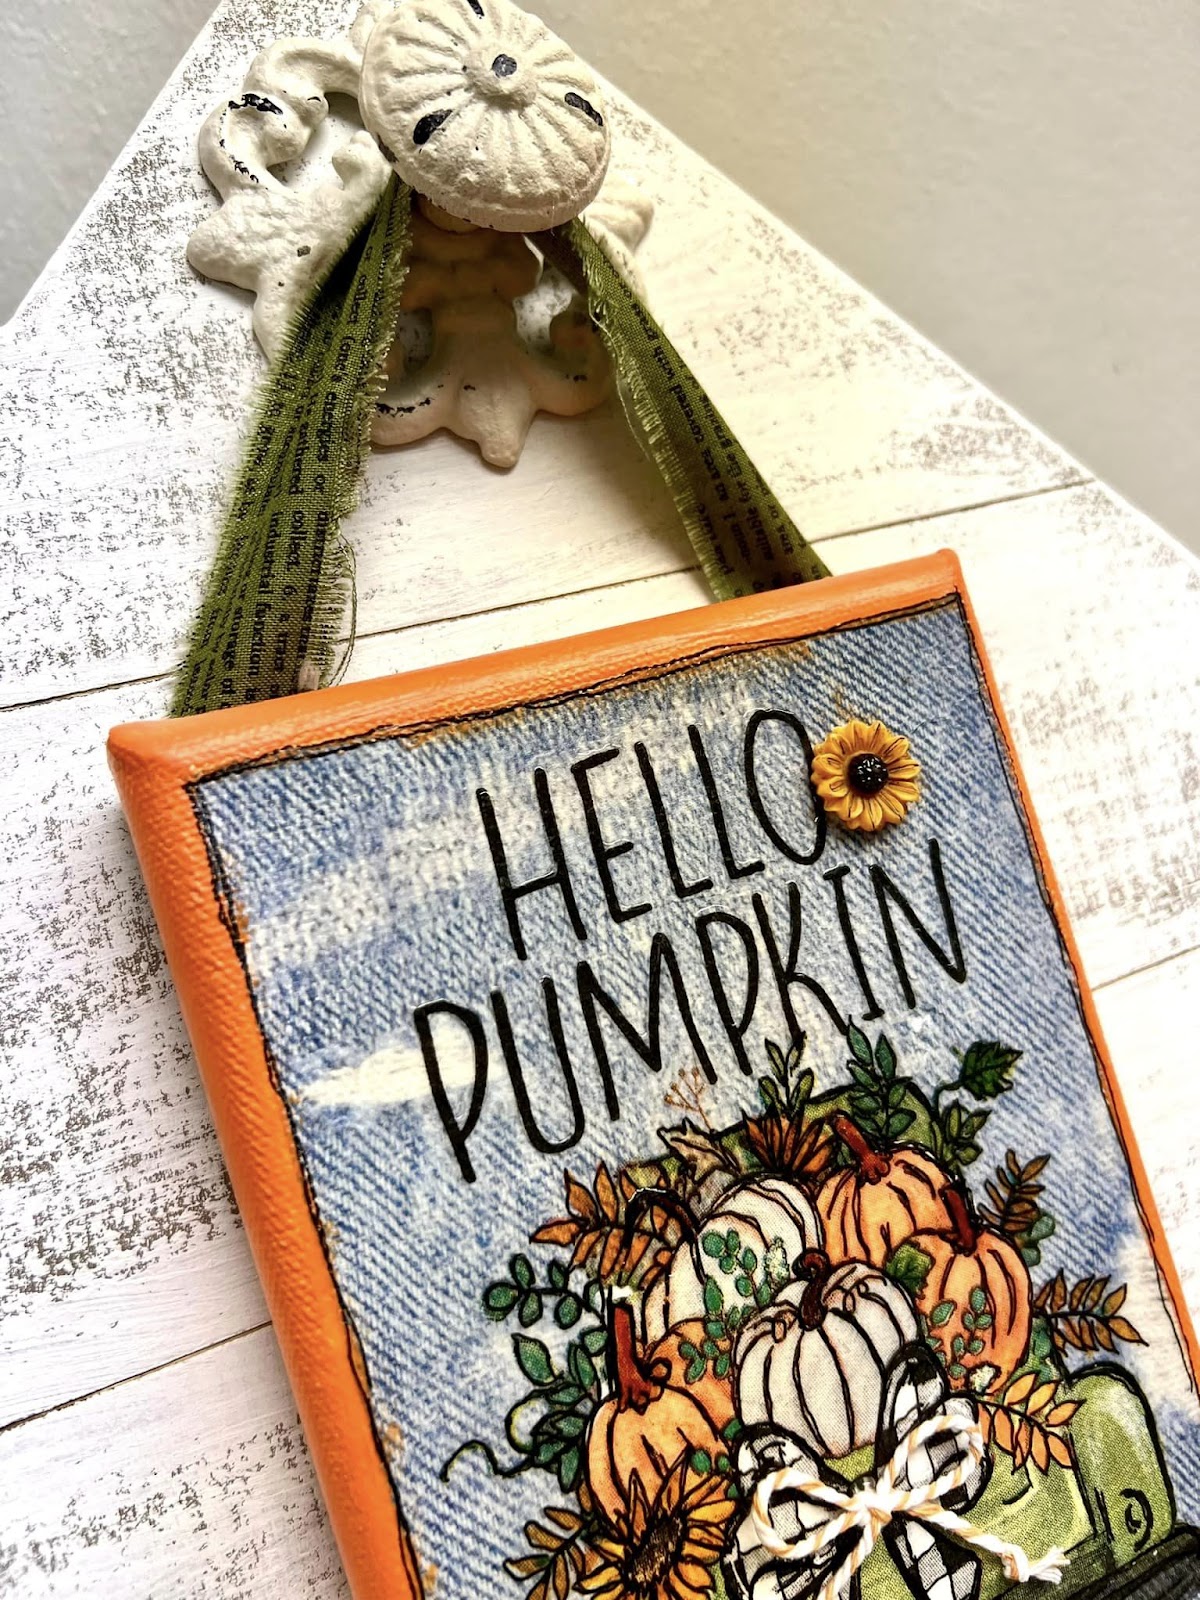
I’ll follow the same process for my denim napkin canvas, using the pre-cut “Hello Pumpkin” napkin art. I’ll decoupage one ply of the truck napkin to use as a guide for adding Simplicity paint.
Next, I’ll apply more Mod Podge Matte, position the truck napkin art, and smooth it down with plastic wrap and my hands. I’ve also cut out the “Hello Pumpkin” text from the napkin, which I’ll apply in the same manner to complete the look.
Adding Details to Your Halloween Canvas
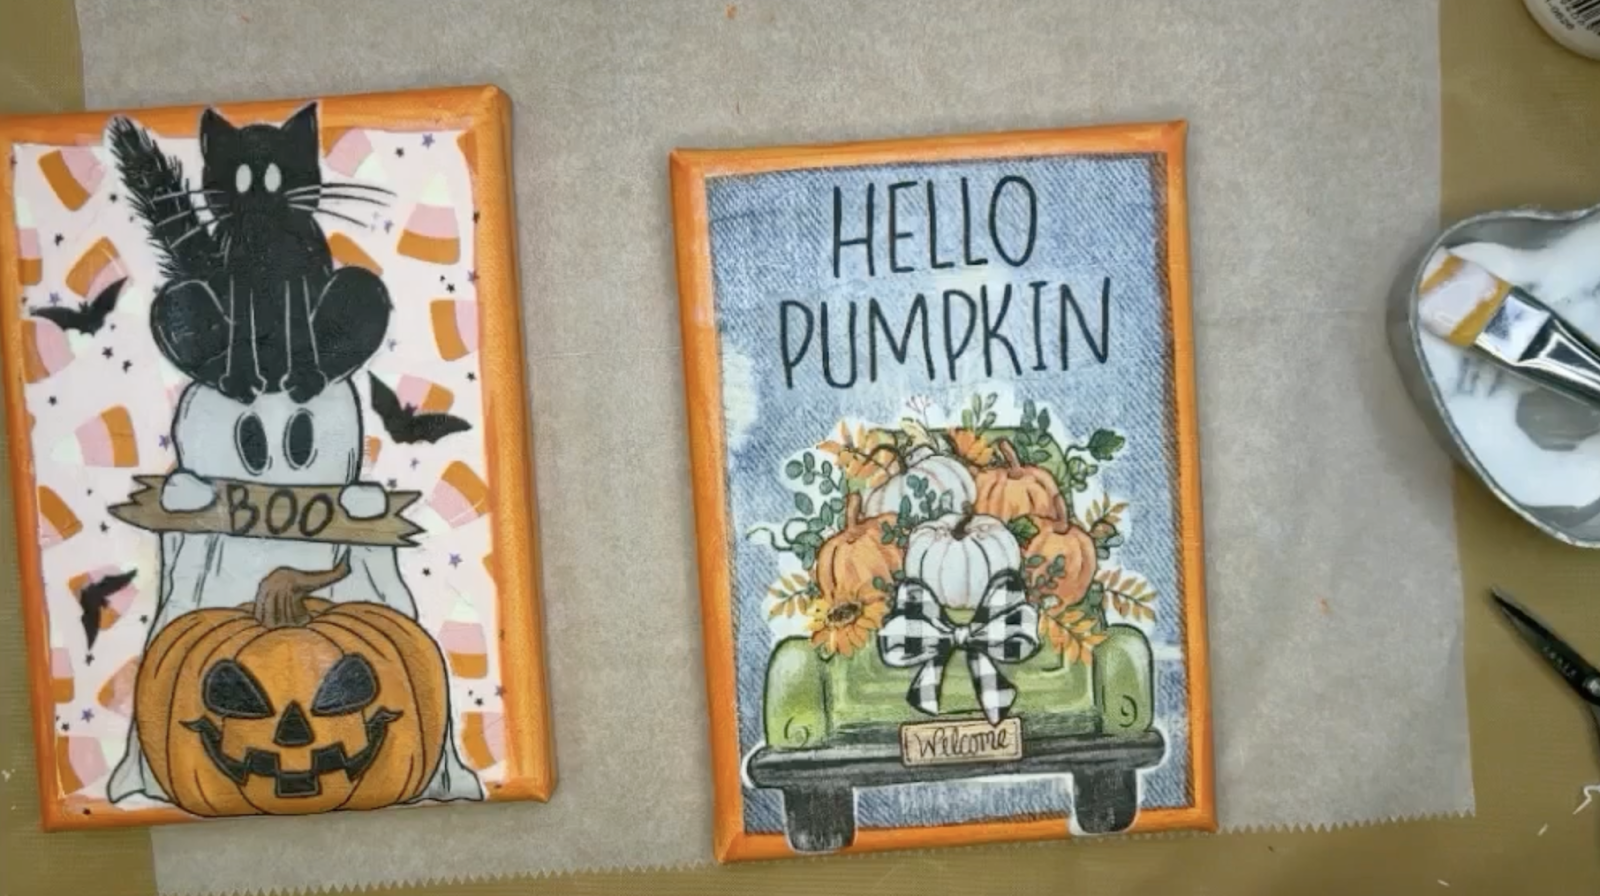
Use Black Pitt Pens to create a double-line border around your napkin art, which helps frame and highlight the piece. I’ll also outline and add detail to the candy corn on my canvas. To add more color, I’ll use the Bright Glaze Pens Set on the cat and ghost, then add white detail lines to both the ghost and the pumpkin.
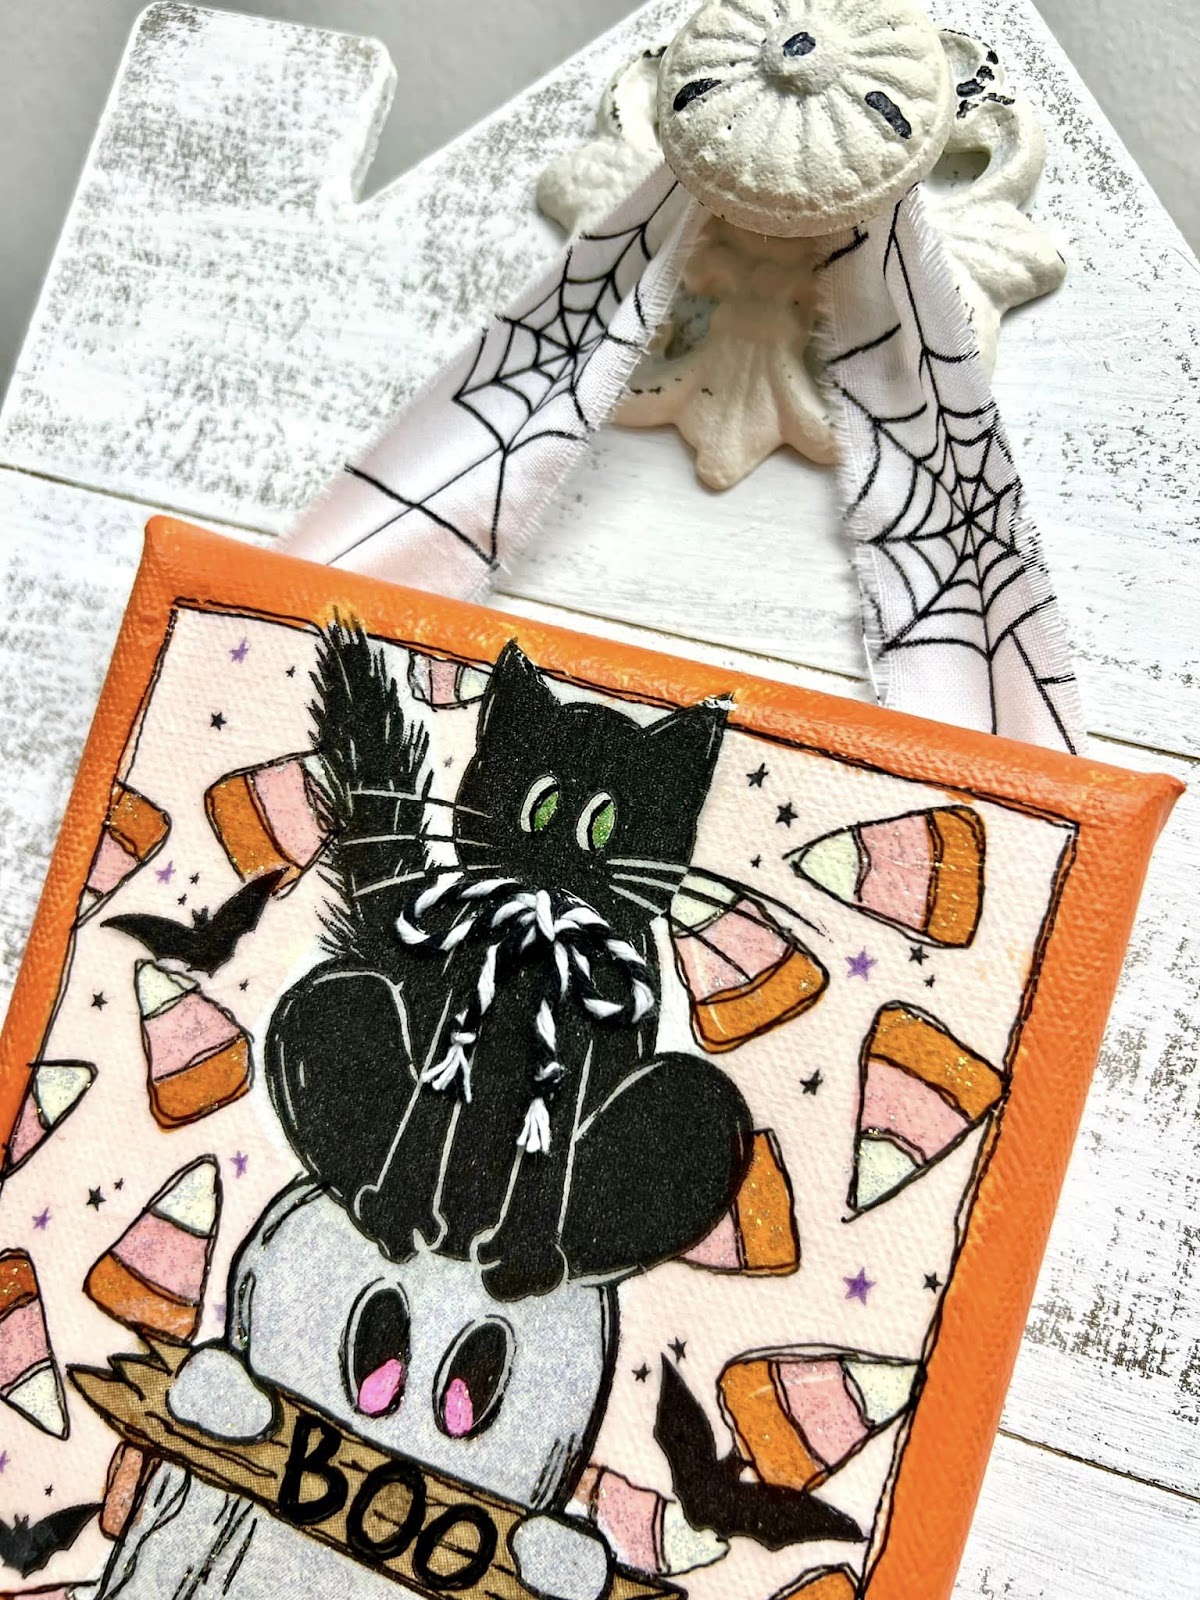
In your kit, you’ll find strips of spiderweb fabric. I prefer a frayed edge, so I’ll make a small slit in the center with scissors and tear the fabric up the middle. Take one fabric strip, cut it to 9 inches, and use it as a hanger by hot gluing the ends to the top back corners of the canvas.
With the other strip, fold it in half, cut it, then fold and cut again, leaving you with four pieces. Cut a flag end on each side of the fabric pieces, then hot glue them to the bottom of the canvas with the back side facing up, creating a fun fabric banner at the bottom of your artwork.
For an extra touch, tie a black-and-white baker’s twine bow around the cat’s neck. You’ll also have a small jack-o’-lantern to hot glue onto your canvas. At this stage, you can add Clear Stickles to the pumpkin’s face, the cat’s eyes, candy corn, and the ghost for a bit of sparkle. I’ll also use Glossy Accents on the cat and pumpkin for a glossy finish.
Adding Details to Your Autumn Canvas
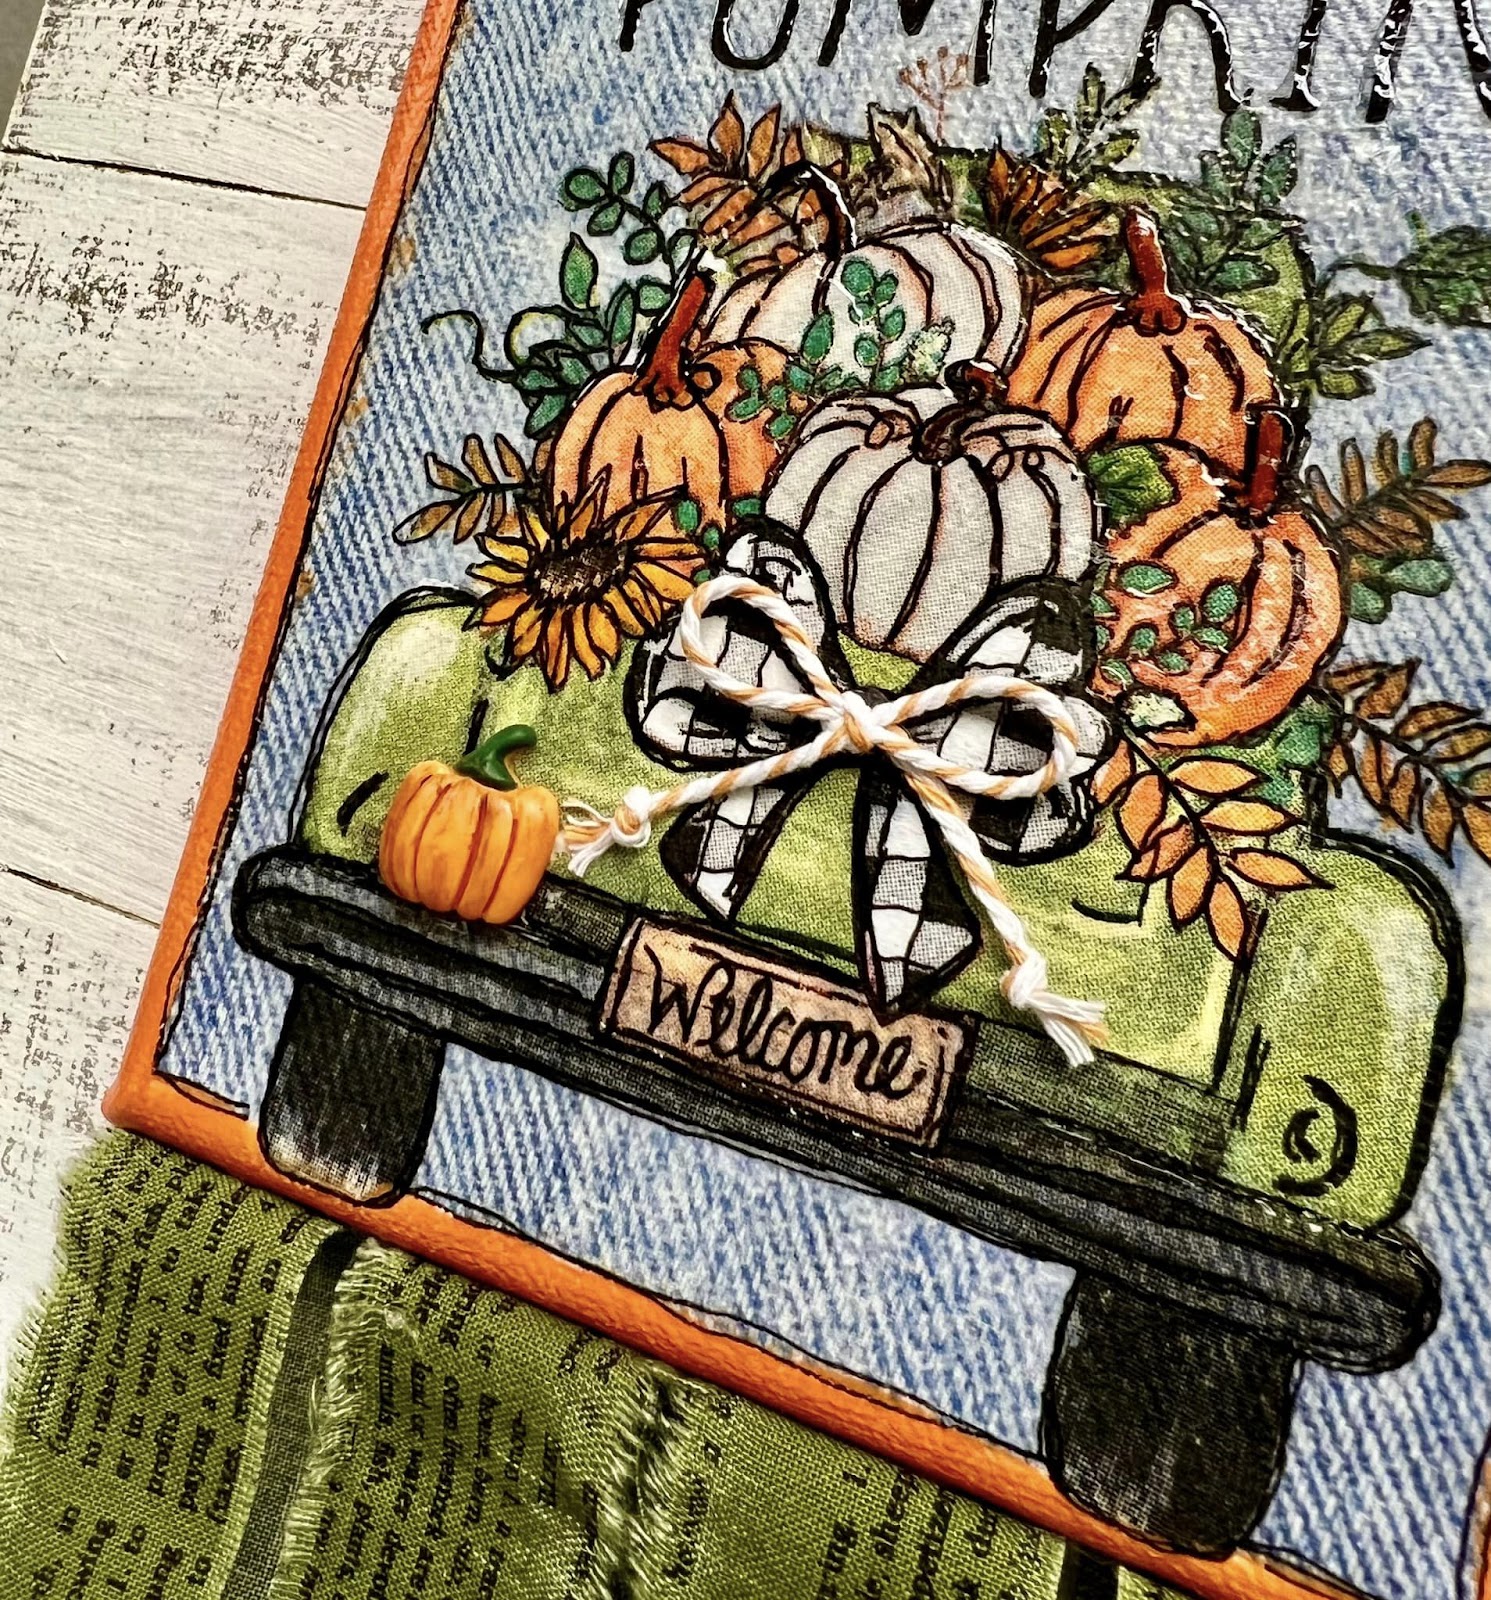
For this canvas, follow the same steps as before! Use Pitt Pens to add a double-line border and outline the leaves and pumpkins in the truck. You’ll also have green fabric strips to create the canvas hanger and a banner for the bottom.
I applied Glossy Accents to all the pumpkins, the bumper, tires, and the lettering for added shine. Then, I tied an orange-and-white baker’s twine bow and hot glued it on top of the bow at the back of the truck in your napkin art.
In your kit, you’ll find a pumpkin and sunflower resin piece. To give them an antique look, use a paintbrush to apply brown chalk ink. Finally, hot glue the resin pieces to your canvas for the finishing touch.
Make decorating for the upcoming fall season effortless with this Welcome Home Canvas Set. This is such a fun way to streamline your seasonal decor by crafting both canvases at the same time and switching them out when you need to! Even if you’ve never tried napkin art before, this kit and project are perfect for getting started.
I go LIVE on my Facebook page every Friday at 11 am CST for a fun and easy Craft-n-Chat Session. Come learn something new while creating something beautiful!
Join the waitlist for The Napkin Club where Unique Makers can connect, learn, and be inspired to create with the Individual Unique Napkin Collections that you will receive every month! A place where Napkin Lovers can unite and be inspired!


0 Comments