Supply List:
- Wool Felts from my shop – Moss, Avocado, Lilac, French Peach
- Thread – Sulky
- Needle #7
- Buttons
- Scissors
- Hot Glue
Enhance your spring projects with this easy and fun felt tutorial, perfect for both beginners and seasoned crafters. Discover how to craft charming wool-felt shamrocks and flowers that will beautifully complement your seasonal creations. Even if St. Patrick’s Day isn’t your thing, these adorable shamrocks seamlessly blend with flowers, adding a touch of whimsy to your crafts.
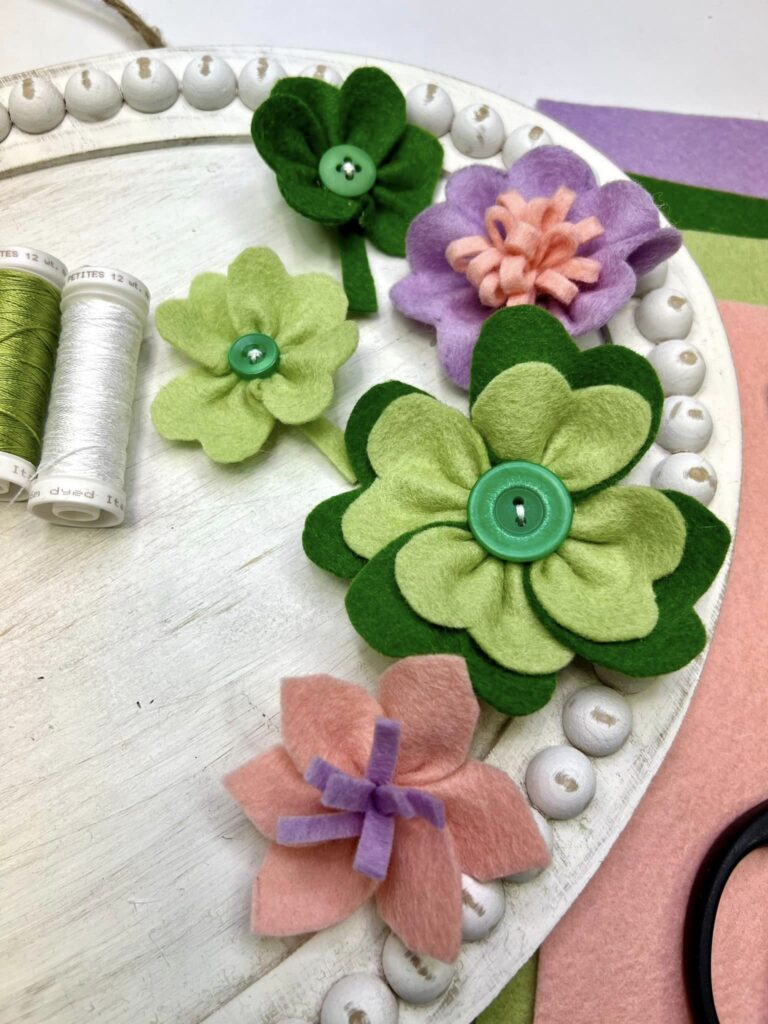
Make a Felt Shamrock
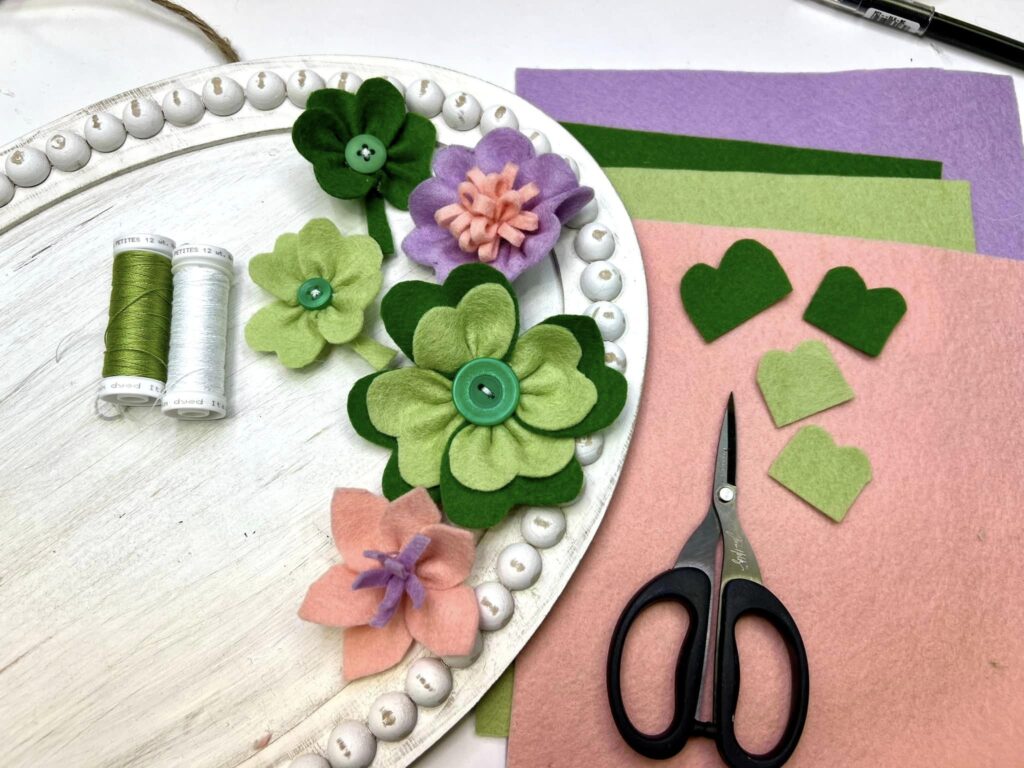
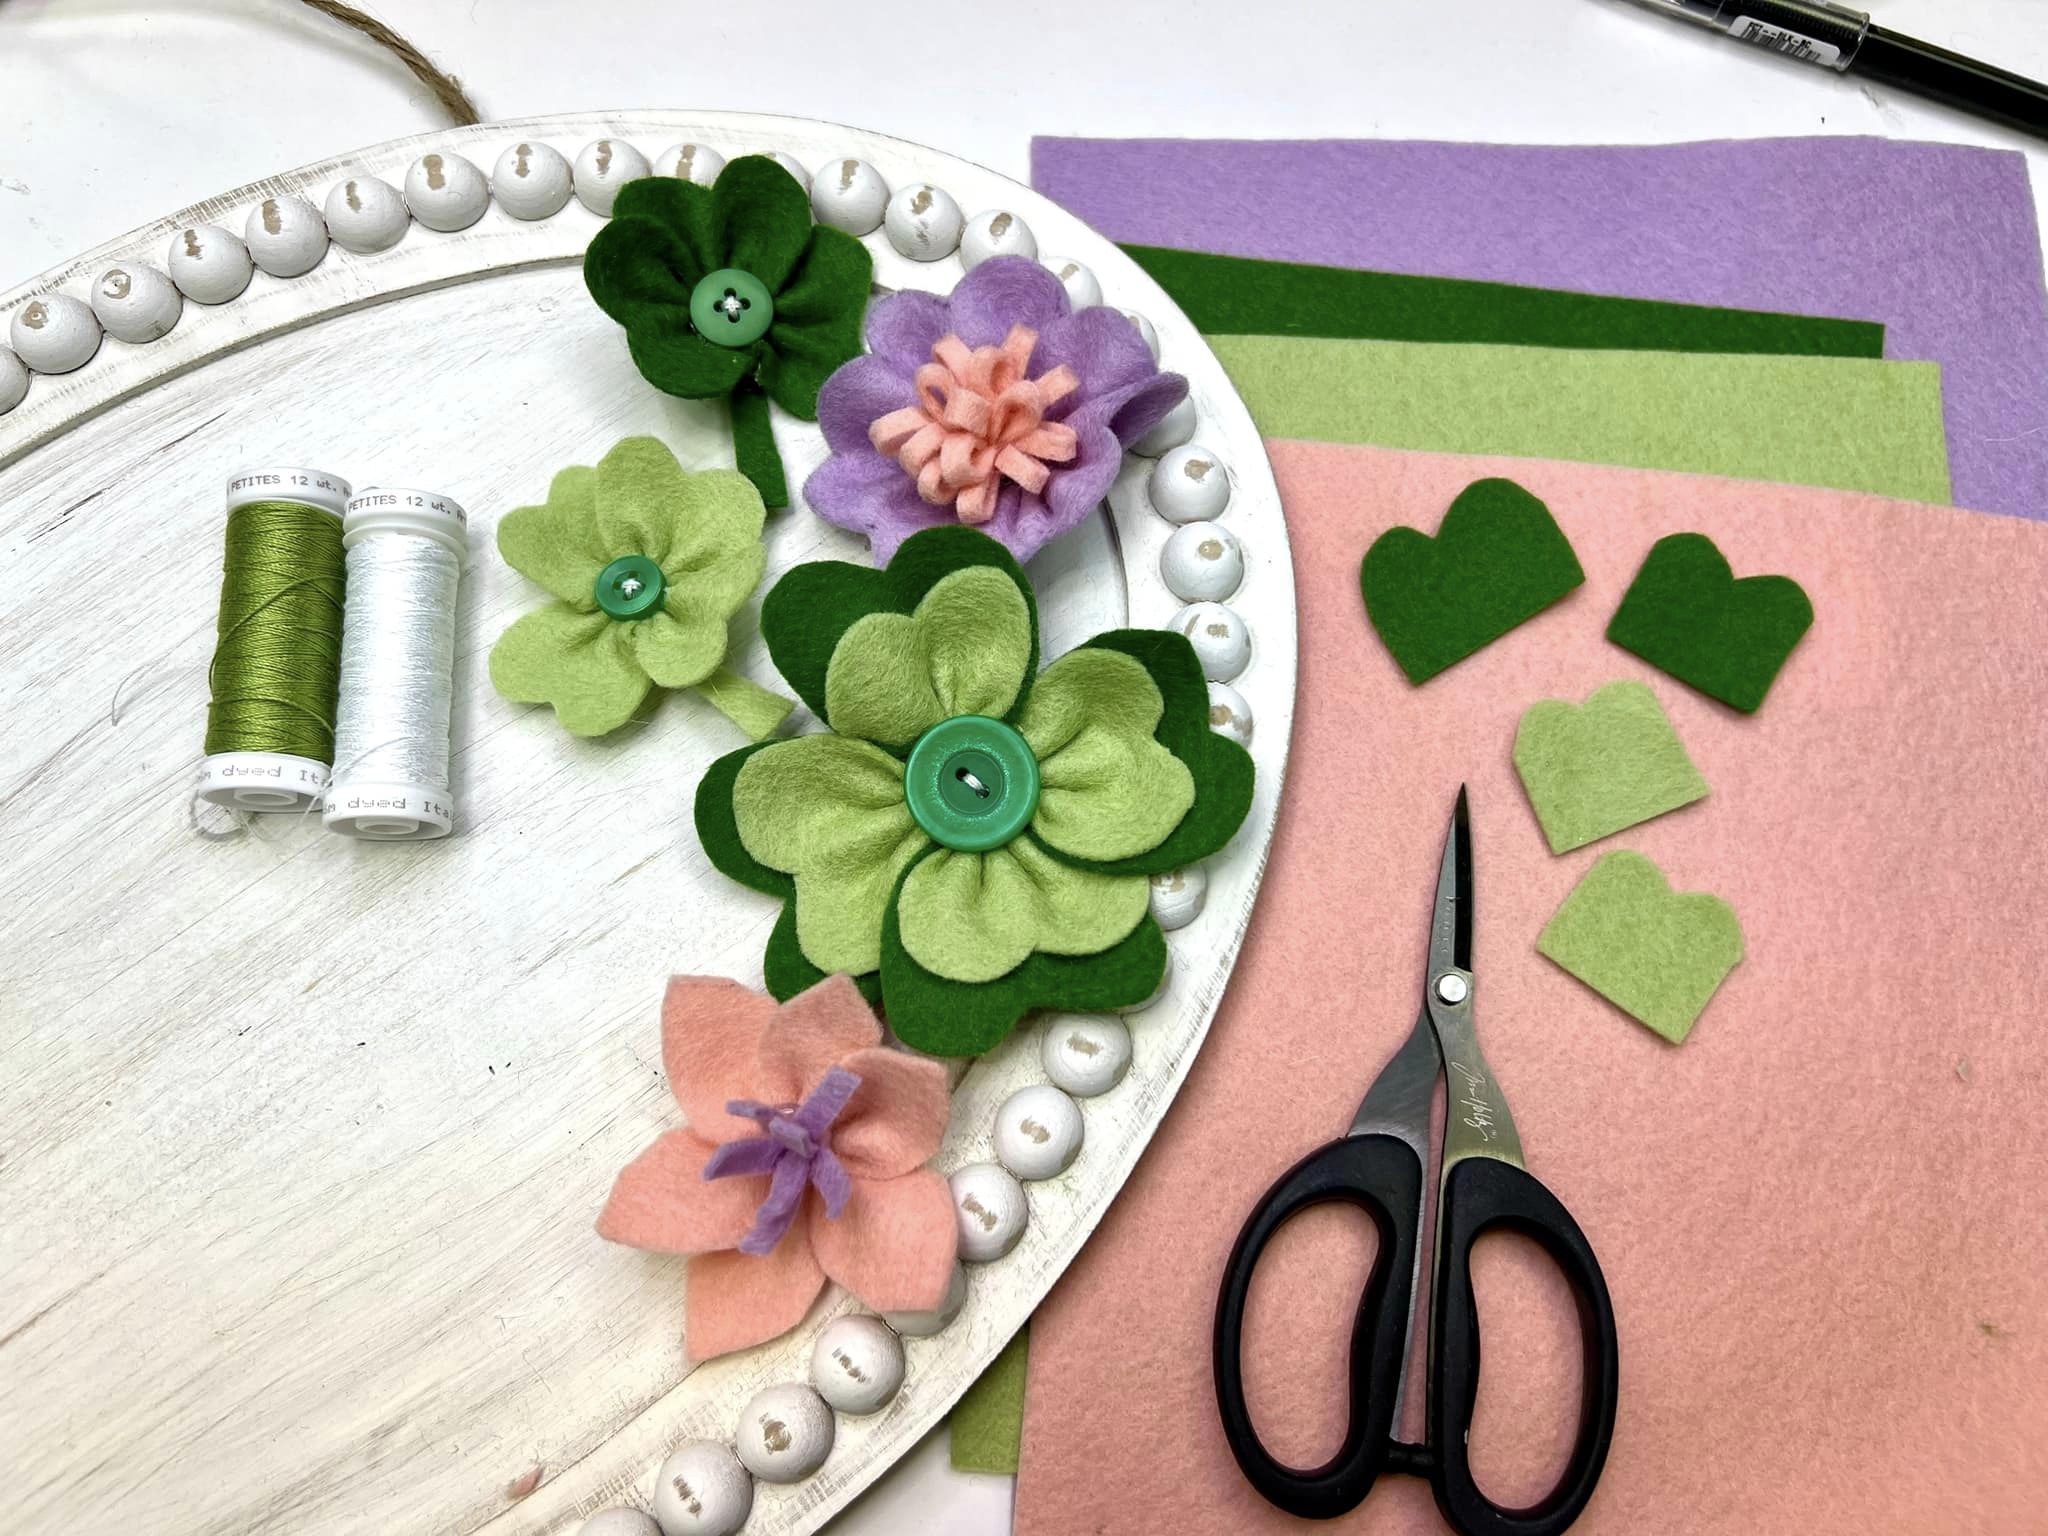
We are using green wool felt in a 1-inch strip. The larger the width of your strip, the larger your shamrock will be, so feel free to cut some variety too! I am using a Frixion pen to draw a scalloped edge along the strip and cut that with your scissors. You can use a heat tool to make those pen marks disappear. Your scalloped border does not need to look perfect or the same!
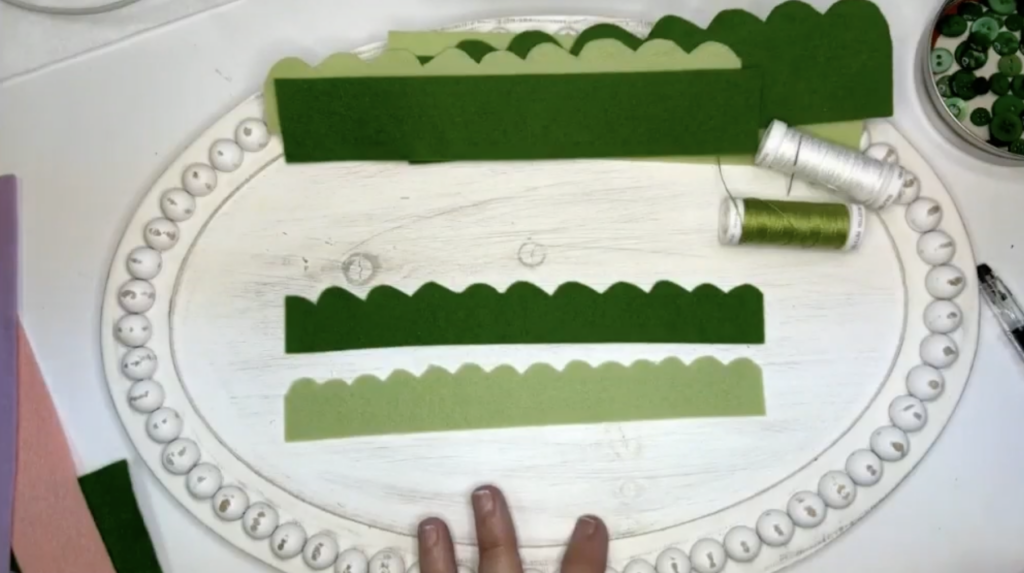
Next, cut your strip with two scallops at a time, even if they are different-sized pieces. Round out any points with your scissors.
I am using Thread – Sulky (you can use whatever color you would like) and Needle #7 to do a bit of stitching. I am going to be stitching with a double-thread with a knot on the end. Use a running stitch through the pieces of your felt (coming through the back and going in and out).
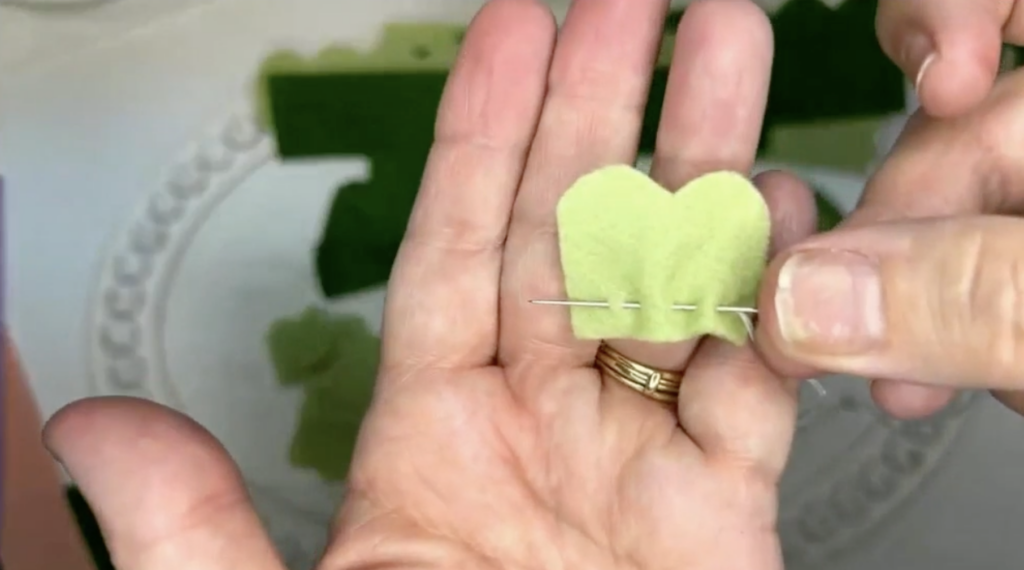
Once you have four on your chain, pull and bunch them together. Pull it nice and tight, and connect the ends with your needle and thread with a knot. These look really cute with something in the center, so you can add a button or hot glue a little stem on if you would like.
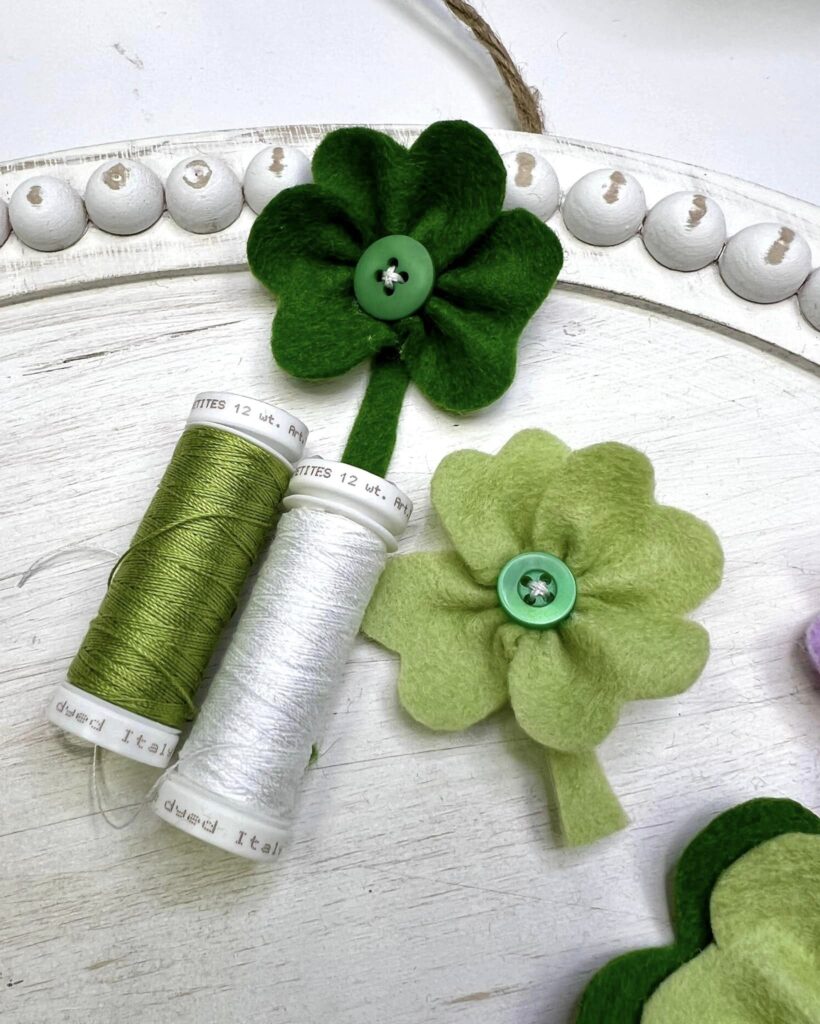
How to Make a Layered Felt Shamrock
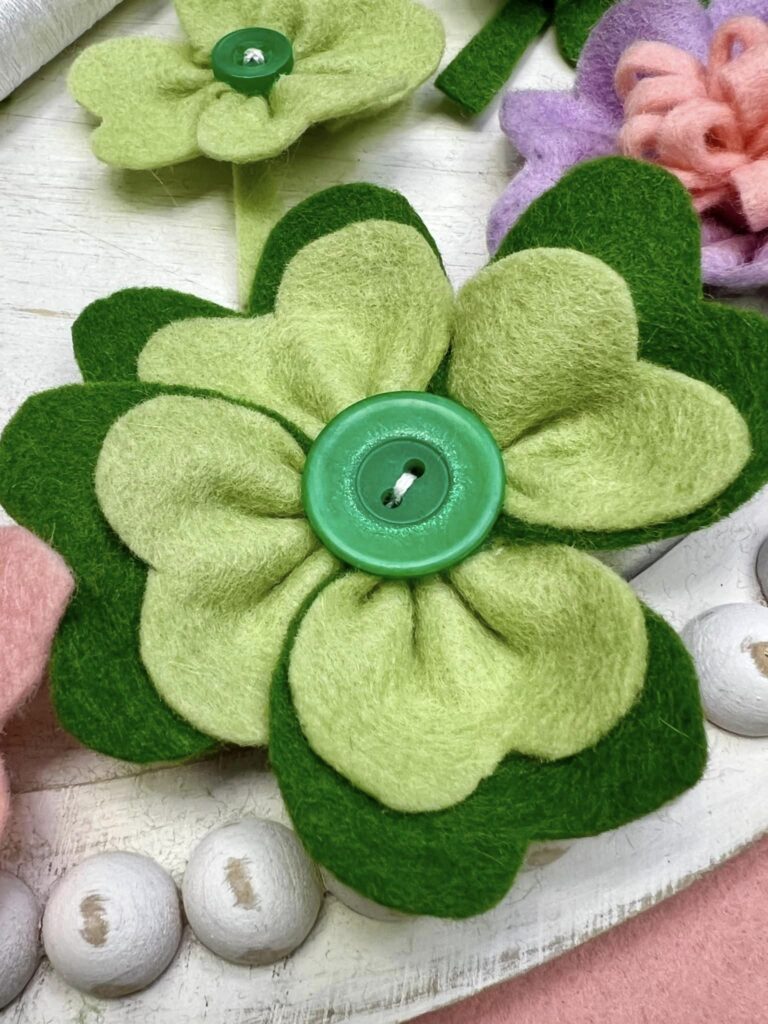
This time, you will use two different widths and two different colors – 1.5-inch and 2-inch in Moss and Avocado green wool felt. You will use the same technique of cutting the scalloped border on each felt strip and then cutting the strip into pieces with two scallops.
You will also use the same stitching technique, but you will do a layer of two felt pieces with two different colors/sizes to create a layered shamrock. Once you have a four on your thread, connect the two ends with your needle and thread and tie a knot. You can add a button to the middle of these too!
Make an Easy Felt Flower
For this little craft, I am using Lilac and French Peach wool felt. Cut a strip for each color and then sketch a larger scalloped border along your strip. Cut it with your scissors. On your other strip, you will cut a zig-zag border.
For your scalloped border, you will use a running stitch, pulling the felt together and bunching it up to make your flower. For your zig-zag edge border, you can cut that one into pieces and use a running stitch to bunch it together (just like the shamrock). I really like the zig-zag border one to have those individual petals.
To make a little flower center, take a piece of felt and cut fringe into it. Run hot glue along the edge and roll the piece of felt up. Then, hot glue it to your flower center. Simple and cute!
These cute wool-felt shamrocks and flowers offer endless opportunities to infuse charm into your projects. Embrace the joy of crafting and explore the countless ways felt can add a touch of whimsy and creativity to your spring projects!
I go LIVE on my Facebook page every Friday at 11 am CST for a fun and easy Craft-n-Chat Session. Come learn something new while creating something beautiful!
If you love working with fabric, hop into The Fabric Fan Club! The Fabric Fan Club is a fab-ulous community where creatives like YOU can learn and be inspired to create awesome projects while learning a wide variety of fabric crafting and stitching techniques!






0 Comments