


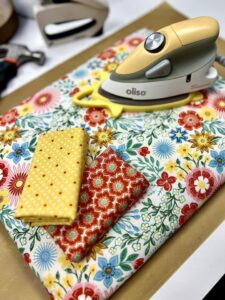
Supply List:
- Old Cutting Board
- Cotton Fabric of your choice
- Polyfill Batting
- Insul- Brite
- Staple Gun and 5/16 Staples
I’m sharing how to create one of my most used craft room tools – my mini ironing table! No more lugging out your ironing board or running to the laundry room when you are creating with fabric or napkin art. We’ll be making this mini ironing table out of a repurposed cutting board, cotton fabric, Insul – Brite, and polyfill batting. Every creative can use this in their craft room, and it comes together very easily.
How to Create a Mini Craft Ironing Table
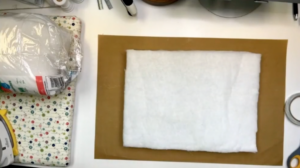
First, take two pieces of polyfill batting and cut them the exact same size as your board or whatever surface you are using. The next cut you will make is your Insul- Brite – make this about two inches larger than your surface all the way around. Finally, take whatever fabric you choose, and cut that close to the same size as your Insul- Brite.
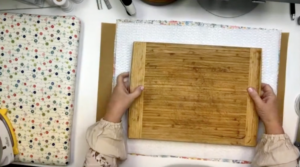
Once your cuts are done, we will work on assembling your ironing board! Take some double-sided tape and place it on the top and bottom of your board. This will help keep the batting from shifting around. Take your two layers of batting and lay that on top.
Set that aside and lay your fabric down with the pretty side touching the table. Place your Insul- Brite on top of that. Next, take your cutting board and lay that on top with the batting facing down.
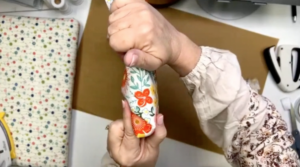
Next, we are pretty much upholstering this cutting board. Grab a staple gun and we will be starting with the long sides first. Pull your fabric fairly snug and place three staples in the center. Do the same on the opposite side of your board – three more staples in the center. Use a hammer to hit those staples in further just to make sure. Then, add staples to the corner and continue to pull and staple through to the center.
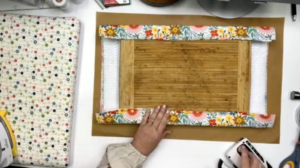
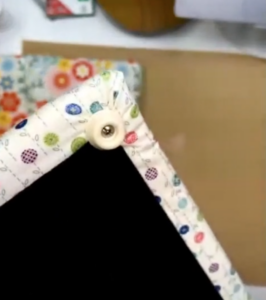
At the corners, you will take the fabric against the edge and cut that triangle off. Then, fold it over to get a really nice corner. You’ll do that for all four of your corners.

Now, we’ll use the same technique to secure the short sides of your cutting board.
Finishing off your DIY Ironing Table
You could leave your ironing table like this and use it. You could also add a layer of black felt to the back, just to cover up your cutting board and those staples. Also, since it slides around a lot, you could add some rubber feet to the back.
Go to a hardware store and purchase some rubber feet, which you can just screw into your board. This will grip your tabletop and make your ironing board more safe and more secure.
Now, you have a mini ironing table for your craft table, creative space, kitchen table, and more! I’ve also used this same technique to make a mini ironing table out of a tv tray. Now when you are using your iron in your craft projects, you have a cute, portable ironing surface for all of your creative needs!
Love these craft tips and tricks? I share techniques like this all of the time in my memberships.
Join the Fabric Fan Club! An exciting NEW shipment will arrive in your mailbox each month, containing a unique variety of designer fabrics, hand selected and uniquely coordinated by me from top-notch designers!


0 Comments