Supply List:
- Chunky Wood Hexagons
- White Tissue Paper
- Copy Paper
- Washi Tape
- Iron
- Frixion Pen
- Country Chic Paint – Simplicity
- Mod Podge Matte
- Small piece of Sandpaper
- Decorative Napkin (optional)
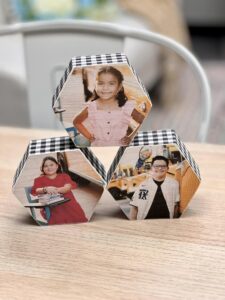
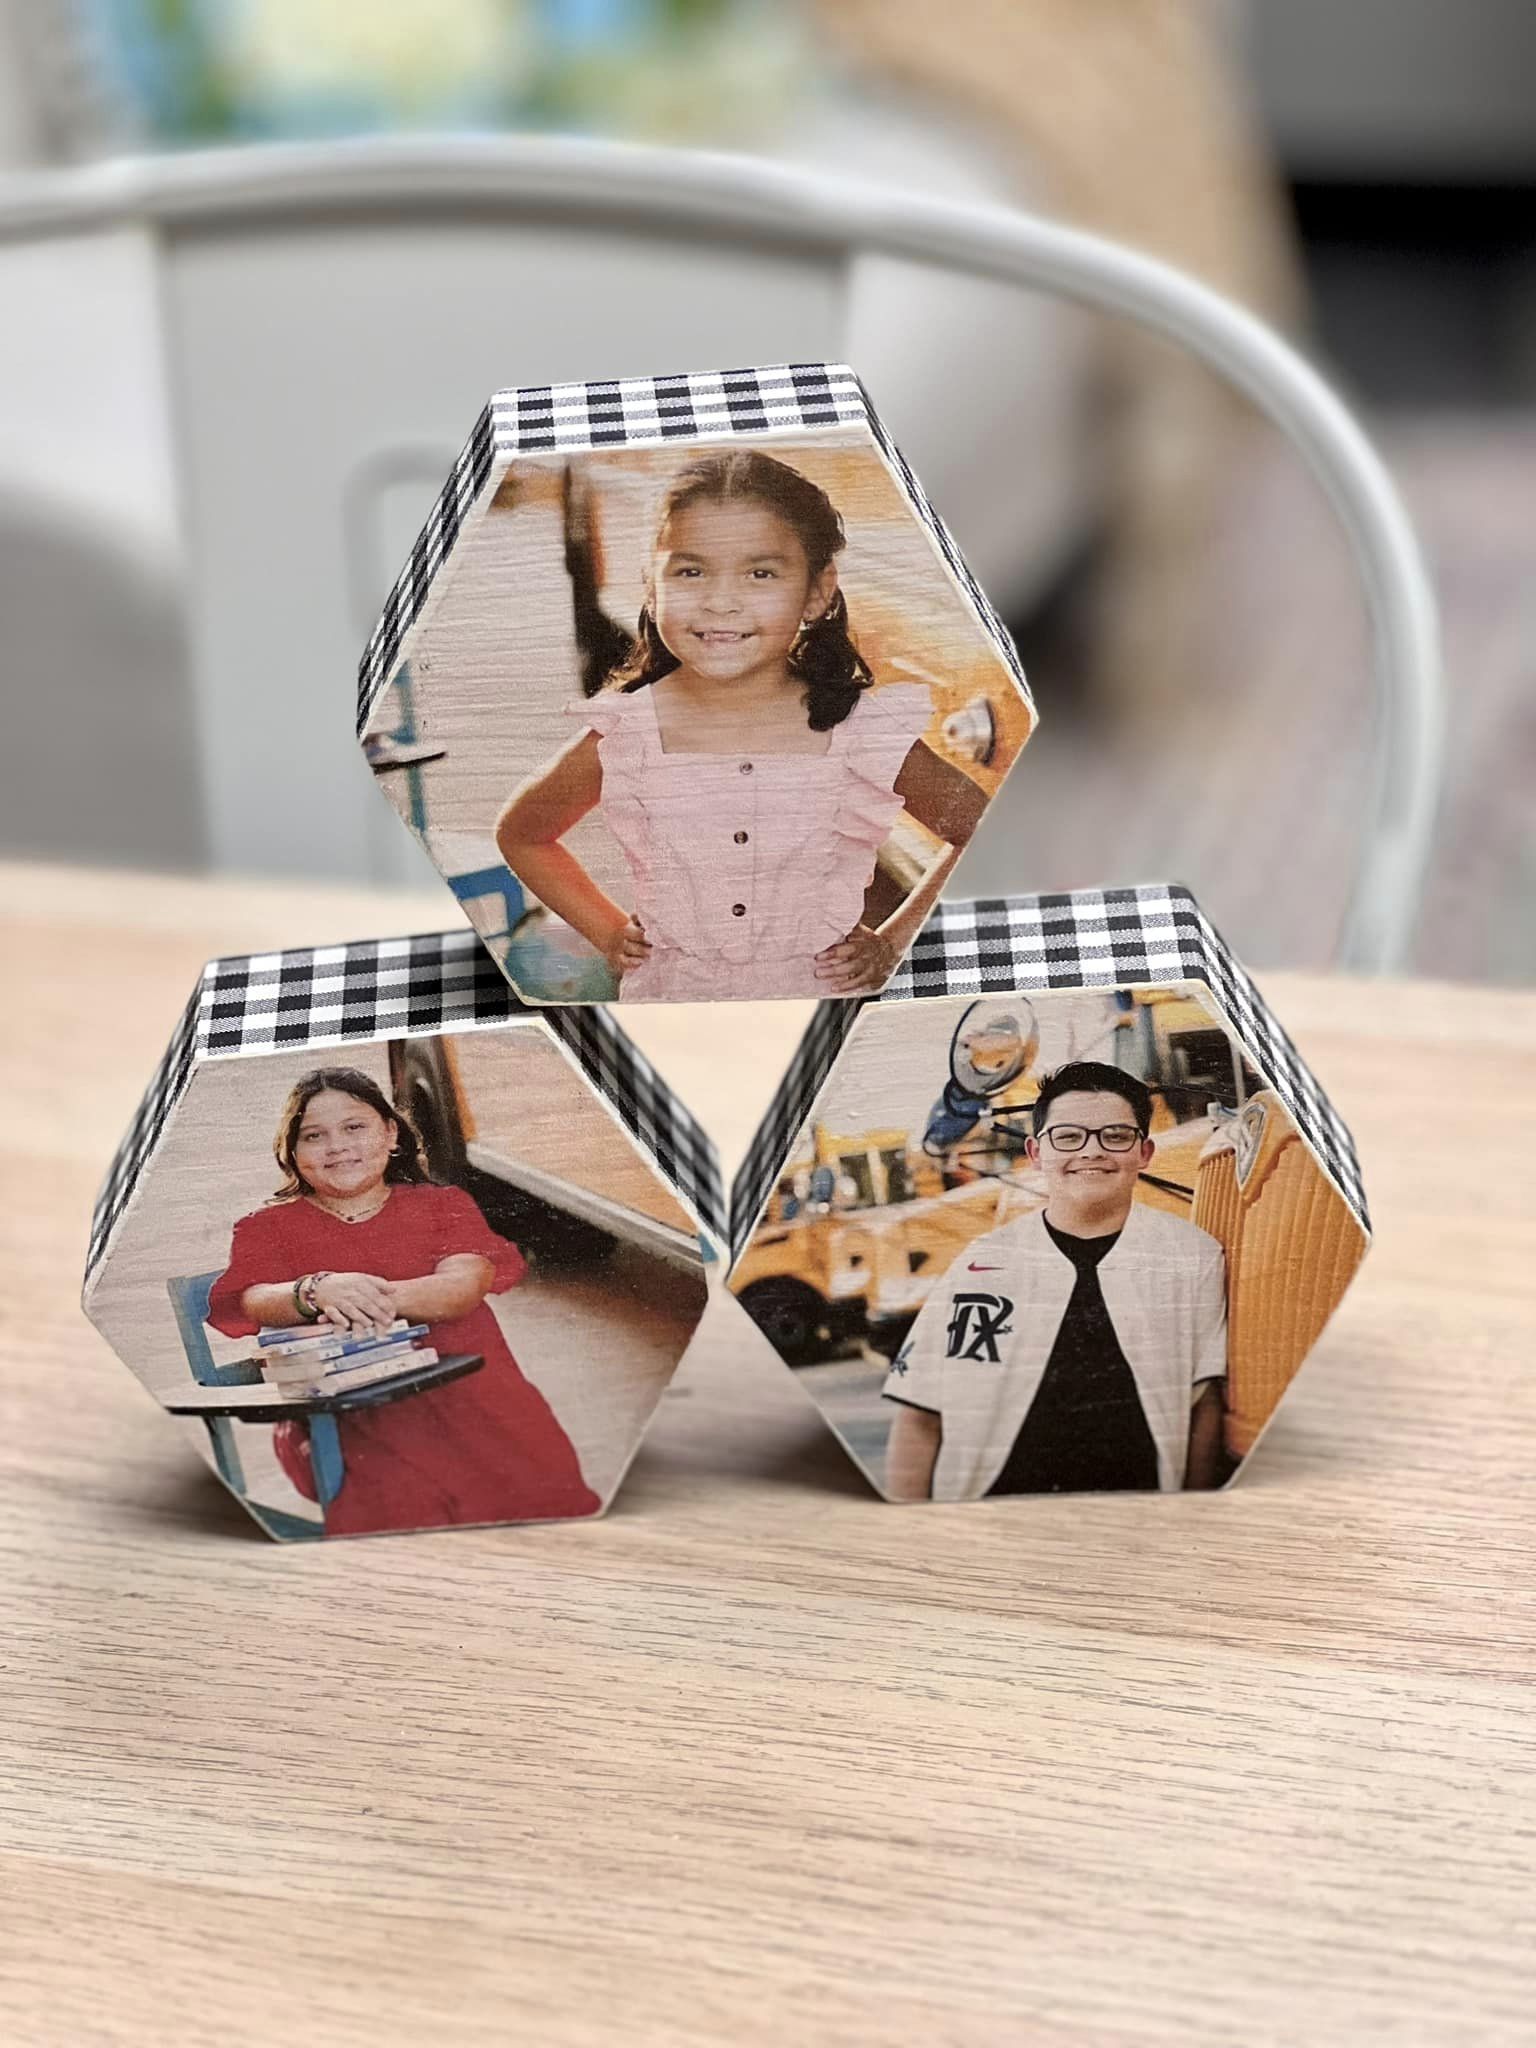
Hexagon photo blocks are such an easy, versatile craft project that you can do any time of the year! They are awesome for gifting, memory-keeping, decorating your home as a shelf sitter, making Christmas ornaments, and more. I love the hexagon shape of these blocks too because you can stack them and almost use them as building blocks. I am going to walk you through the entire process of making these cute chunky hexagon photo blocks!
Print Your Photos on Tissue Paper
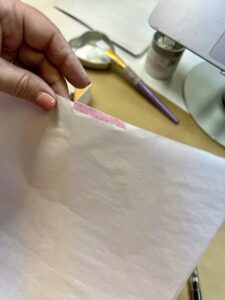
We are actually printing our photos onto white gift tissue paper. Tissue paper usually has a shiny side and a more matte side – you should print your photos on the matte side. Take a piece of copy paper and lay it on top of your tissue paper, cut your tissue to size. You want both pieces to be the same size.
Tissue paper usually has fold lines. Take your iron on the highest setting with no water and iron out those creases. The heat will also make your tissue paper staticky, which will help it stick to your copy paper (shiny side down!). Place a piece of washi tape to secure the two pieces together.
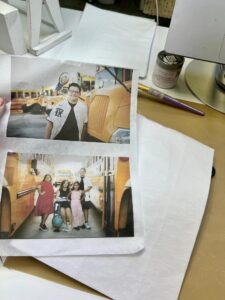
Now, print your photos! I don’t have a fancy printer – just a simple inkjet printer will work for this. Print one sheet at a time and let it dry. Sometimes it can be a little wet when it first comes out. Next, I am going to heat set my photos. You don’t want to apply these to your blocks and the ink starts to run. Place a sheet of copy paper over the top and iron the entire page to heat set that ink.
How to Add Photos to Wooden Blocks
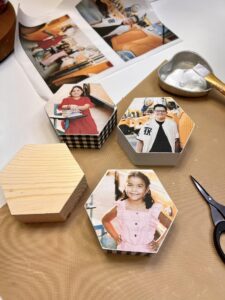
Start by adding a coat of Country Chic Paint in the color Simplicity to your chunky hexagon blocks. You could do it on the natural wood, but the stark white color will help make your photos keep their true colors.
The next step is to figure out what part of your photo you would like on the hexagon block. You could place the photo on top of the block and just crease it where you would like the shape to fall or you can use a Frixion Pen to trace around the block. Cut out your photos.
Take some Mod Podge Matte and apply a layer to your wooden block. Lay the photo on top, place a plastic sheet over that, and smooth it down with your fingers. Use a small piece of sandpaper to sand off any excess tissue paper hanging off of the blocks. Dry with a heat tool.
At this point, you could add another photo to the back. You could also add some napkin art on the sides of your block. I have a black and white patterned napkin that I’ll apply to the side of the block using the same technique. Be sure to separate the plys first until you have that first layer of napkin art. Seal you piece with another coat of Mod Podge Matte.
These are so cute, easy, and quick – and anyone can do this! If you wanted to give some of these height, you could place them on little wooden candlesticks. You could also mount them fit together and keep adding to it as people are added to the family!
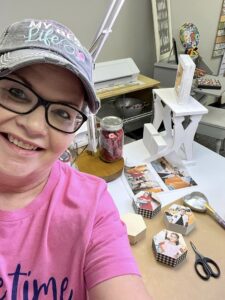
I go LIVE on my Facebook page every Friday at 11 am CST for a fun and easy Craft-n-Chat Session. Come learn something new while creating something beautiful!
If you love creating with me, check out my online creative memberships! They are all a little different, and each is designed to ignite your imagination, inspire your craft, and connect you with fellow art enthusiasts. If you’re a creative looking for an online space to learn and thrive, we have something for everyone! Check them out HERE!


0 Comments