Supply List:
- Snowman Hoop DIY Decor Kit
- Hot Glue Gun and Gluesticks
- Stickles – Crystal
- Pink blush or Pink ink for his cheeks
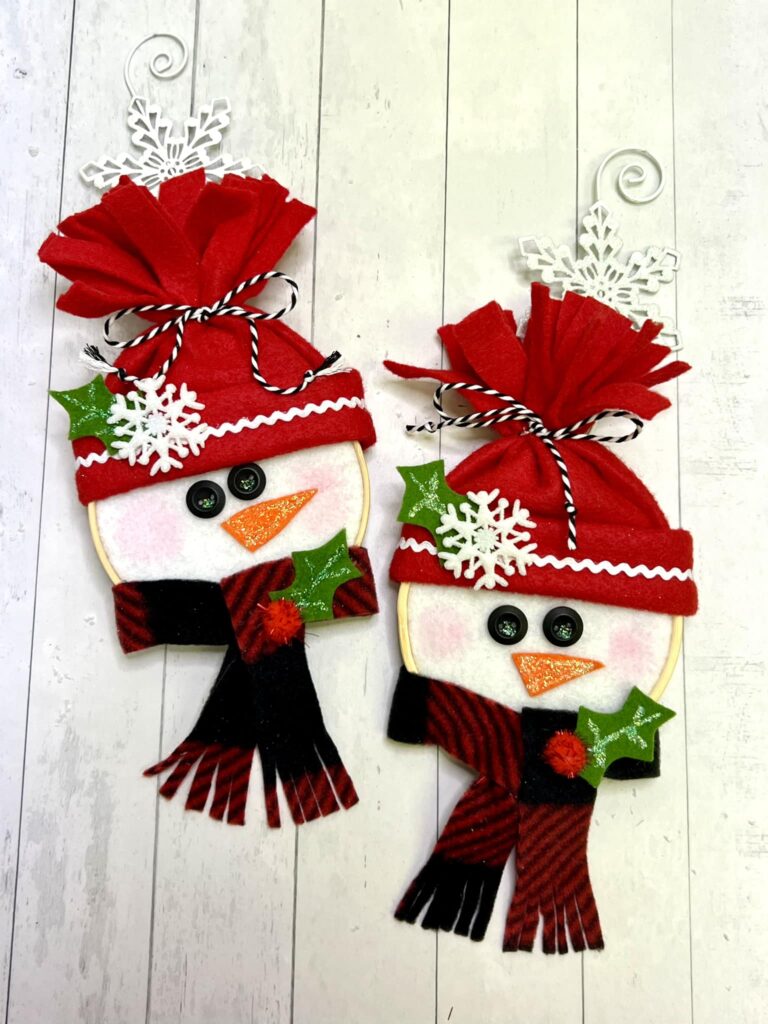
We are making a super simple, easy, and fast Snowman Hoop Ornament, which can be completely assembled with just hot glue. There is no painting, sewing, or stitching in this project! This would look so cute hanging on your tree this holiday season or hanging from a gift bag as an extra treat. To make this project even easier, you can grab a kit, which includes almost everything you will need to make this!
Making Your Snowman Head, Hat, and Scarf
Take your embroidery hoop and loosen the screw until you have your two rings. You will also have two pieces of white felt, which you will layer together. Place your felt in between the rings and screw your hoop back together. Take your scissors and trim off the excess felt.
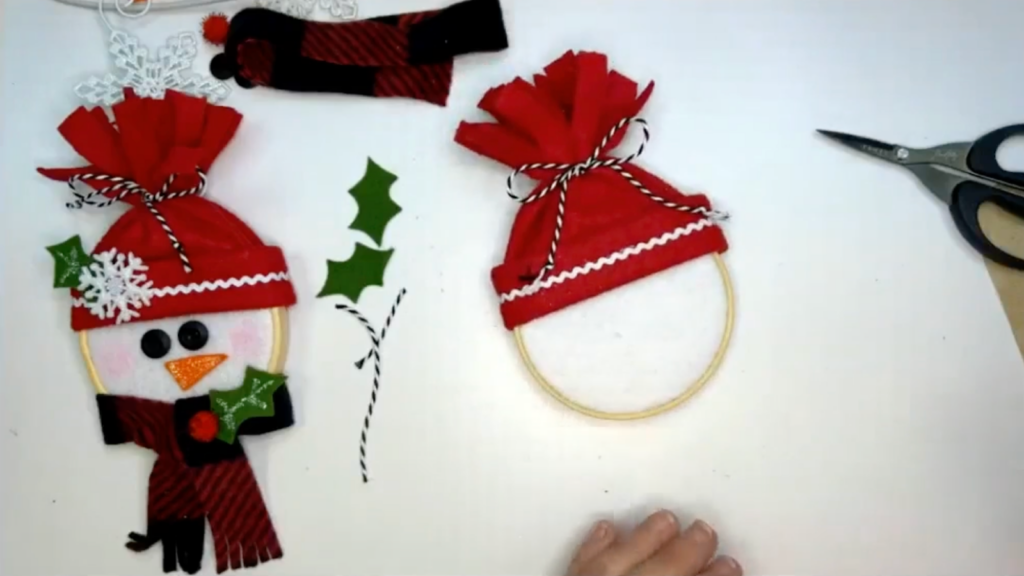
Next, we are going to work on the hat. Take your piece of red felt and run a line of hot glue along the long side of your felt piece and fold it over to create a hem. Then add more hot glue and fold it over again to create a nice little brim for his hat. Take your white Ric Rac ribbon and hot glue that to the brim.
Take your snowman head and add some hot glue right under the screw area to stick the hat (about 2 ¼ inches from the bottom). Flip it over and hot glue the hat straight across to the back. Grab your baker’s twine and tie off the top of your hat. Take your scissors and cut into the top of the hat to create some fringe and then tie a bow in your twine.
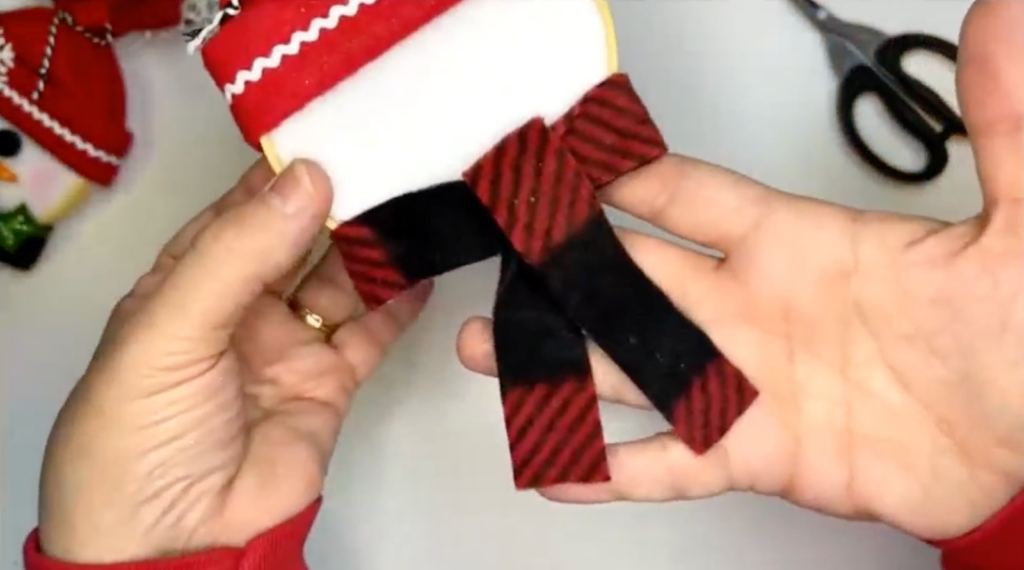
Next, we’ll create the scarf. You will have a long piece of fleece. Place hot glue on the bottom of the back of your snowman and place it on top of the fleece, slightly over to the right. Place some hot glue on the right side of your hoop and fold the scarf over straight – do the same thing on the left side. Crisscross the ends so the long side is on top, and tie a loose knot. Add some hot glue to secure it and trim the excess. Add some fringe with your scissors.
Adding Embellishments to Your Snowman Ornament
Let’s make our holly leaves. Take your two rectangular pieces of green felt and use a Frixon pen to make a dot on the middle of each short side, and then two more on each long side. Then, take your scissors and make a swoop cut to each dot to create a holly leaf.
Hot glue a holly leaf to the hat with one of the snowflakes from your kit. Then, hot glue the other holly leaf with a red pompom to his scarf. Cut a wonky triangle out of the orange felt to make his nose. Hot glue the nose and the button eyes to the face. Use pink blush or pink ink to add some color to the cheeks.
If you want anything to sparkle, add some Stickles to your snowman. I am adding sparkle to the carrot nose and adding some veins to my holly leaves. Finally, add your ornament hanger to the snowman by looping it under the twine on the back of his hat.

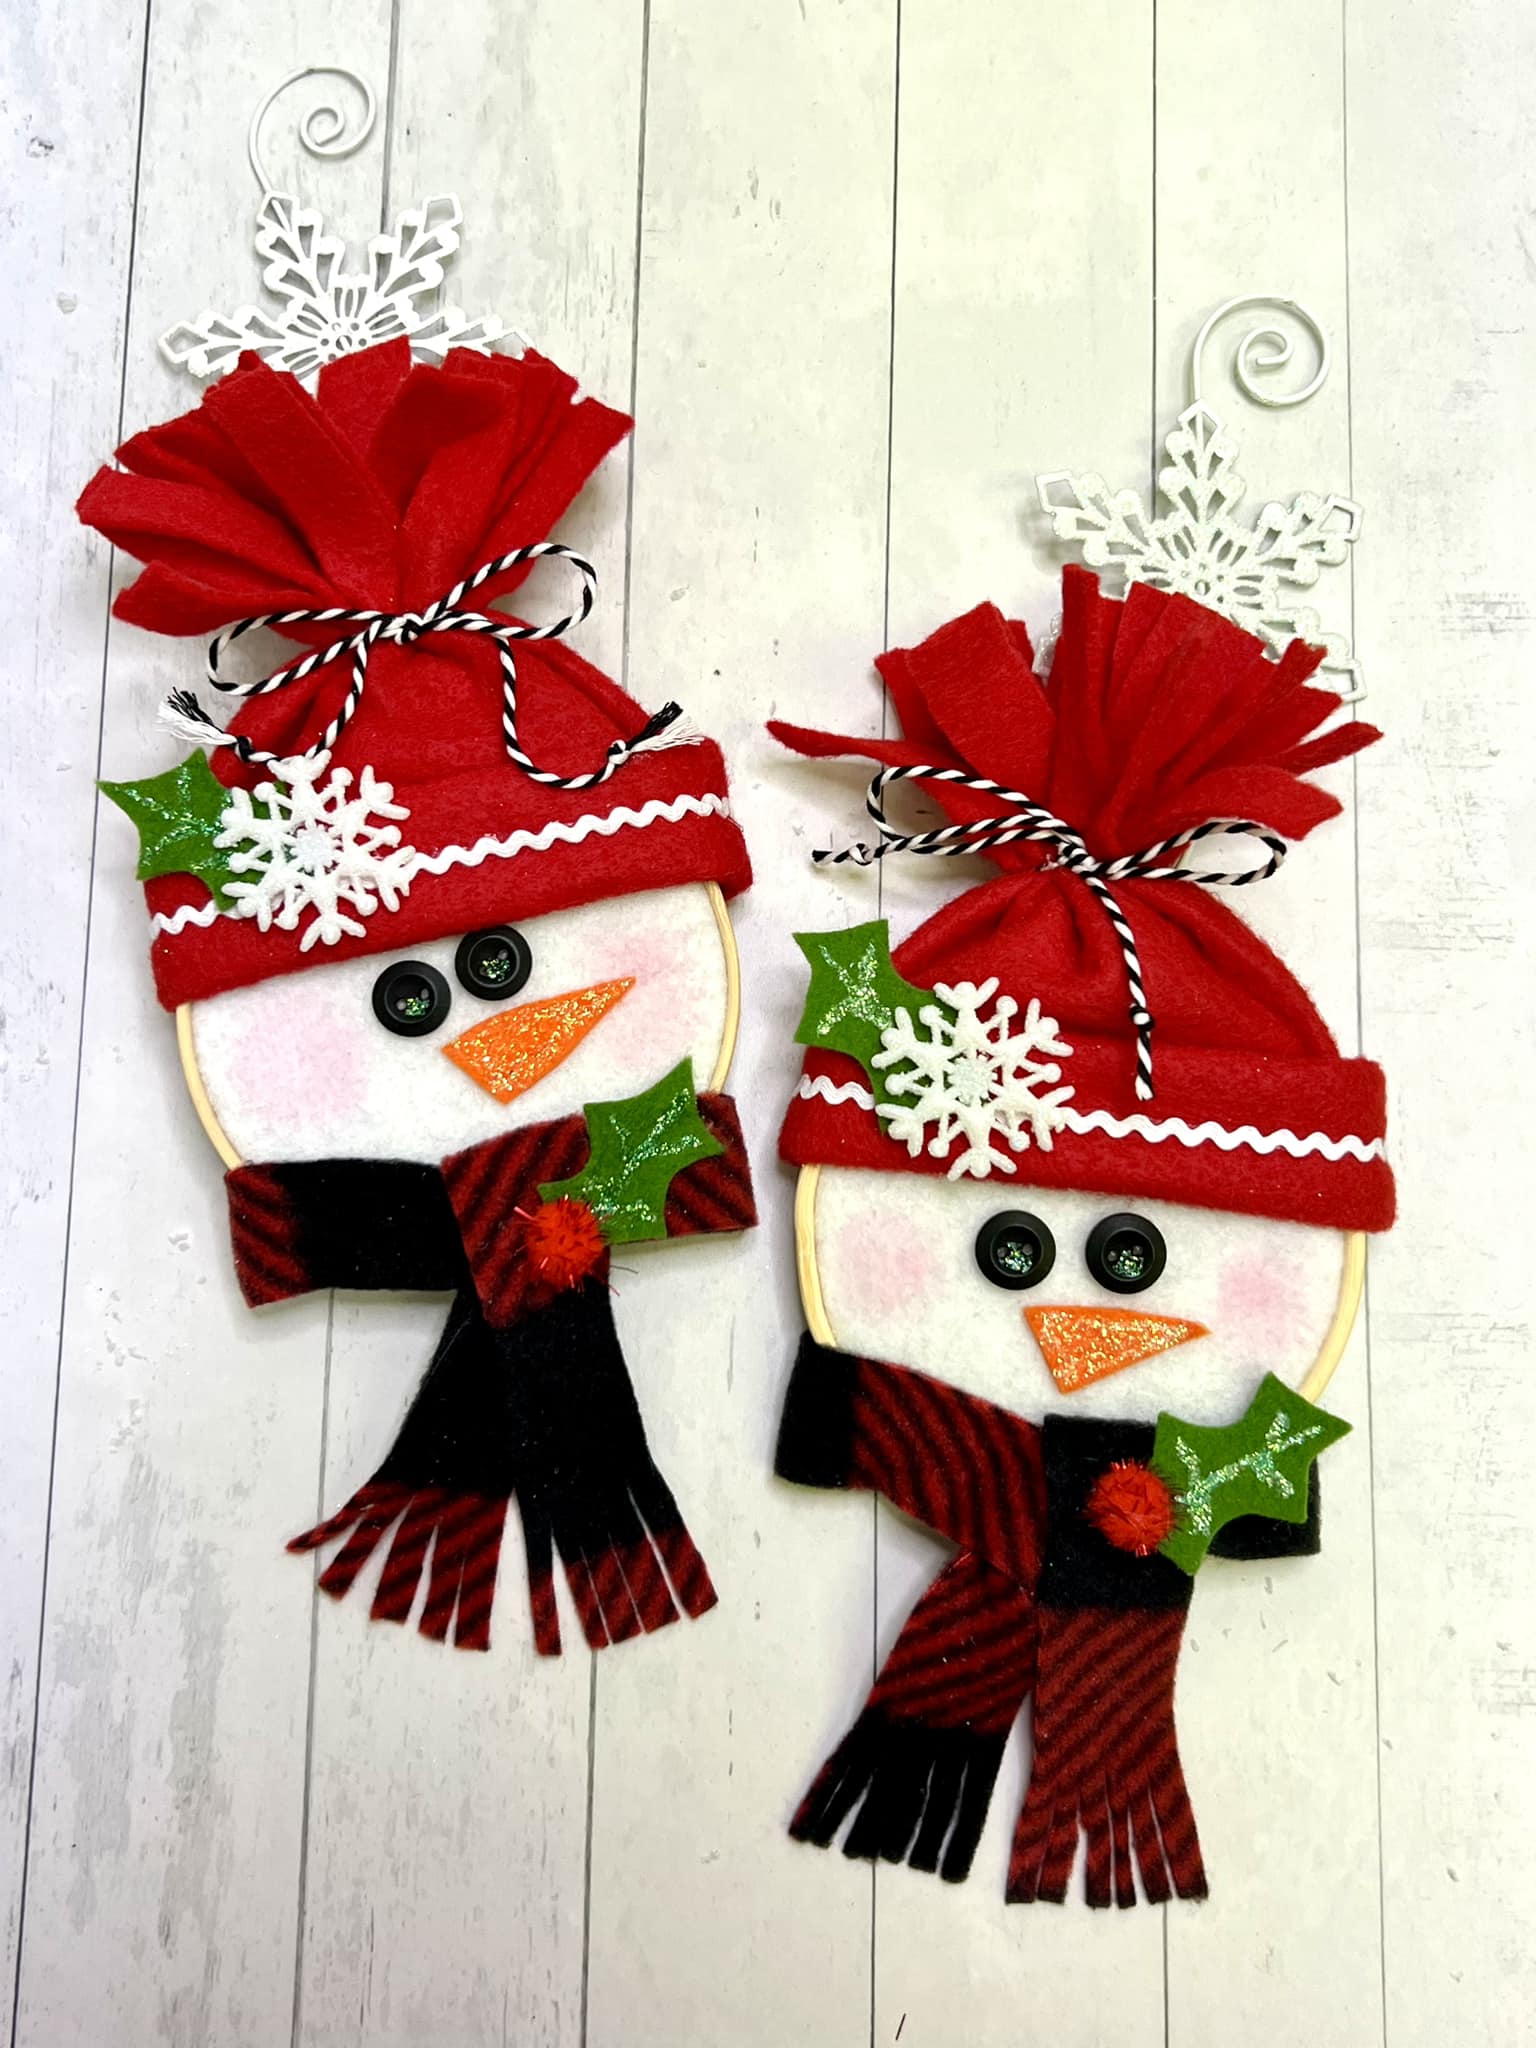
Such a quick, easy, and cute holiday project, y’all! This whole thing was put together with hot glue and only took about 30 minutes to make. You will love making these for your Christmas tree this holiday season, gifting them to friends and family, or adding them to gift bags.
I go LIVE on my Facebook page every Friday at 11 am CST for a fun and easy Craft-n-Chat Session. Come learn something new while creating something beautiful!
If you love creating with me, check out my online creative memberships! They are all a little different, and each is designed to ignite your imagination, inspire your craft, and connect you with fellow art enthusiasts. If you’re a creative looking for an online space to learn and thrive, we have something for everyone! Check them out HERE!





0 Comments