


Supply List:
- Gift Canvas Kits
- Mod Podge Matte
- Paintbrush
- White Paint
- Plastic wrap or Chip Brush
- Pitt Pens
- Stickles
- ScorTape
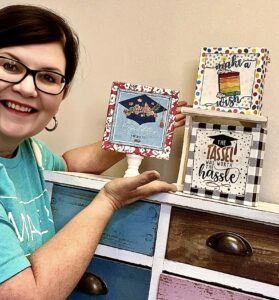
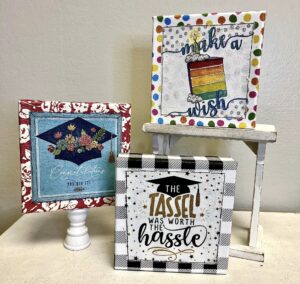
If you’re anything like me, I always need little gifts for upcoming occasions, so I decided to show you how to make these creative gift canvases. I am going to be creating canvases for a few different occasions today, such as birthdays and graduations. I’ll be demonstrating how to add napkin art and then how to create a little pocket on the back to add gift cards, sentiment cards, treats, and more! You can grab kits to make each of these different gift canvases to make this craft even easier! Each kit includes a chunky 6×6 canvas, napkins, and cardstock. (Plus, we’ll be adding more gift canvases for different occasions in the future!)
Add Napkin Art to Your Canvas
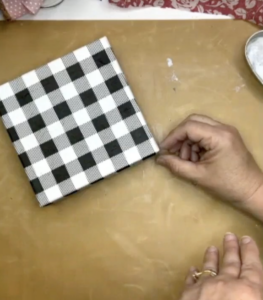
Grab your napkin and make sure it is large enough to wrap and cover the sides of your canvas. Cut your napkin to size. Separate the plys until you have the top layer of napkin art. Apply your Mod Podge Matte to the top of your canvas, and then grab a sheet of plastic wrap and use that to smooth the napkin down. Dry with a heat tool.
Flip your canvas over and cut out a square of the overlap napkin on each corner. Apply Mod Podge Matte to the sides of your canvas and fold it over, using plastic wrap or a chip brush to smooth it down. Dry it with a heat tool and then sand off any excess.
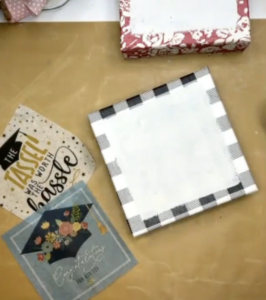
Now, I will be adding more napkin art on top! I am going to separate the plys of my graduation napkin. Take one of the extra plys without the artwork, add Mod Podge Matte to the canvas, and apply that extra ply to the top. I’ll smooth it down with a chip brush. This will help me know exactly where my actual napkin art will go so it works like a template. Dry with a heat tool.
Use white paint and paint over the top of that square of the napkin. Don’t go outside of the square, but it doesn’t need to be painted perfectly. Dry with a heat tool.
Apply a layer of Mod Podge Matte to your canvas and lay your napkin art on top. Take your plastic wrap and smooth your napkin down. Let dry and then apply a final coat of Mod Podge Matte to seal it in.
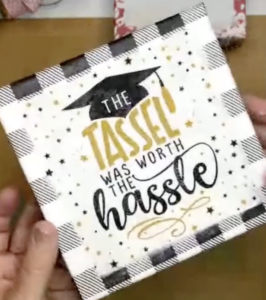
At this point, you can add a little penwork to your napkin art. I’m just taking a Pitt Pen and outlining my white square. You could also outline some of your letters or add some detail lines to your tassel. I’m also adding some sparkly Stickles to the word “tassel” to make that gold pop!

Adding the Gift Pocket
These little gift canvases are like two gifts in one! First, you are getting the keepsake canvas, but we are also adding a little gift pocket on the back where you can place gift cards, sentiment cards, money, treats, and more.
Add double-sided ScorTape to the back of your 6×6 cardstock piece and attach it to the back of your canvas. Then, take your smaller piece of cardstock, add double-sided tape to three sides, and stick that on top to create a little gift pocket.

It is so fun and easy to create these custom gift canvases! You only need some basic supplies and your gift to bring it all together. Remember – you can grab a kit for these three different creative gift canvases, which includes everything you need to make these!
I go LIVE on my Facebook page every Friday at 11 am CST for a fun and easy Craft-n-Chat Session. Come learn something new while creating something beautiful!
Join the waitlist for The Napkin Club where Unique Makers can connect, learn, and be inspired to create with the Individual Unique Napkin Collections that you will receive every month! A place where Napkin Lovers can unite and be inspired!


0 Comments