Looking to add something cute to your creative space? This project is useful for any crafter and easy to make! This framed DIY pin cushion can either sit flat, like when you’re crafting on your couch or in the car on a road trip, or sit up propped on a table with the frame easel. It comes together with a frame, fabric, polyfill quilt batting, and some embellishments!
How to Create a Framed DIY Pin Cushion
Remove the back and glass from your frame. I am leaving my frame white, but you could paint or distress it at this point. Save the paper that comes in your frame and we’ll be using this as a template. Take your fabric and cut it so that it is slightly larger than your paper frame insert – just ½ inch around. Take a few layers of your batting (I am using 4) and cut it a little bit smaller than the frame insert.
Place your batting in the center of your fabric and put it inside the frame. Put the back on the frame – some fabric hanging out is fine, but you don’t want any batting.
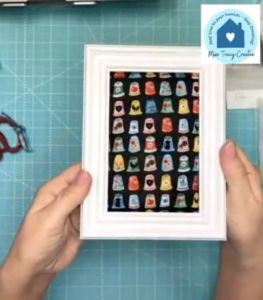
This is optional, but I’ll also be adding a cute measuring tape ribbon to my pin cushion. I’ll just disassemble my frame and attach the ribbon to my fabric with some hot glue.
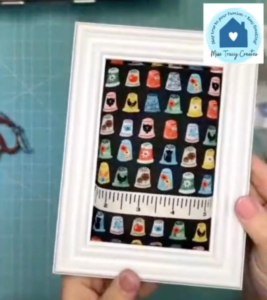
Trim off the excess fabric from the back and enjoy your new pin cushion. Use any fabric or ribbon that you would like!
Creating Felt Flowers for the DIY Pin Cushion
Next, I’ll be adding some embellishments, including some adorable felt flowers. I’m so excited to share my flower-making technique with you that only requires scissors and a Frixion pen (the ink disappears with heat!)
Take your pen and draw a circle on your piece of felt. Then, draw a spiral inside of your circle. Take your scissors and cut the circle out, then cut along the spiral line. I’ll take my heat tool to erase those pen marks.
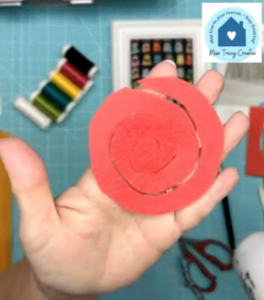
Pinch the end of your spiral in your finger and start coiling the flower up tightly into your hand, wrapping it up. As you get further out, you should wrap looser.
Turn your flower upside down, dab some hot glue in the center, and attach the end so that it acts as a cap for your flower. Give your flower a push in the center to spread it out a little bit, and there you have a cute felt flower!
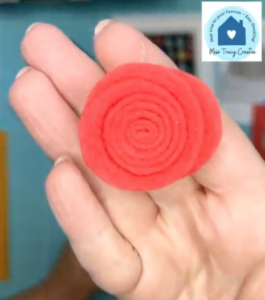
Repeat this step for however many flowers you would like to add to your pin cushion. I will be making three different flowers.
Finishing the DIY Pin Cushion with Embellishments
I am also going to add a couple of leaves. I am taking a piece of felt and drawing two teardrop shapes with my Frixion pen. I will cut them out and then I am going to hand stitch a little vein going through the middle of each leaf.
I am using a #7 needle and some thread and just free-styling some back stitches through my piece of felt.
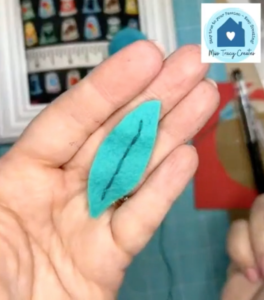
I will repeat this step one more time to create another leaf for my pin cushion. Then, I’ll take some baker’s twine and add a little bow.
First, I will hot glue the bow to my pin cushion. Then, I will add the largest flower first, followed by the other two. Finally, I’ll add the leaves by just tucking them in the back.
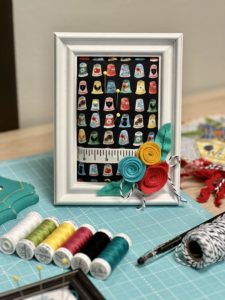
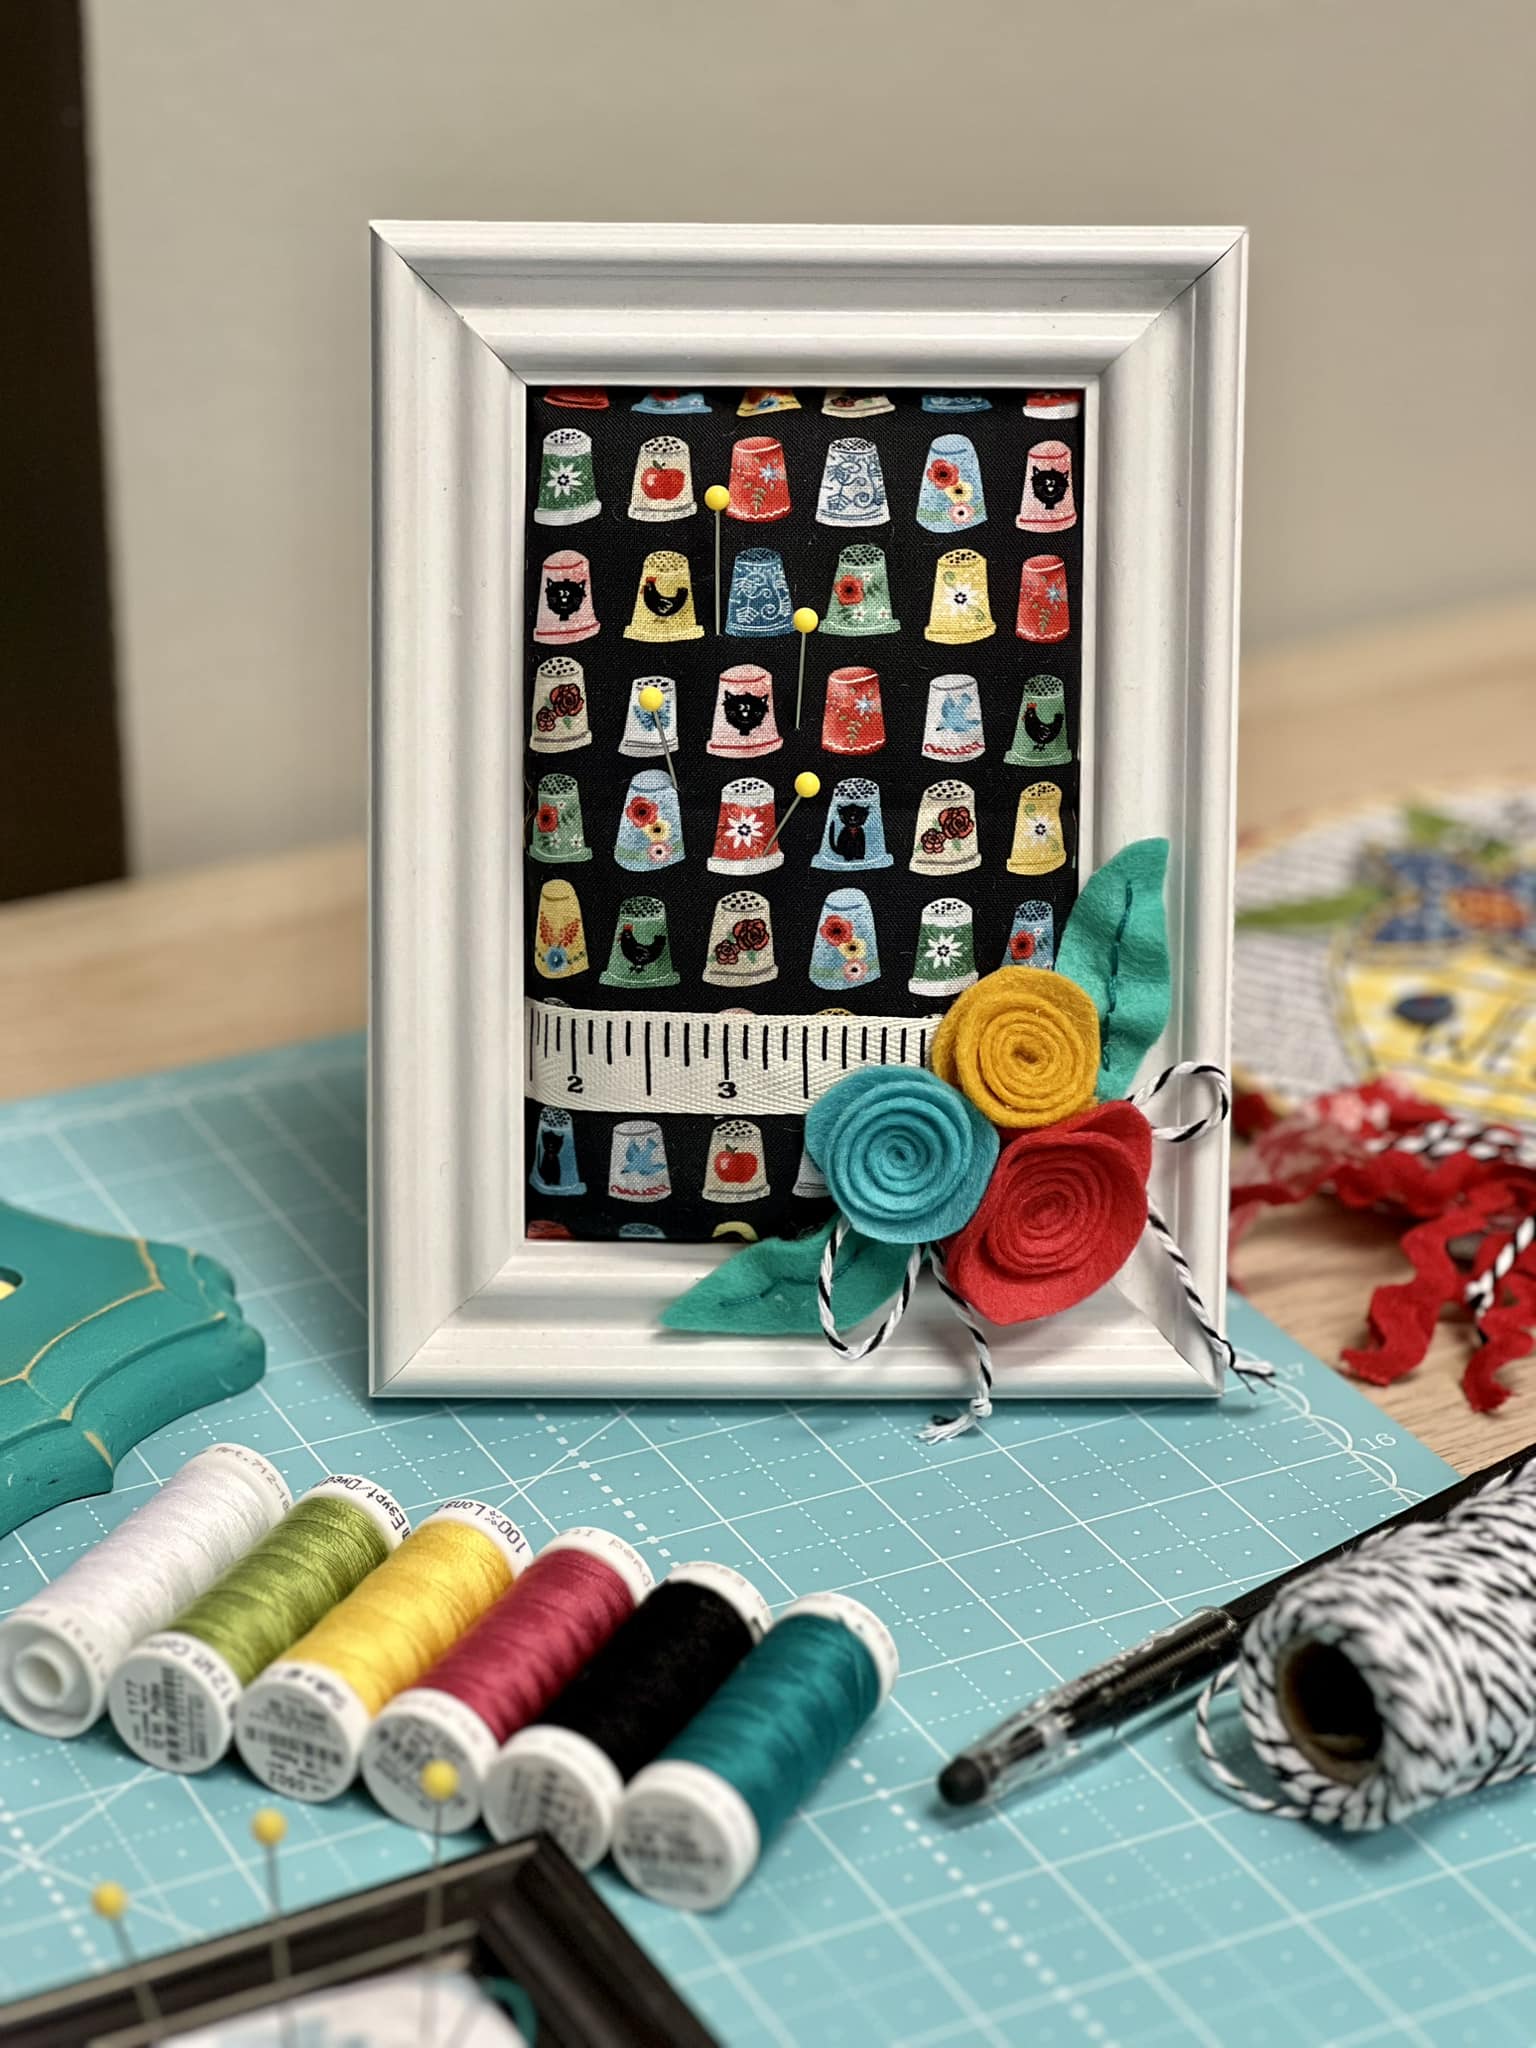
I adore this framed DIY pin cushion – perfect for my new studio! This is a simple fabric project that doesn’t require a sewing machine or any advanced skills at all. If you’re a beginner, this DIY pin cushion is simple and budget-friendly!
Interested in joining The Fabric Fan Club? Sign up to receive a Specialty Bundle of Fabrics hand selected by myself each month (just like the one in this project!) plus tons of other perks!




0 Comments