


Supply List:
- For Paper Corner Page Marks:
- Double-Sided Patterned Paper
- Liquid Glue
- Scissors
- Optional—Scoreboard and Bone Folder
- For Fabric Corner Page Marks:
- Fabric Scraps
- Felt
- Needle
- Coordinating Thread
- Iron
- Temporary Glue Stick
- Scissors
If you love quick, useful projects that help you use what you already have, these corner page marks are such a fun one to try. I’m sharing how to make simple corner bookmarks from both paper and fabric. They slide right over the corner of a book page, Bible page, journal page, planner page, or sketchbook page, and they make sweet little gifts for readers of all ages.
What makes this project especially fun is that it works beautifully with scraps. If you are a paper crafter, this is a great way to use up double-sided scrapbook paper. If you love fabric, this is also a wonderful scrap-busting project that lets you combine pretty cotton prints with felt and a little hand stitching. Both versions are beginner-friendly, and once you make one, you will want to keep making more!
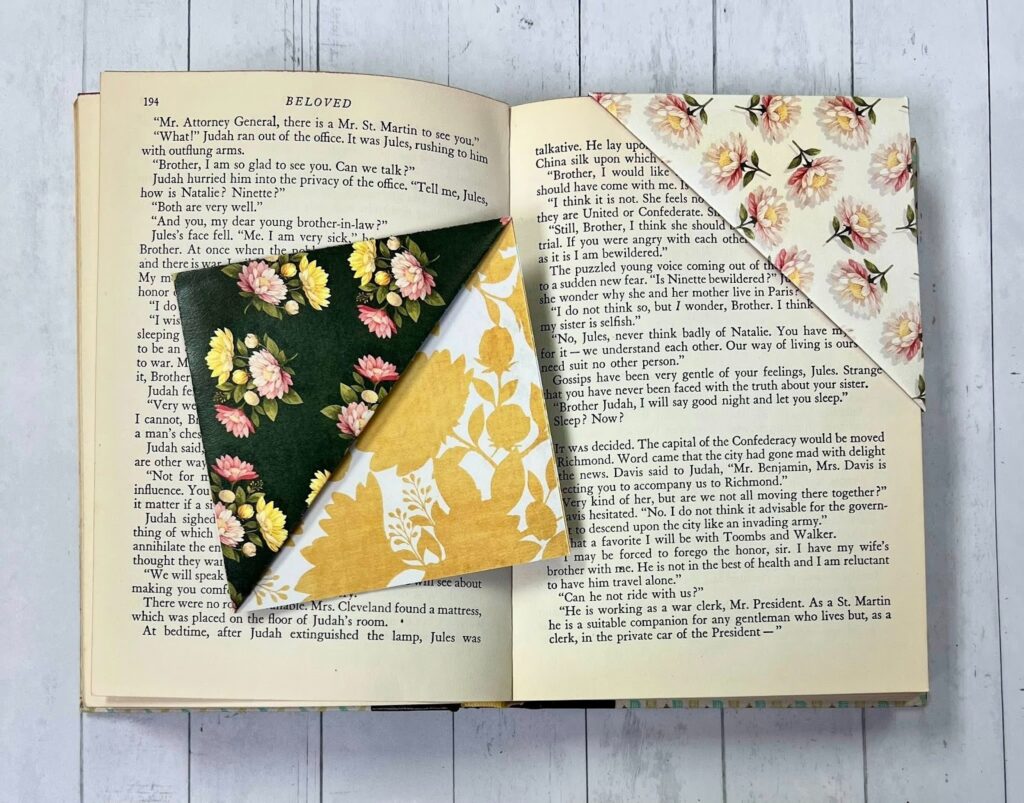
How to Make the Paper Corner Page Mark
Start with your 8 x 8 piece of double-sided paper. Fold it in half one way, then turn it and fold it in half the other way. This gives you four equal squares. Next, cut away one of those squares along the fold lines so you are left with an L-shaped piece.
Now turn the paper so it looks like a V. Take one point and fold it up to meet the center valley. Press that fold down well. This becomes the inside pocket of your corner page mark. At this point, add a tiny bit of adhesive under that folded flap to hold it in place.
Next, fold one side over and add adhesive. Then fold the other side over the top and press it down. If the edges do not line up perfectly, just trim them slightly with scissors. Your corner page mark is now complete and ready to slide over the corner of a page.
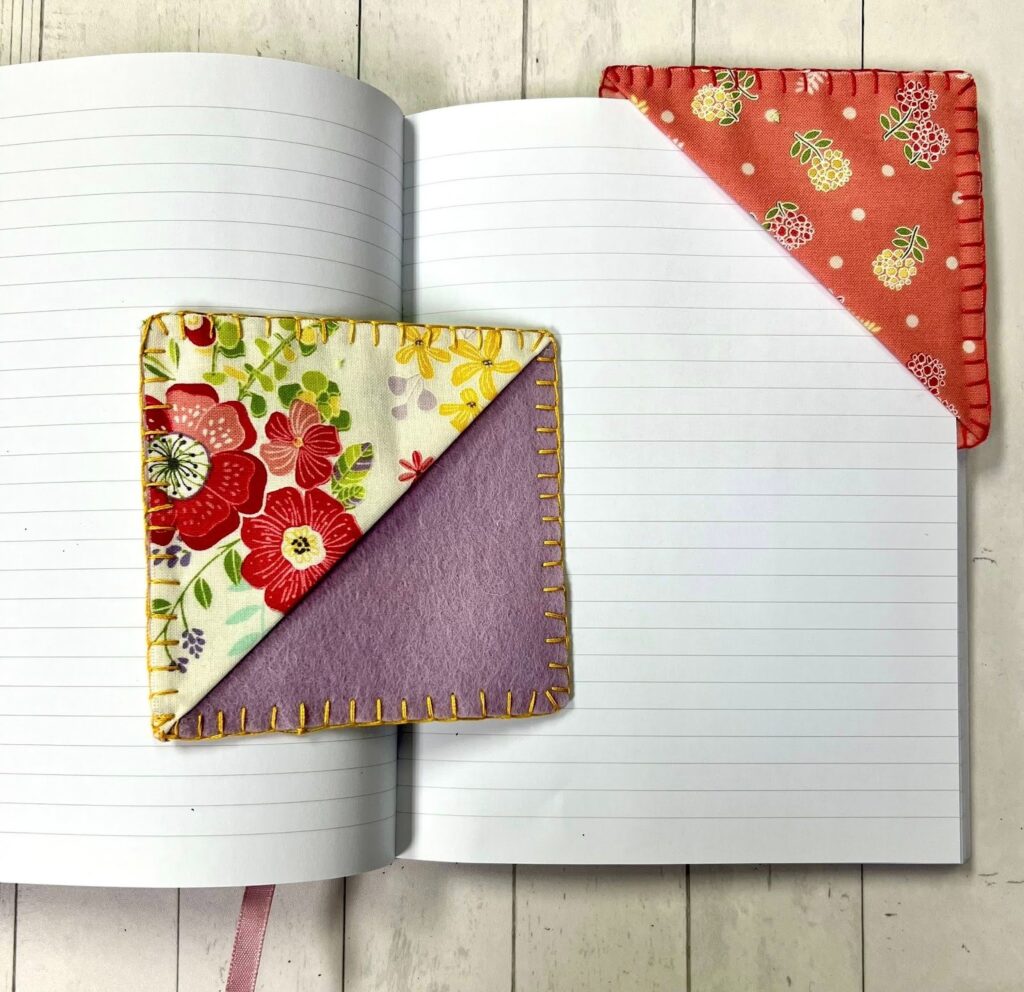
The finished size is roughly 4 x 4 inches, which is a great size for staying securely on the page without slipping off too easily.
Tips for the Paper Version
Choose paper that is not overly directional, if possible. Patterns that do not have a strong top and bottom are easiest because the folds will not distort the design. Florals, dots, plaids, tone-on-tone prints, and small repeating patterns all work beautifully.
You can leave the page marks plain, or embellish them with initials, stickers, stamped sentiments, or punched shapes. They also make cute little pockets on the front of a card or journal page if you want to use the same fold in another way.
How to Make the Fabric Corner Page Mark
For the fabric version, begin by backing one 4 x 4 square of fabric with one 4 x 4 square of felt. Use a temporary fabric glue stick to hold them together. This gives the page mark structure and helps it slide easily onto a book page.
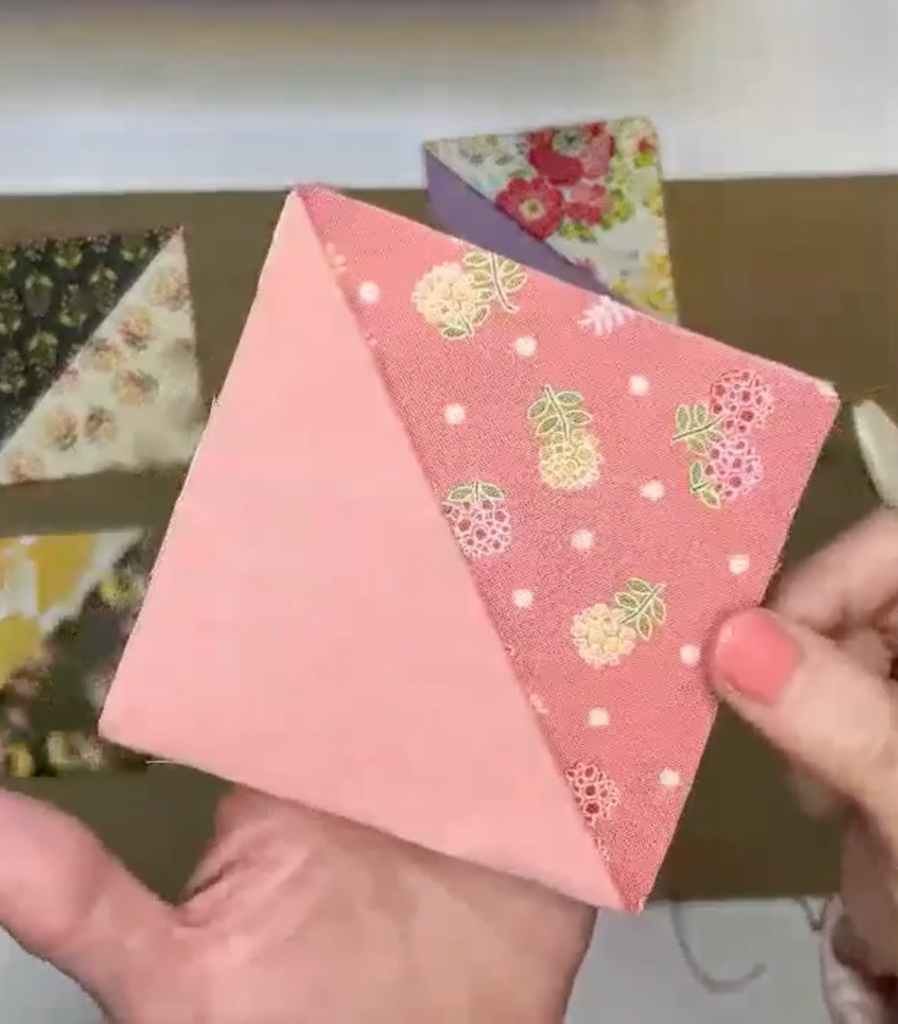
Next, take your second 4 x 4 fabric square and press it in half diagonally with an iron. This creates the folded corner piece that will sit on top and form the pocket for the page. Use a piece of parchment paper if you like while ironing to keep your iron clean.
Now lay the felt-backed square flat with the felt side facing up. Position the folded fabric triangle on top, lining it up neatly in one corner so the folded edge will become the opening where the page slides in. Add a little temporary fabric glue along the raw edges to keep everything from shifting while you stitch.
Before stitching, trim just a tiny bit off the sharp corners. This softens them slightly and helps the blanket stitch curve around the corners more nicely.
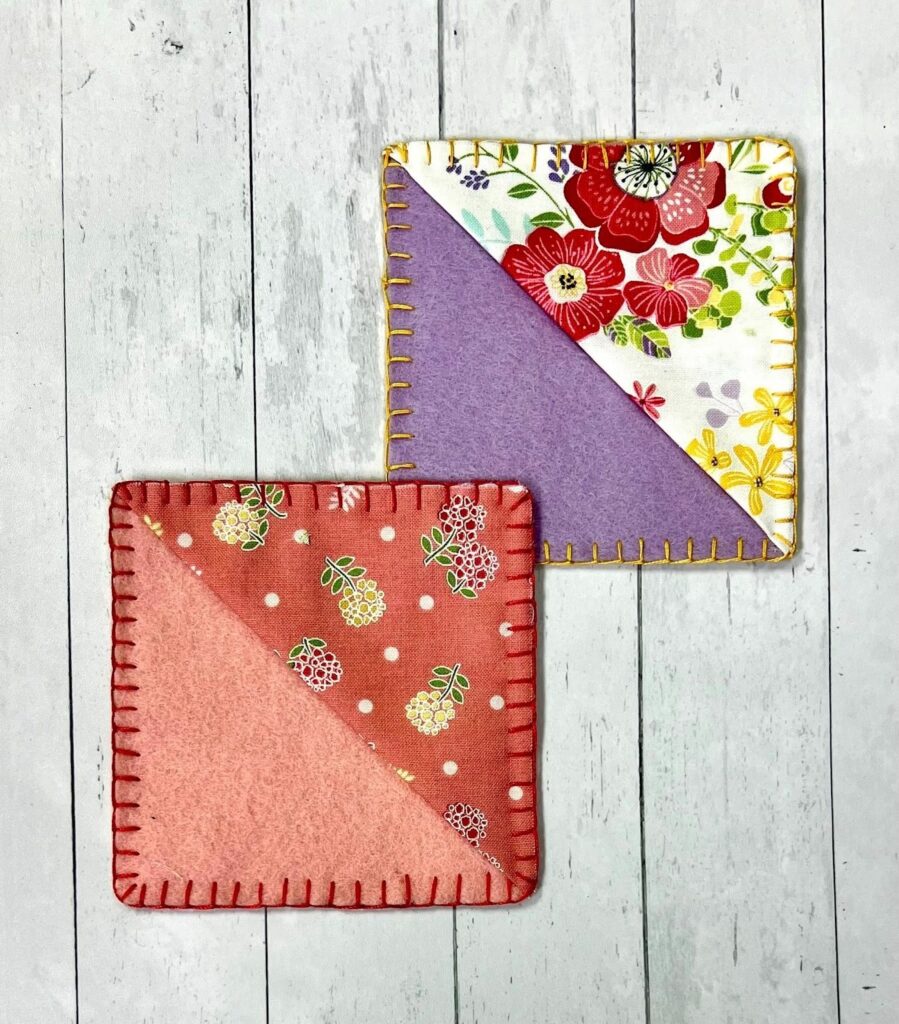
How to Stitch the Fabric Version
Once your layers are in place, thread your needle and begin stitching near the folded edge so your knot can be hidden inside the fold. I use a simple blanket stitch for this project because it looks pretty on both the front and the back.
To make the blanket stitch, bring your needle up through the layers near the edge. Then insert the needle back down a short distance away, but before pulling all the way through, catch the loop of thread with your needle. Pull gently so the thread locks along the edge. Continue repeating this around all four sides.
When you reach the folded fabric corner where the page will slide in, be careful not to stitch the pocket closed. As you round that corner and move onto the felt edge, stitch only through the felt-backed section, not through both layers of the folded pocket. This ensures your finished page mark will still slide onto a page.
If you run out of thread, knot off under a stitch, hide the tail between the fabric layers, and start again by bringing your needle up through the hidden area. Once finished, knot your thread at the end, hide the tail between the layers, and trim any loose threads.
If you have paper scraps, fabric scraps, or felt in your stash, this is a great project to make this week. The paper version is quick enough to create in just a few minutes, and the fabric version is a relaxing little stitching project that feels both practical and pretty.
These corner page marks are proof that even the smallest scraps can become something lovely and useful. Whether you are a paper crafter, a fabric lover, or both, this is such a sweet way to turn leftovers into something handmade that can be enjoyed again and again.
If you make some, try both versions. You may find yourself wanting a whole little collection for every book, journal, and Bible in the house.
Do you love paper crafting? The Paper Crafters ClubHouse is a warm, welcoming monthly membership designed especially for women who love all things scrapbooking, cardmaking, and creative paper crafting. Join here!
Do you love fabric crafting? Join the Fabric Fan Club! We experiment, build, stitch, doodle with thread, and learn together in a relaxed, encouraging environment! Join the club here!


0 Comments