


Supply List:
- White Canvas Fabric Zipper Bag
- Parchment Paper
- Paper Napkin
- Mod Podge Matte
- Chip Brush
- Stickles
- Heat Tool
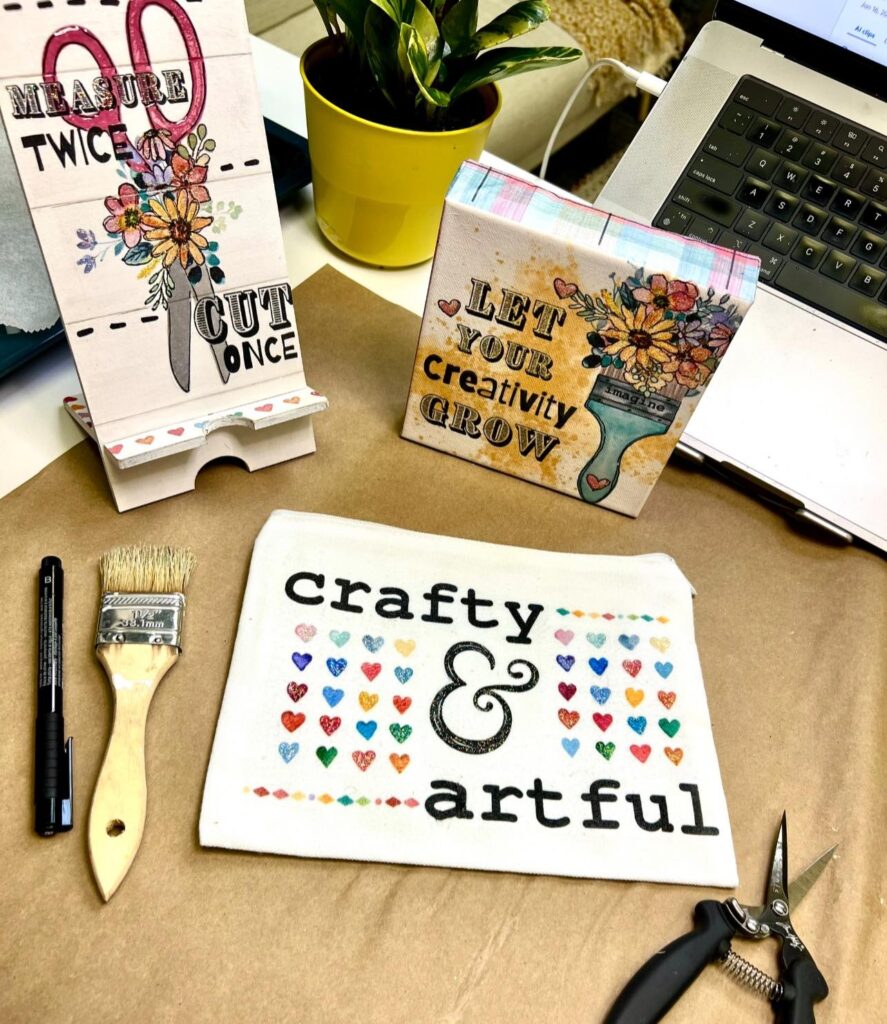
If you’ve been curious about napkin art but haven’t known where to start, this project is the perfect introduction. In this tutorial, you’ll learn how to apply napkin art to a cloth canvas zipper bag using Mod Podge Matte. These bags are great for holding craft supplies, gifting, or simply adding a little creativity to your everyday routine.
This project uses a blank white zipper bag, which makes napkin art especially easy because the white background allows the napkin design to blend seamlessly into the fabric. No painting required, no fancy tools needed – just a few simple supplies and a little creative confidence.
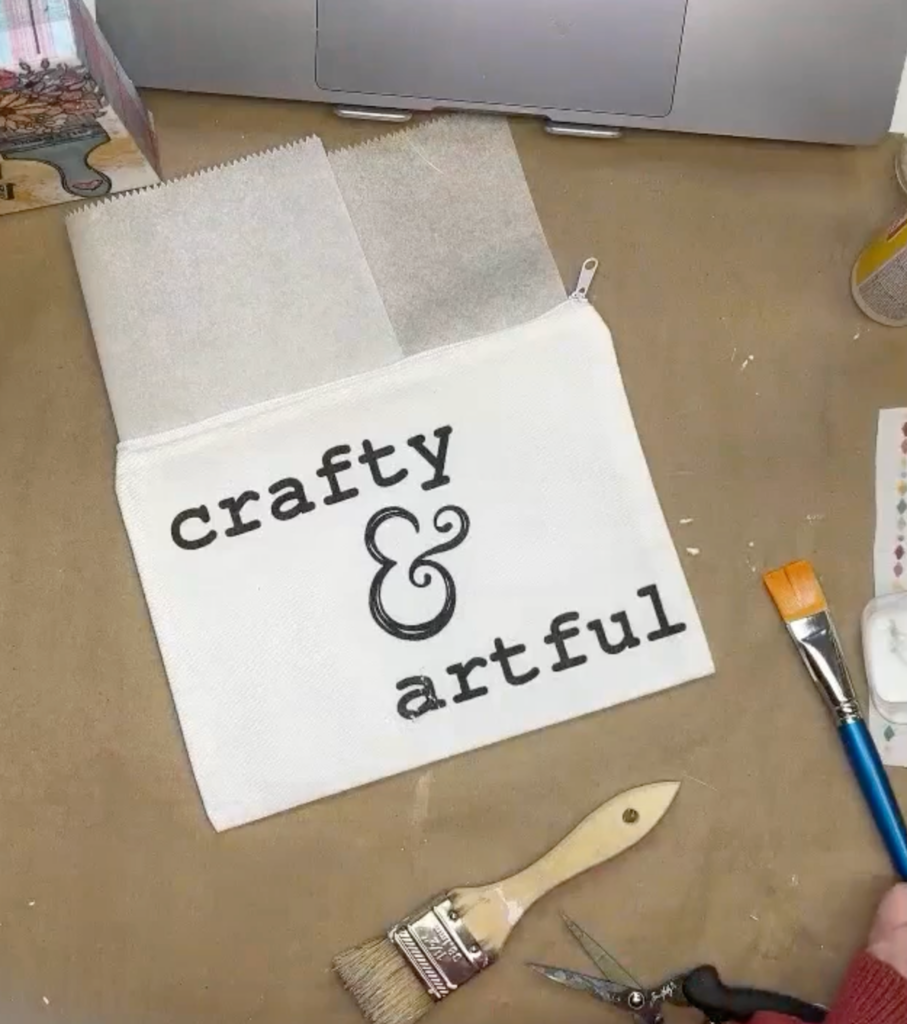
Step 1: Prepare the Zipper Bag
Begin by opening the zipper bag completely so it lies flat. Cut a piece of parchment paper wide enough to fit inside the bag and fold it if needed. Slide the parchment paper into the bag so it sits between the front and back layers. This step is important because it prevents Mod Podge from bleeding through and accidentally gluing the bag shut while you work.
Because the bag is already white, there’s no need to paint the surface. White works beautifully with napkin art and allows the design to show through clearly.
Step 2: Prep the Napkin
Open your napkin fully and decide which elements you’d like to use. In this project, word strips such as “Crafty,” “&,” and “Artful” were used, along with small heart accents. Cut out the sections you want while the napkin is still intact. Cutting first makes it much easier to remove the extra napkin layers later.
Most paper napkins are two-ply or three-ply, and only the top printed layer should be used for napkin art. Carefully separate and remove the extra layers until you’re left with just the printed napkin tissue. If the layers are stubborn, you can lightly dampen your fingers or touch the edge with a tiny bit of Mod Podge to help them separate.
Step 3: Apply the Napkin Art
Using a regular paintbrush, apply the Mod Podge Matte to the area of the bag where your napkin will go. Instead of brushing back and forth, use a gentle swirling or “swishing” motion. This helps work the Mod Podge down into the fabric fibers, which is especially important when working on cloth or canvas surfaces.
Fabric tends to absorb Mod Podge, so don’t be afraid to use a slightly heavier application than you would on paper or wood.
Lay your napkin piece onto the Mod Podge-coated area. Once it’s positioned where you want it, switch to a clean, dry chip brush. Use a straight up-and-down tapping motion called the pounce method to press the napkin into the fabric. Avoid dragging the brush, as this can tear the delicate napkin tissue.
Repeat this process for each word and design element, checking corners and edges to make sure everything is fully adhered.
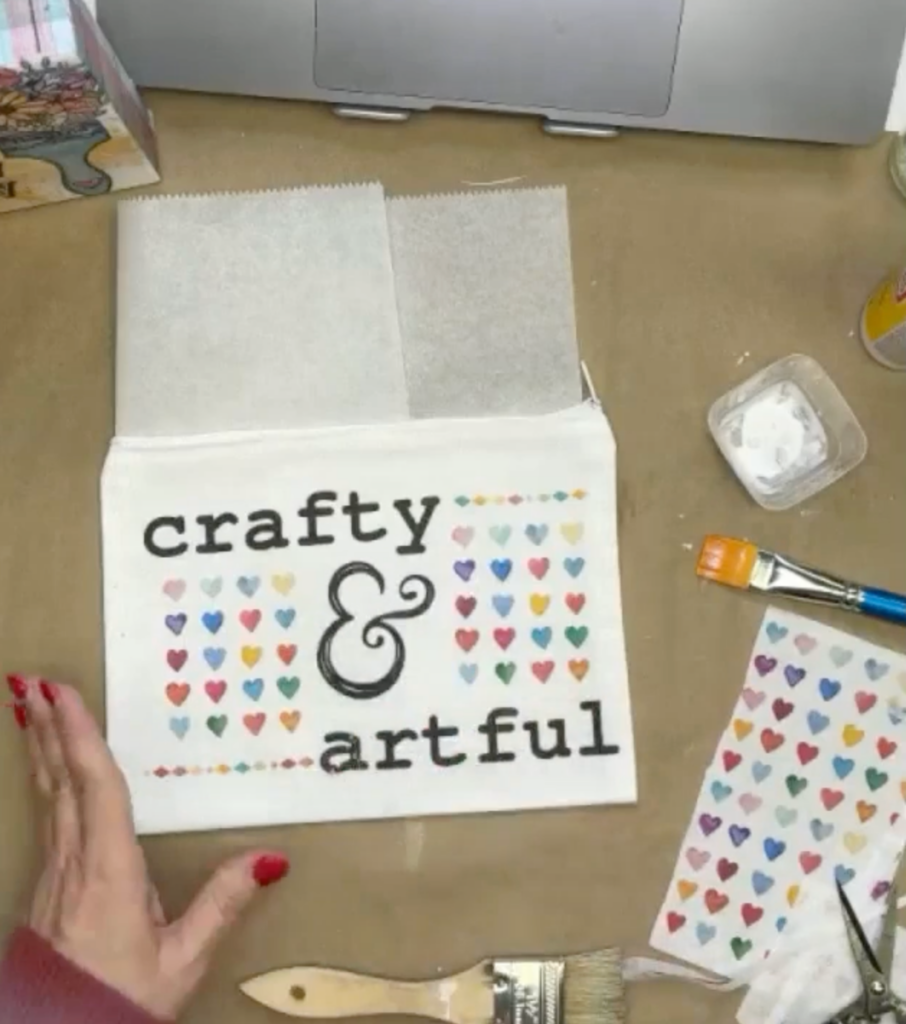
Step 4: Add Decorative Accents
Once your main words are in place, you can begin adding hearts or other small napkin elements. Apply Mod Podge to the fabric, place the napkin piece, and use the pounce method again to secure it. Because fabric absorbs moisture, you may need to add a little extra Mod Podge under smaller pieces to prevent lifting.
Layering these details adds visual interest and makes the bag feel playful and personalized.
Step 5: Let the Design Dry Completely
Before sealing the project, allow the napkin art to dry fully. Napkins are very fragile when wet, and brushing over them too soon can cause tearing. You’ll know the surface is dry when the shine from the Mod Podge disappears and the bag feels slightly stiff to the touch. A heat tool can be used to speed this up if desired.
Step 6: Seal the Napkin Art
Once the napkin pieces are dry, apply a light, even coat of Mod Podge Matte over the entire decorated area. This seals the napkin into the fabric and adds durability. Use a gentle touch and avoid overworking the surface. After sealing, let the bag dry completely again.
This sealing step also makes the bag more resistant to moisture, which is helpful if you plan to use it for craft supplies.
Step 7: Add Sparkle or Final Details
For a fun finishing touch, you can add Stickles to hearts, letters, or accent areas. Applying sparkle to every other heart creates a playful pattern, while adding it to the ampersand or word accents makes the design pop. Allow Stickles to dry thoroughly before handling the bag.
Once everything is dry, carefully remove the parchment paper from inside the bag. Zip it closed and admire your finished project. The bag will feel slightly stiffer than before but will remain flexible and fully functional.
This napkin art zipper bag is perfect for holding craft tools, gifting to a creative friend, or simply adding a little joy to your creative space! Watch the full tutorial here!
Want to Learn More About Napkin Art?
If this project sparked your interest, there’s so much more you can do with napkin art on canvas, wood, fabric, and other surfaces. Inside the Napkin Club, you’ll find step-by-step workshops, creative inspiration, and a welcoming community that makes learning new techniques feel fun and approachable. Join the club here!


0 Comments