


Paper Pocket Supply List
- Double Sided Paper
- Coordinating Cardstock
- Scalloped Heart Punch
- Bakers Twine
Paper Pinched Flowers Supply List
- Scalloped Circle Punch
- Cardstock
- Mister Bottle with Water
- Small Brad
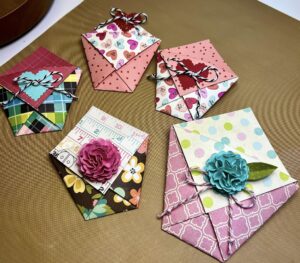
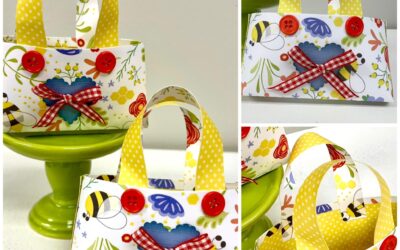
This is my favorite quick and easy craft for favors, gift card holders, treat holders, and more! This comes together super fast and just requires pretty double-sided paper – no glue, tape, Mod Podge, or anything! This is a simple folding technique that you can use whenever you need to assemble some little gifts.
How to Create Paper Pockets with a Folding Technique
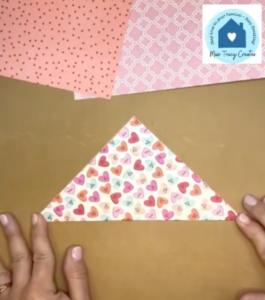
Grab a square piece of double-sided paper. It doesn’t matter what size you use – I have some 6×6 squares and 8×8 squares. Take your piece of paper and do the “taco fold”, which is basically folding it in half to be a triangle.
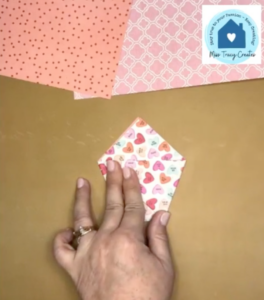
Next, grab the corner and fold it across, so it is straight across. Then, do the same thing with your other corner.
Open up the top triangle and fold it down.
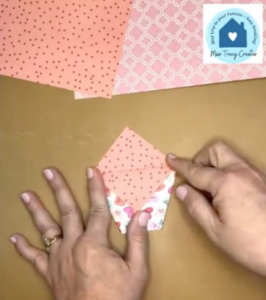
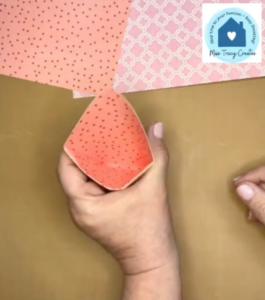
Place your fingers inside the pocket and “pop” it so it opens up. And that’s it! You have an adorable little treat or gift holder by just folding your paper.
Add Embellishments to Your Treat Pockets
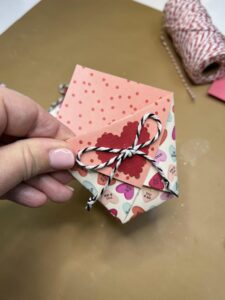
At this point, you can add some fun embellishments if you would like! I have a scalloped heart punch that I can use to punch out some paper hearts out of cardstock to glue on. I’ll also add a little baker’s twine bow to finish it off. The 6×6 size is perfect for some pieces of candy, a gift card, or something small.
Next, I’ll do the same thing with an 8×8 piece of paper. This treat pocket can hold much more like a large piece of candy, a card, and other little gifts, like tea bags. The options are endless with this!
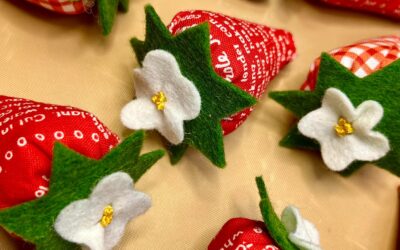
Make Cardstock Paper Flowers
Another embellishment you can add is a handmade paper flower, which is another one of my favorite techniques. For this, you will need a circle scallop punch and some cardstock.
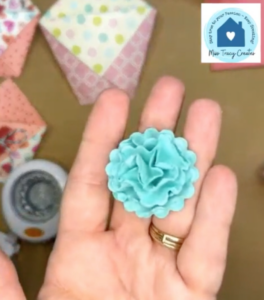
I am going to punch out five circles (the more layers, the more full your flower will be). Mist both sides of them with a little bit of water, which will soften your paper. Then, layer them all together onto a foam mat. I am going to use a paper piercer and just poke a hole right in the center of the layers.
Next, take a small brad and put it through the middle of your layers and separate the prongs on the back. Then, take each layer of your circle and scrunch it up. Leave the last layer flat. Since you sprayed it with water, this will be easy to do, and once it dries, it will keep its shape!
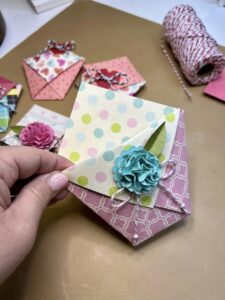
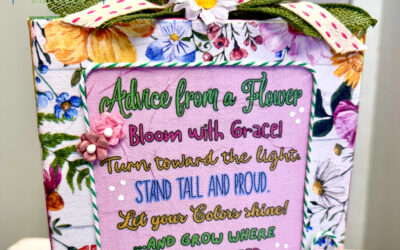
Now you can glue your flower to your pocket. Feel free to add some paper leaves or a baker’s twine bow. It is so cute and simple!
These are so fun to make, and meet my criteria for treat packaging – quick, easy, and cute! These treat pockets are so perfect for baby shower or bridal shower favors, Easter gifts, birthday gifts, or just an act of kindness.
Join The Napkin Club where Unique Makers can connect, learn, and be inspired to create with the Individual Unique Napkin Collections that you will receive every month! A place where Napkin Lovers can unite and be inspired!


0 Comments