


Supply List:
- Candle in Glass Container (Wix Wax Candle)
- Country Chic Paint – Simplicity
- Sand Paper
- Heat Tool
- Mod Podge Matte
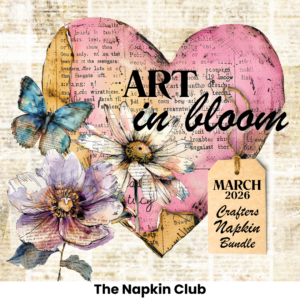
- Decorative Paper Napkin (The Napkin Club)
- Jute
- Button
Are you a fellow candle enthusiast? If so, you’re in good company! I’m definitely what you might call a “smelly” person – I absolutely adore burning candles, and certain scents just hit me right in the feels. My favorite candles are WixWax candles, which come in the yummiest scents!
In today’s Craft-n-Chat session, I’m sharing a fantastic way to jazz up your candle containers without sacrificing their functionality. Yes, you can decorate and napkinize your candle containers while still enjoying the cozy glow of your favorite scents. Plus, I revealed my method for removing the last traces of wax once your candle has burned down.
Adding Napkin Art to a Candle Container
If you’d like to remove the label on your candle container, use a heat tool to heat it and peel it off, sand it off, or scrape it off with a scraper. You can also just sand down the label so it’s flat since we will paint over the container anyway.
Important note: if you are adding napkin art to a candle that you are going to be burning, you have to use chalk-based paint first. This type of paint will harden and cure and you need a layer between your container and your napkin. Otherwise, the heat from the burning candle will activate your Mod Podge.
Paint two coats of Country Chic Paint – Simplicity on your container. Dry with a heat tool in between coats.
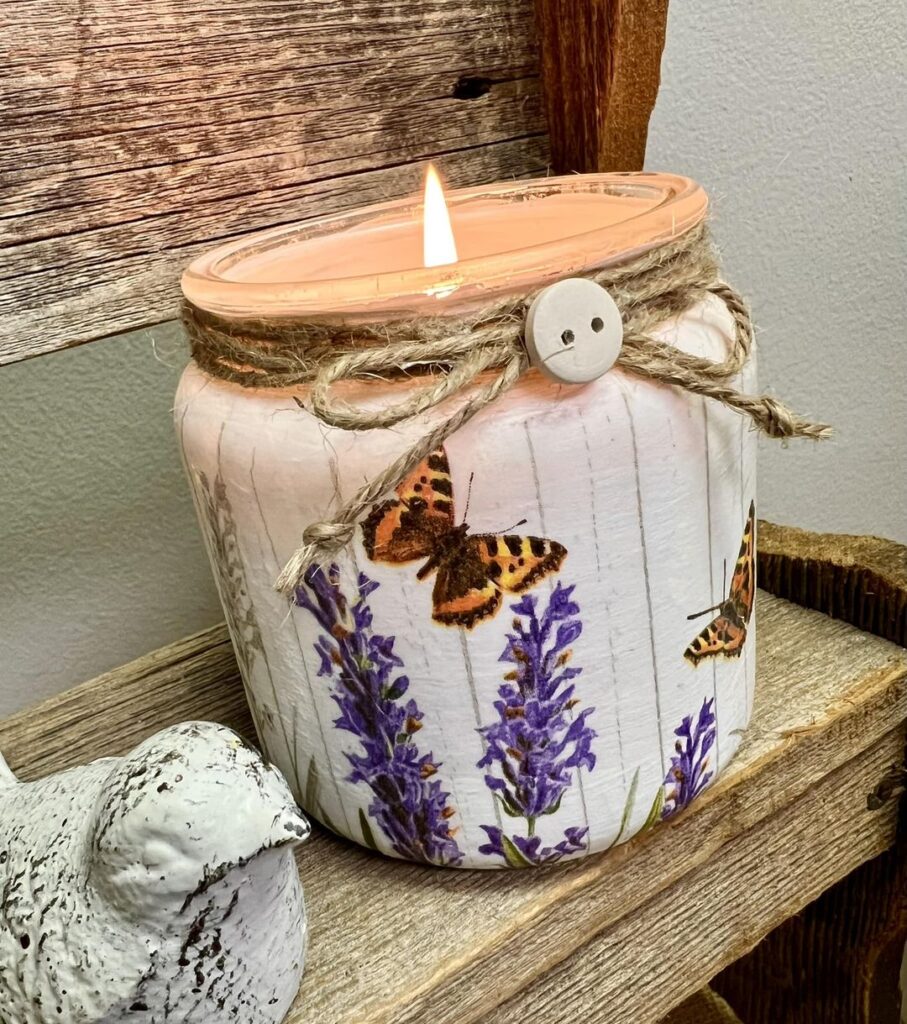
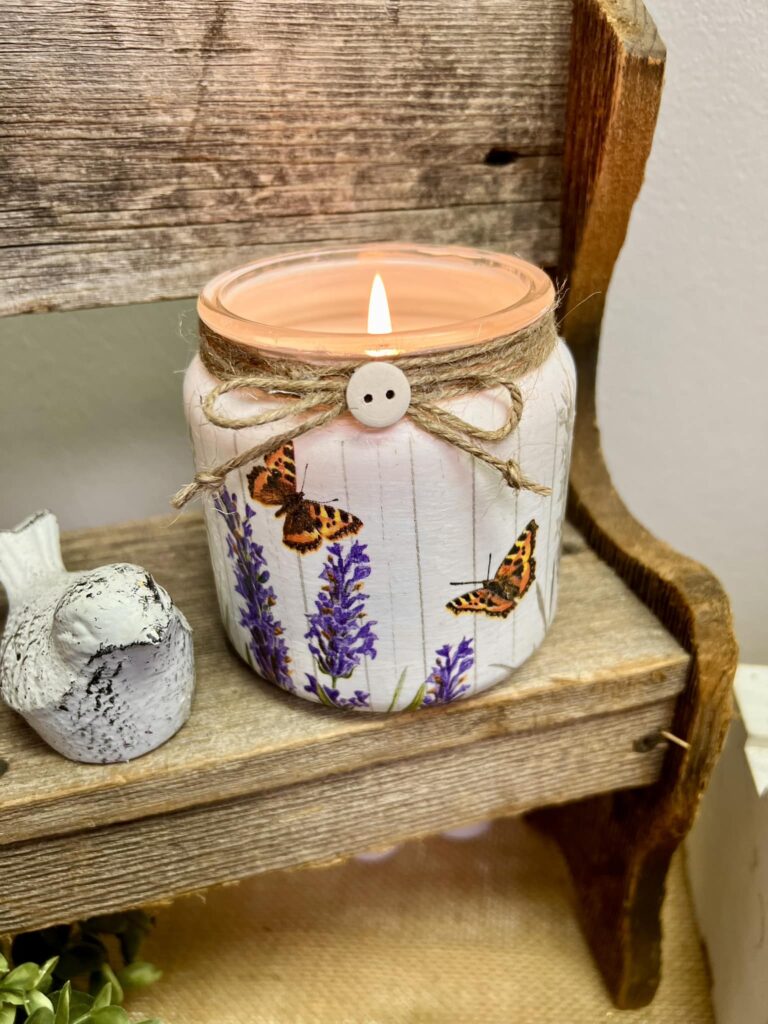
Cut the square of your napkin art and trim it to the size of your container. Separate the plys of your napkin until you just have that top layer of napkin art. Paint a coat of Mod Podge Matte on the surface, lay your napkin on top, and smooth it down with plastic wrap. I will do this technique twice with two napkins so that my container gets covered the entire way around. Add a final coat of Mod Podge Matte to seal your napkin art.
Finishing Touches on the Candle Container
Take some jute twine, wrap it multiple times around your container right underneath the rim, and tie it with a knot. I’ll also make a bow with my jute twine and hot glue it to my container. Finally, I’ll hot glue a little button in the center of my bow. You could also add some fun finishing touches to your lid.
Once your candle has burned down, throw your container into the freezer. Once it has frozen, you can easily remove any wax that is sitting on the bottom and repurpose your container for another use!
I go LIVE on my Facebook page every Friday at 11 am CST for a fun and easy Craft-n-Chat Session. Come learn something new while creating something beautiful!
Join the waitlist for The Napkin Club where Unique Makers can connect, learn, and be inspired to create with the Individual Unique Napkin Collections that you will receive every month! A place where Napkin Lovers can unite and be inspired!


Loved the candle container creation. I will definitely try it. I love candles, too.