


Supply List:
- Halloween Fun Napkin Mini Bundle-**
- Medium Shiplap Shape – Pumpkin
- Wooden Snow Globe
- Simplicity – Country Chic Paint
- Licorice – Country Chic Paint
- Clear Stickles – Diamond/ Crystal or Unicorn
- Glossy Accents
- Chalk Ink – Petunia Pink
- Chalk Ink – Midnight Confessions
- Krylon Gold Leaf Pen
- Uniball Singo Gold Pen – sold in a set
- Individual Black Pitt Pen or Pitt Pens set
- Mod Podge
- Scotch Tacky Glue
- Hot Glue
- White cardstock
- Parchment Paper
- Craft iron
- Plastic wrap
- Frixion Pen
- Foam Tape
- Heat Tool
- Sandpaper
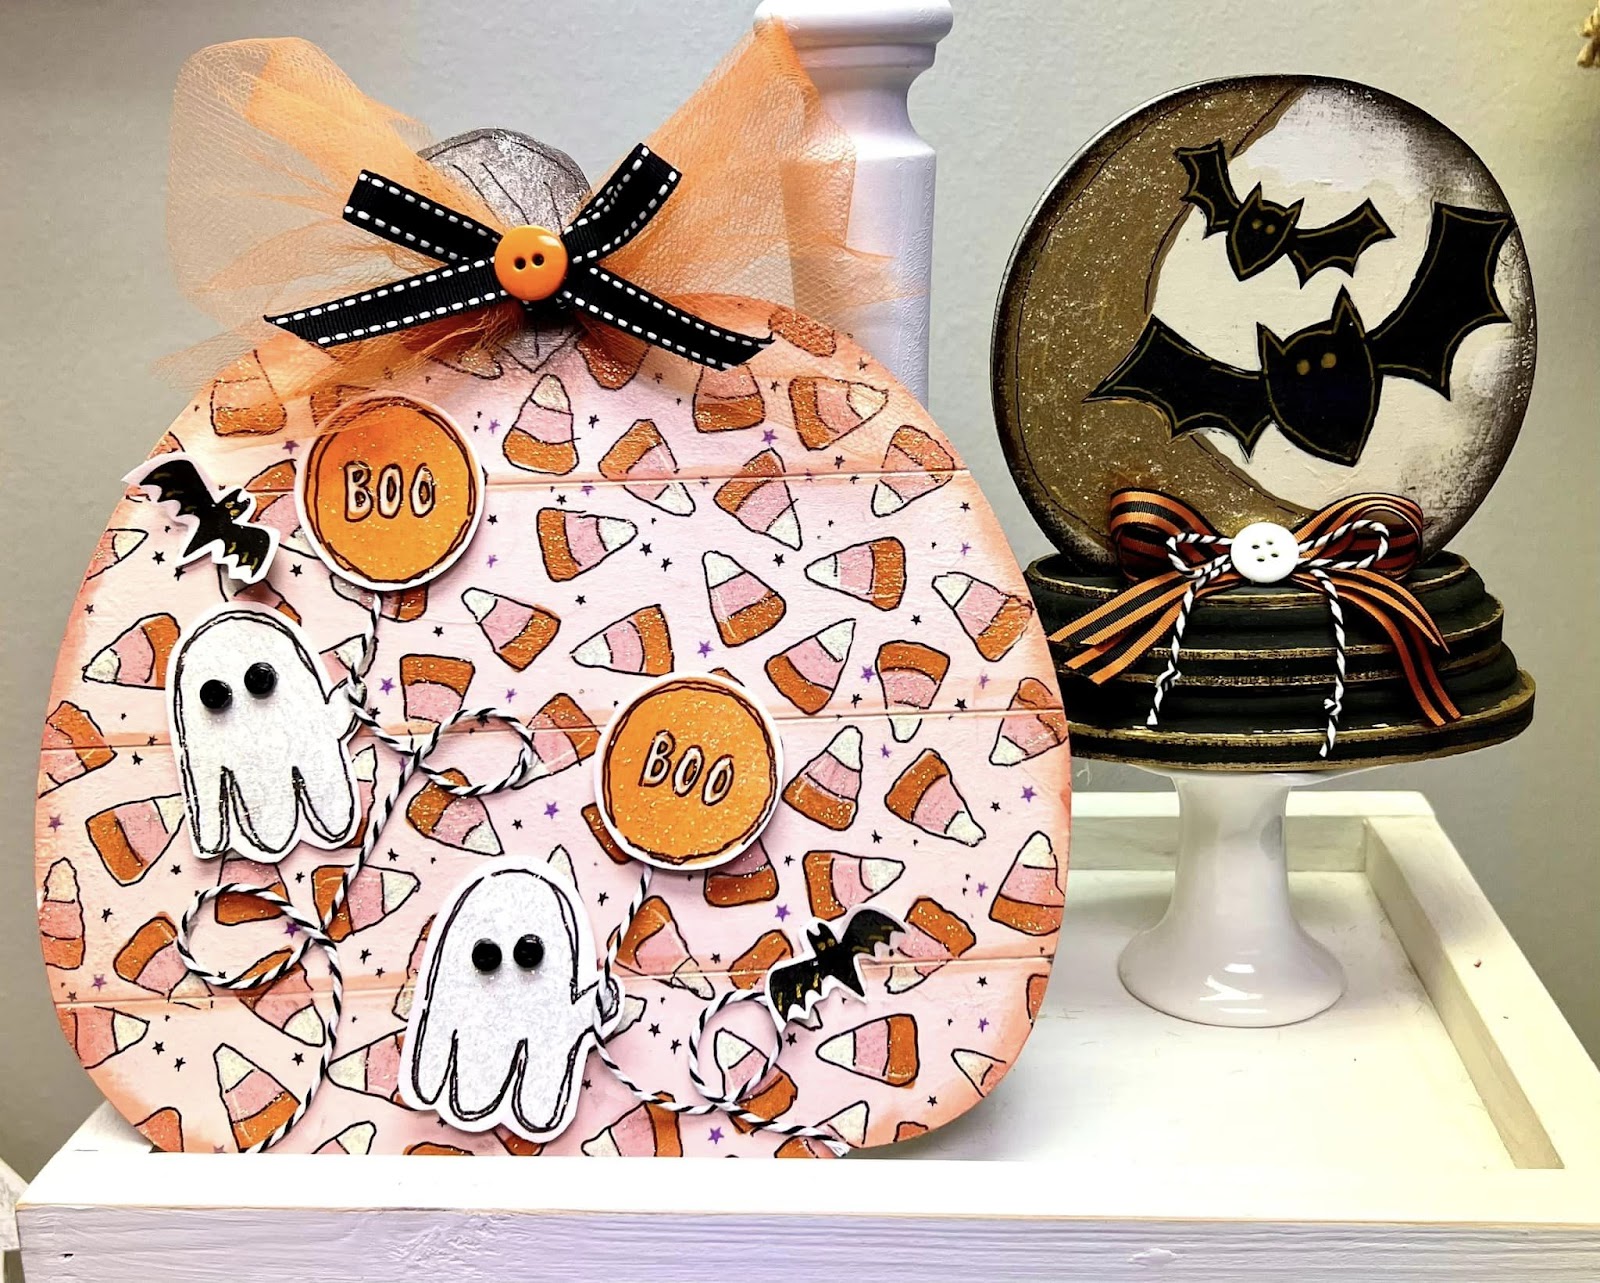
As the leaves change and Halloween approaches, it’s the perfect time to add some festive flair to your home. This tutorial is all about bringing your creativity to life with our Halloween Fun Napkin Mini Bundle and creating unique wooden pieces for the Halloween season. This blog features TWO projects made with whimsical napkin art, vibrant colors, and fun embellishments that will bring your fall decor to life.
Begin by painting your Medium Shiplap Shape – Pumpkin and the top of your Wooden Snow Globe with Simplicity – Country Chic Paint. For the two wooden base pieces of the snow globe, use Licorice – Country Chic Paint. Allow everything to dry completely.
Applying Napkin Art to Your Pallet Pumpkin
To add dimension to my pumpkin project, I’ll be using napkin art from my ghost napkin and applying it to white cardstock. My go-to technique for this is the “iron-on method,” which I’ll be demonstrating today! Start by applying a coat of Mod Podge Matte to your white cardstock and letting it dry.
Take the ghost guest towel napkin, unfold it, and separate the layers until you’re left with just the top layer of napkin art. Place the napkin on the dry white cardstock, cover it with a sheet of parchment paper, and use a craft iron on the highest setting (with no steam) to press it down. The heat reactivates the Mod Podge, seamlessly bonding the napkin art to the cardstock!
Once dry, cut out each napkin art image from the cardstock. Use a black Pitt Pen and a Uniball Singo Gold Pen to outline and add details to the images.
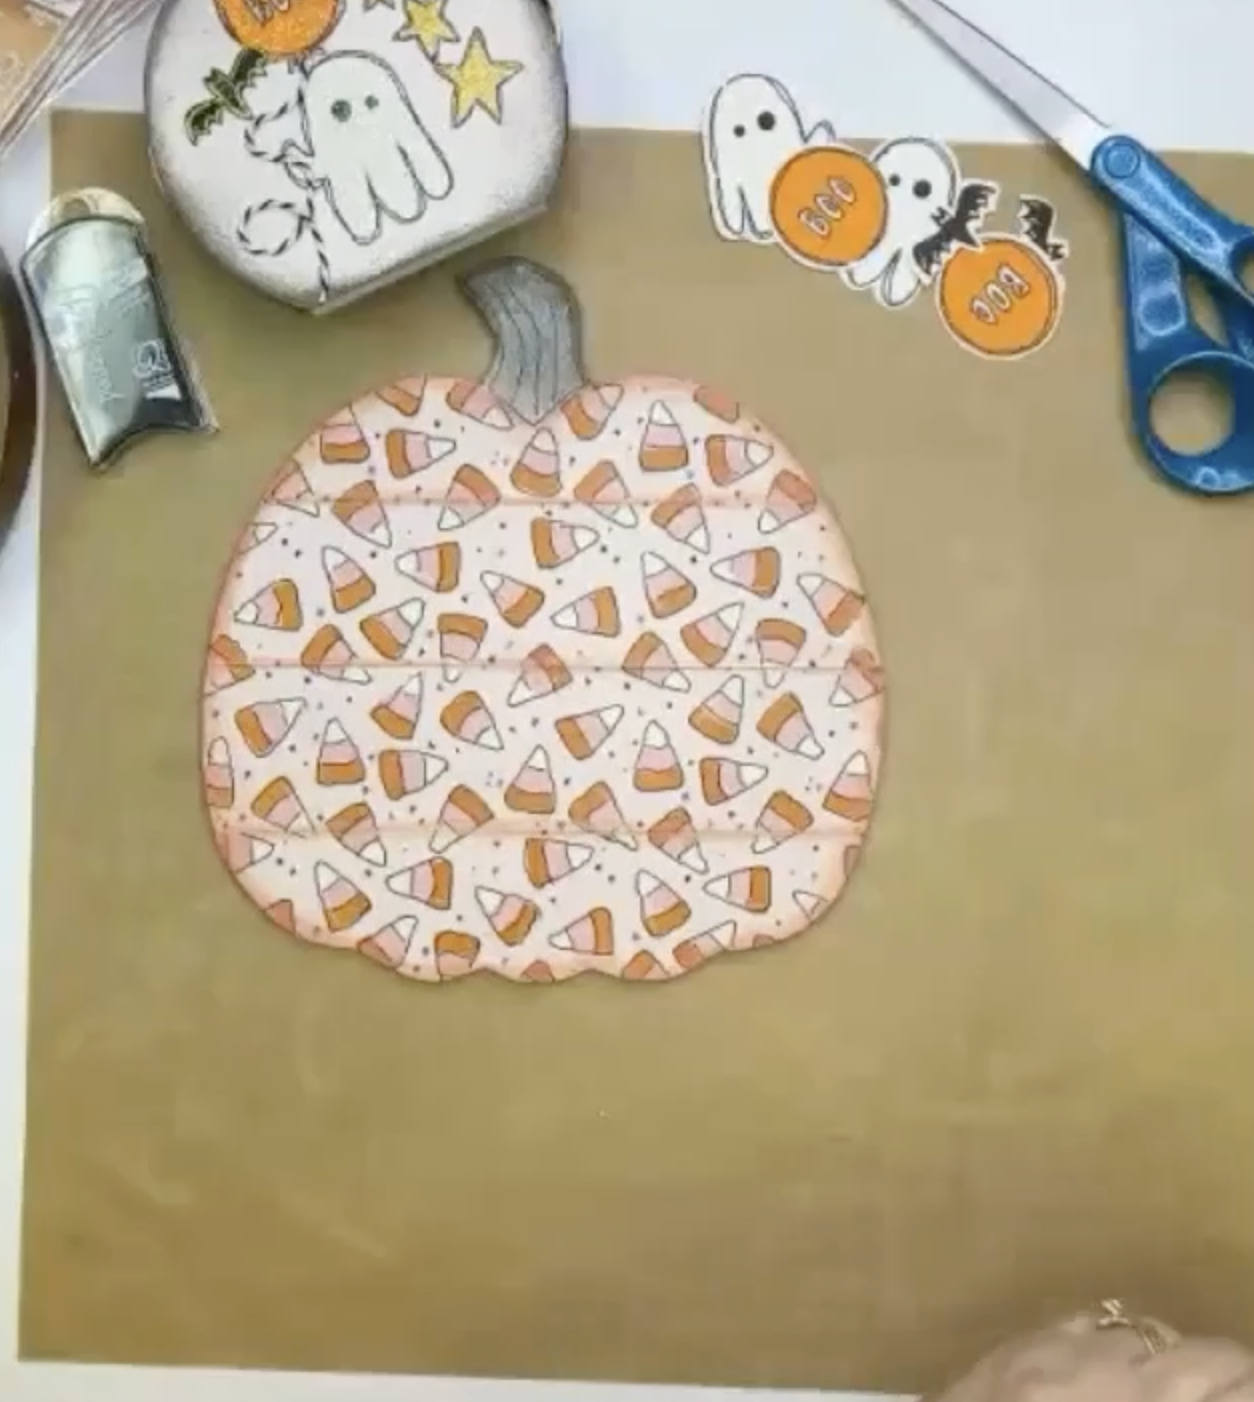
For the pumpkin background, I’ll apply the candy corn napkin over the entire pumpkin, leaving the stem bare. Trim the napkin to fit, and at the base of the stem, cut a small V-shape for a more natural transition. Separate the napkin layers until only the top layer of the design remains, then decoupage it onto the pumpkin. Use the end of a paintbrush or your fingernail to press the napkin into the shiplap grooves, ensuring it fits snugly into the valleys. Dry it with a heat tool, sand off any excess napkin, and finish with a final layer of Mod Podge to seal everything.
Adding Details & Embellishments to the Pallet Pumpkin
Next, I’ll use Chalk Ink – Petunia Pink to add color around the edges of my wooden pumpkin. My ink has a straight edge, so I’ll also run it down the grooves of the shiplap. I’ll use Chalk Ink – Midnight Confessions all around the stem.
Next, I’ll outline all the candy corn with my black Pitt Pen, adding detail lines to the stem for extra definition.
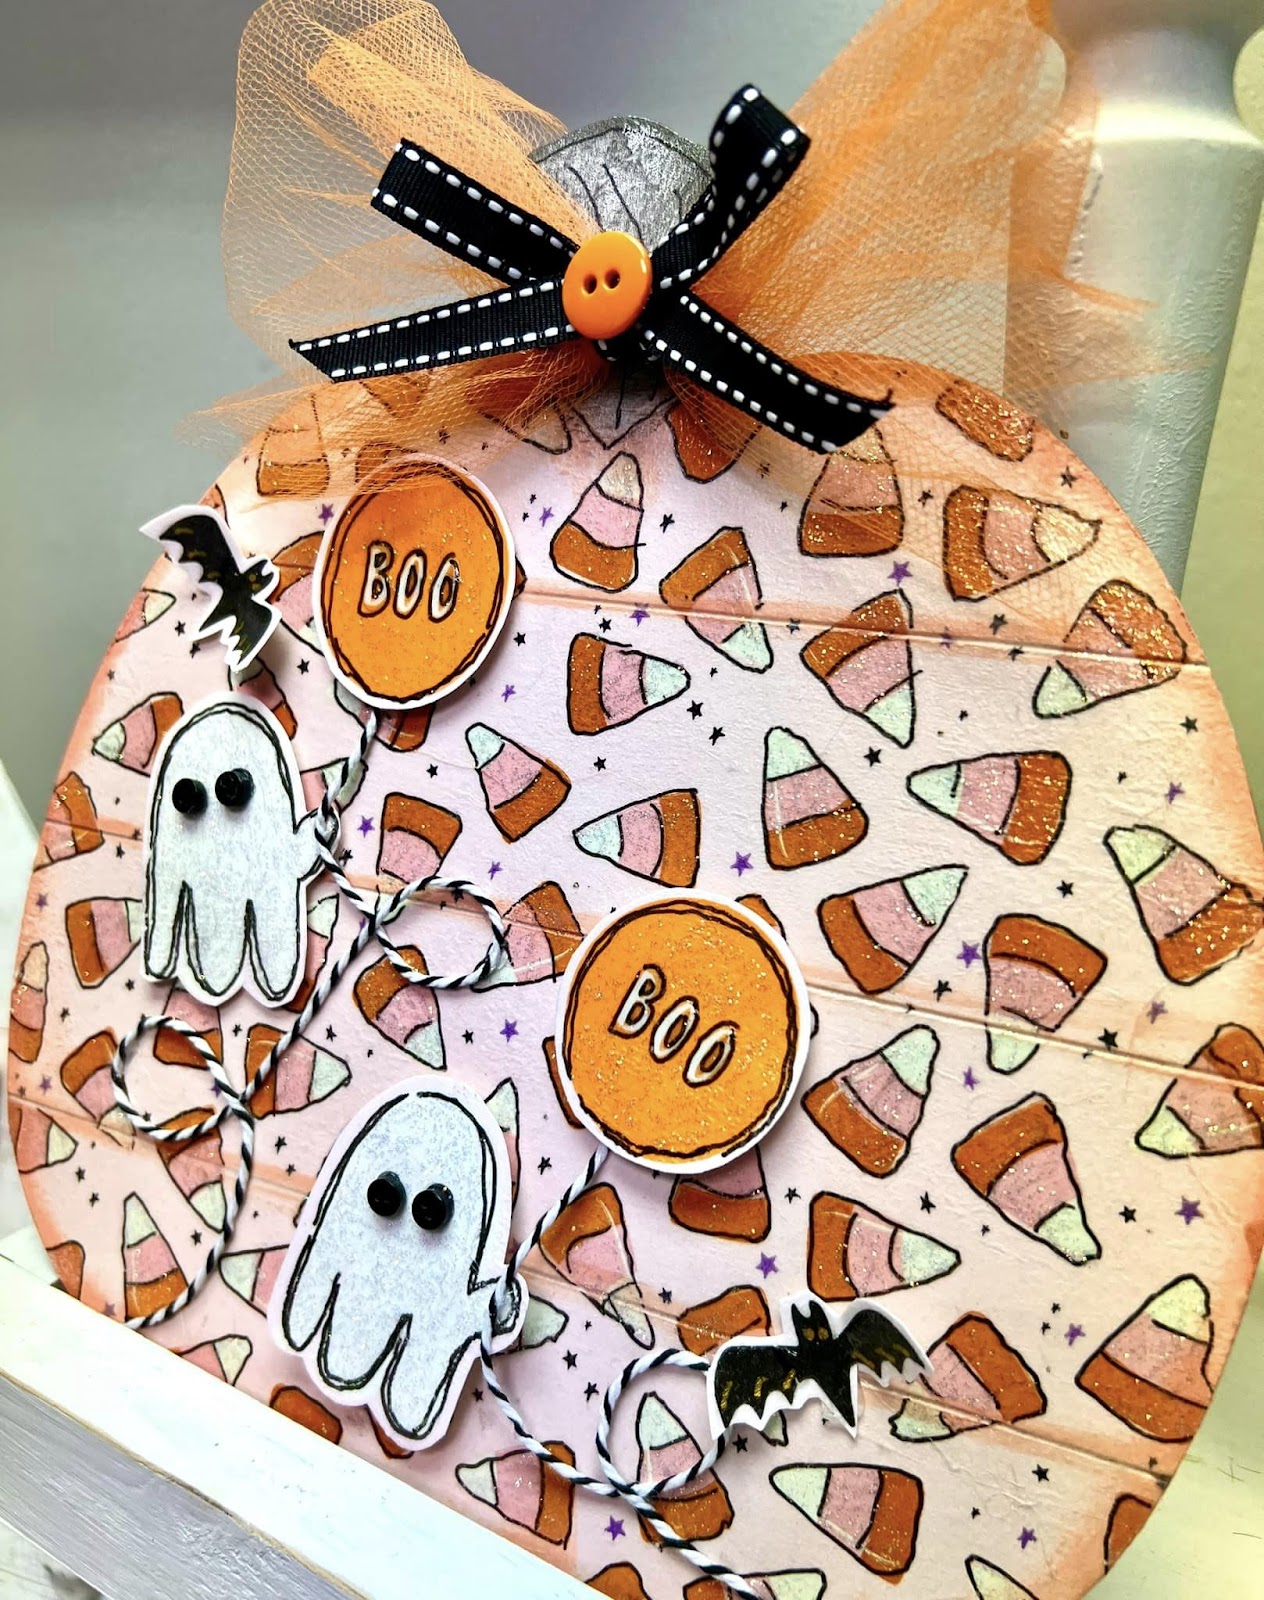
For the cardstock napkin art images you created, apply Foam Tape to the back of each piece and attach them to your pumpkin. For added dimension, I’ll use two layers of Foam Tape on some images to elevate them further. To ensure everything stays securely in place, I’ll also use hot glue. Additionally, I’ll hot glue black-and-white baker’s twine from each orange balloon to the ghost’s hand for a whimsical touch. Feel free to create and add a bow to the stem as well.
Applying Napkin Art to Your Spooky Snowglobe
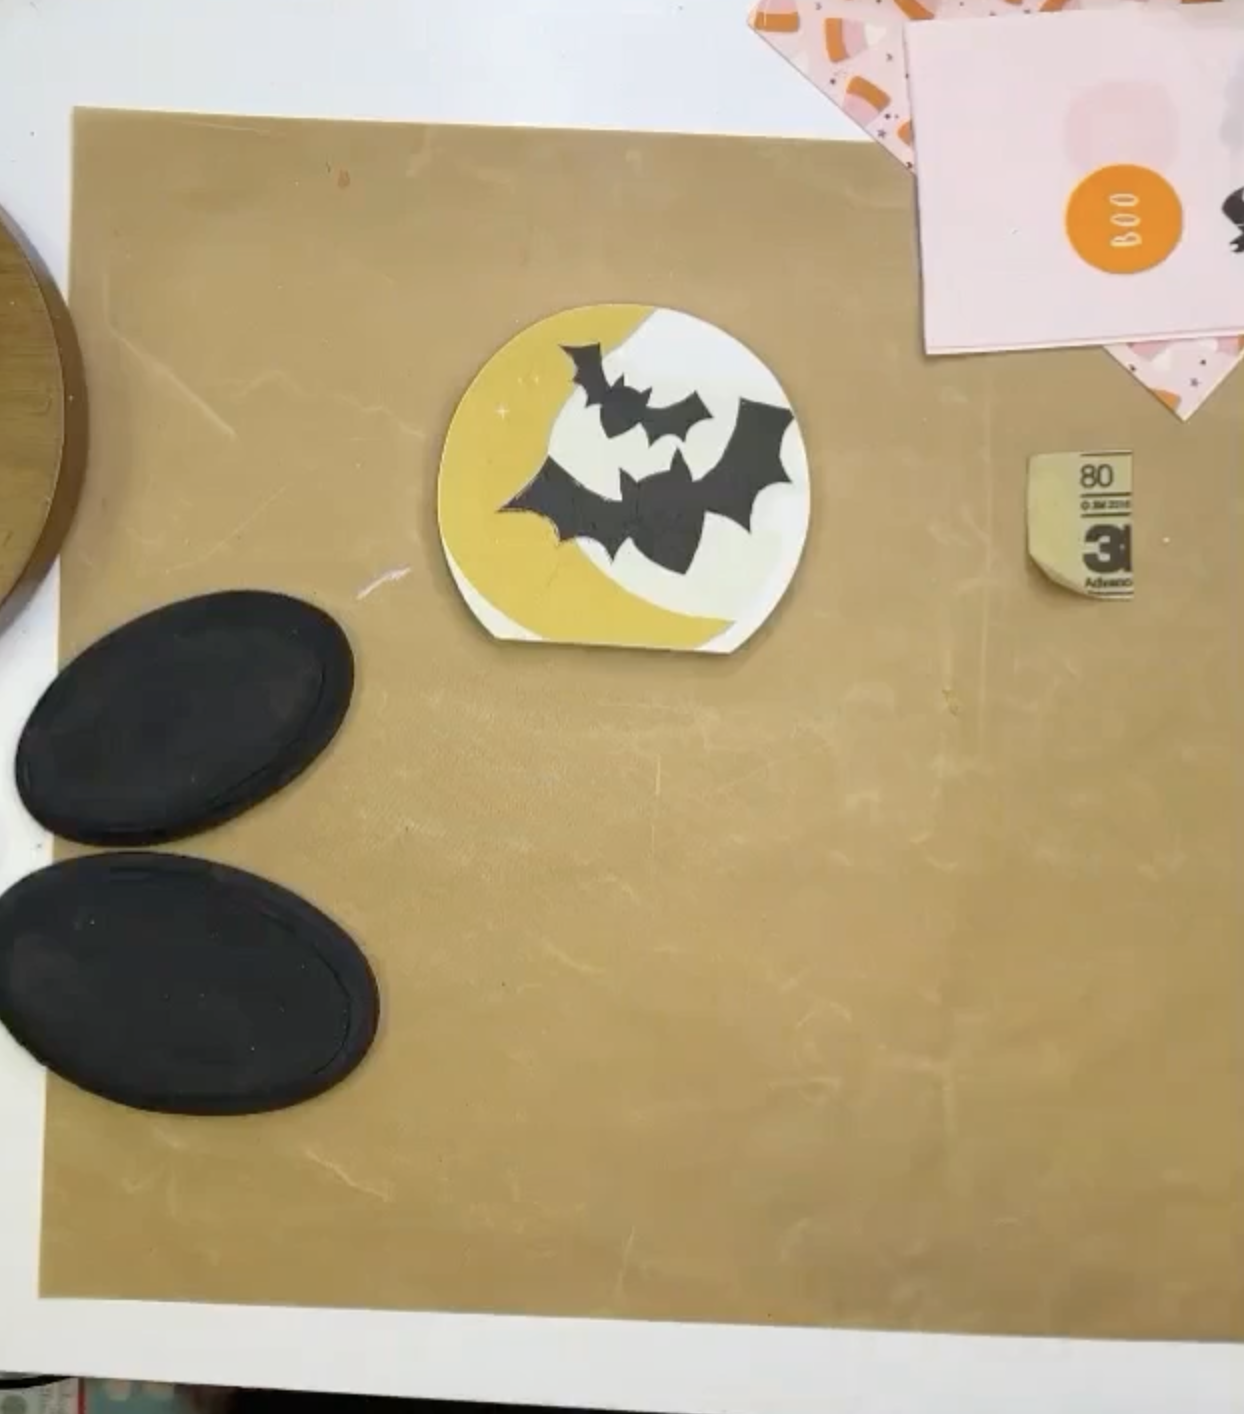
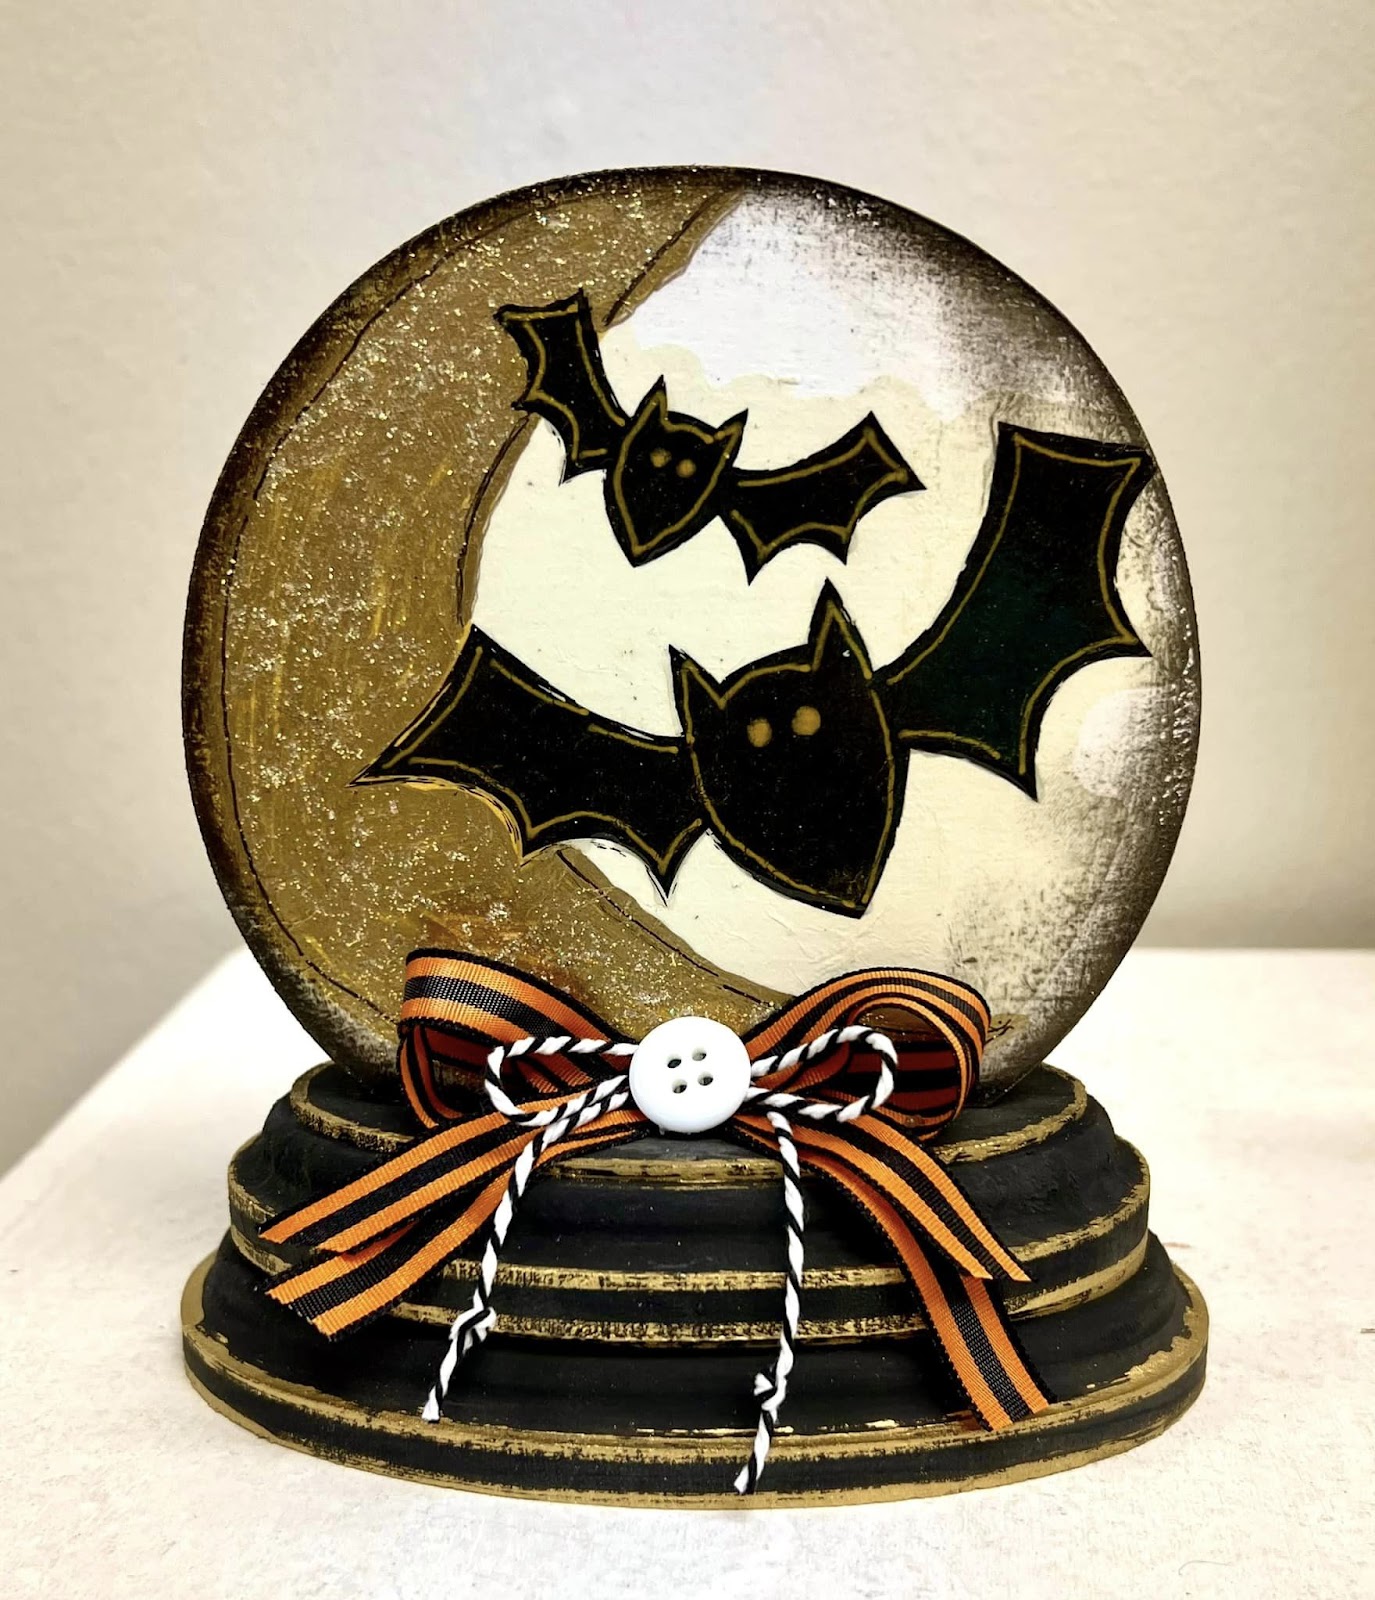
Take the Moon & Bat Napkin from the Halloween Fun Napkin Mini Bundle and separate the layers until you’re left with the top napkin art. Apply a layer of Mod Podge Matte to your wooden snow globe, place the napkin on top, and gently smooth it out with a piece of plastic wrap. Once it’s set, use a heat tool to dry it, then carefully sand off any excess napkin around the edges with a small piece of sandpaper for a clean finish. Finally, add another layer of Mod Podge Matte to seal your piece and let it dry.
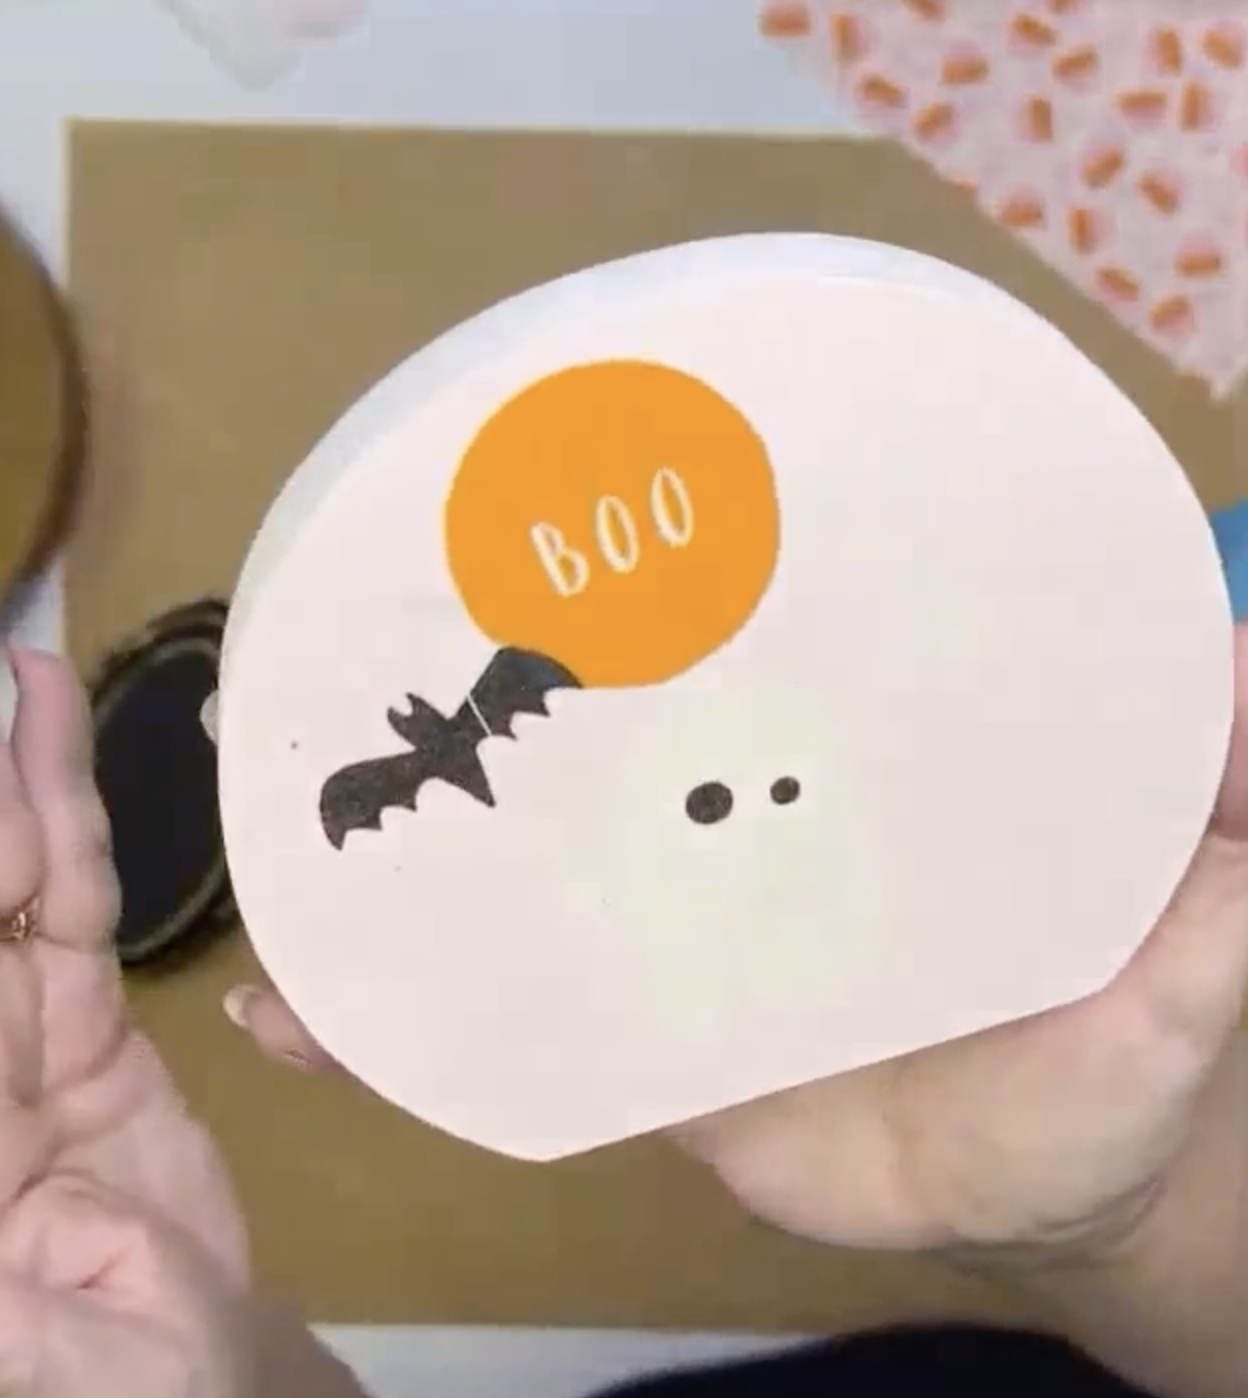
To finish the back of my snow globe, I’m using the ghost guest towel napkin. I’ll start by cutting out the orange “Boo” circle from the napkin. Next, I’ll apply the rest of the napkin art to the wooden snow globe and dry it with a heat tool. Once that’s set, I’ll position and attach the orange “Boo” circle, drying it again. To clean up the edges, I’ll use sandpaper to remove any excess napkin hanging over the sides. Apply a final coat of Mod Podge to seal the piece.
Adding Details & Embellishments to the Wooden Snow Globe
Next, I’ll use my Krylon Gold Leaf Pen to add some fun details to the black base of the wooden snow globe. I’ll use the pen to lightly go around all of the edges of the base. I’ll stack the two bases and attach them with Scotch Tacky Glue.
On the moon side of my wooden snow globe, I’ll start by applying Chalk Ink – Midnight Confessions around the edges for added depth. Using a Krylon Gold Leaf Pen, I’ll fill in the entire moon, then outline it with a black Pitt Pen for definition. For the black bat, I’ll add some gold highlights using a Uniball Signo Gold Pen. You can add a bow to the base as well.
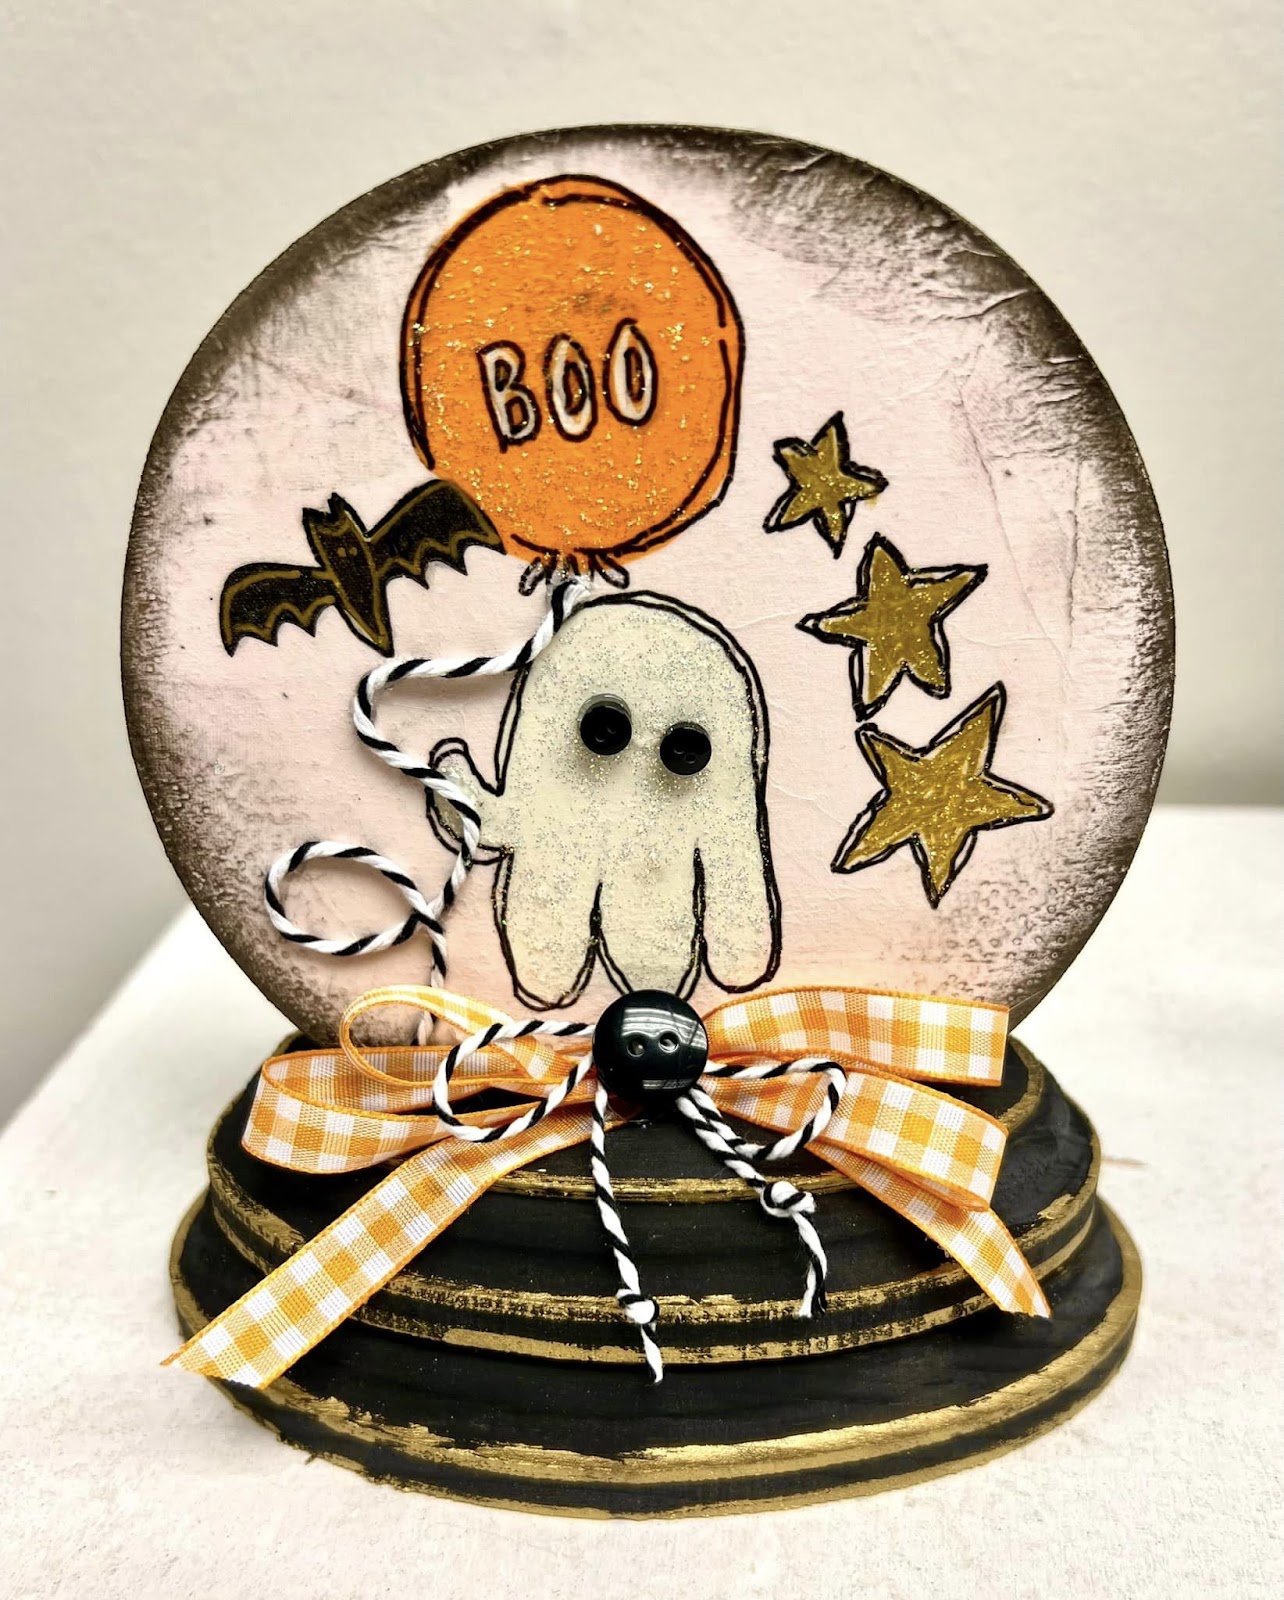
On the ghost side, I’ll outline the ghost, the orange “Boo” circle, and the letters with my Pitt Pen, creating a balloon tie at the bottom for extra detail. I’ll also use the Uniball Signo Gold Pen to add accents to the bat and fill in the small stars, outlining them with the Pitt Pen. Finally, I’ll apply Chalk Ink – Midnight Confessions around the edges to complete the look.
For a playful touch, hot glue black-and-white baker’s twine from the orange balloon to the ghost’s hand. Add some sparkle by applying Stickles to the balloon, ghost, and stars. I’ll use Glossy Accents to give a glossy finish to the bat, the ghost’s eyes, and the “Boo” letters. Let everything dry thoroughly. You can add a bow to the base as well.
With the combination of vibrant colors, charming napkin art, and fun embellishments, your Pallet Pumpkin and Spooky Snow Globe will be the perfect conversation starters this fall. So gather your supplies, invite some friends over for a crafting session, and enjoy the process of creating something special that celebrates the magic of Halloween.
I go LIVE on my Facebook page every Friday at 11 am CST for a fun and easy Craft-n-Chat Session. Come learn something new while creating something beautiful!
Join the waitlist for The Napkin Club where Unique Makers can connect, learn, and be inspired to create with the Individual Unique Napkin Collections that you will receive every month! A place where Napkin Lovers can unite and be inspired!


0 Comments