Supply List:
- Various Red or Pink cotton fabric
- PolyFil – to stuff the strawberries
- Wool Felts – Moss, Snow White
- Needle – #7 embroidery needle
- Sulky Thread – Red, Yellow
- Scissors
- Template – PDF Link HERE
- Find all of of our stitching supplies HERE
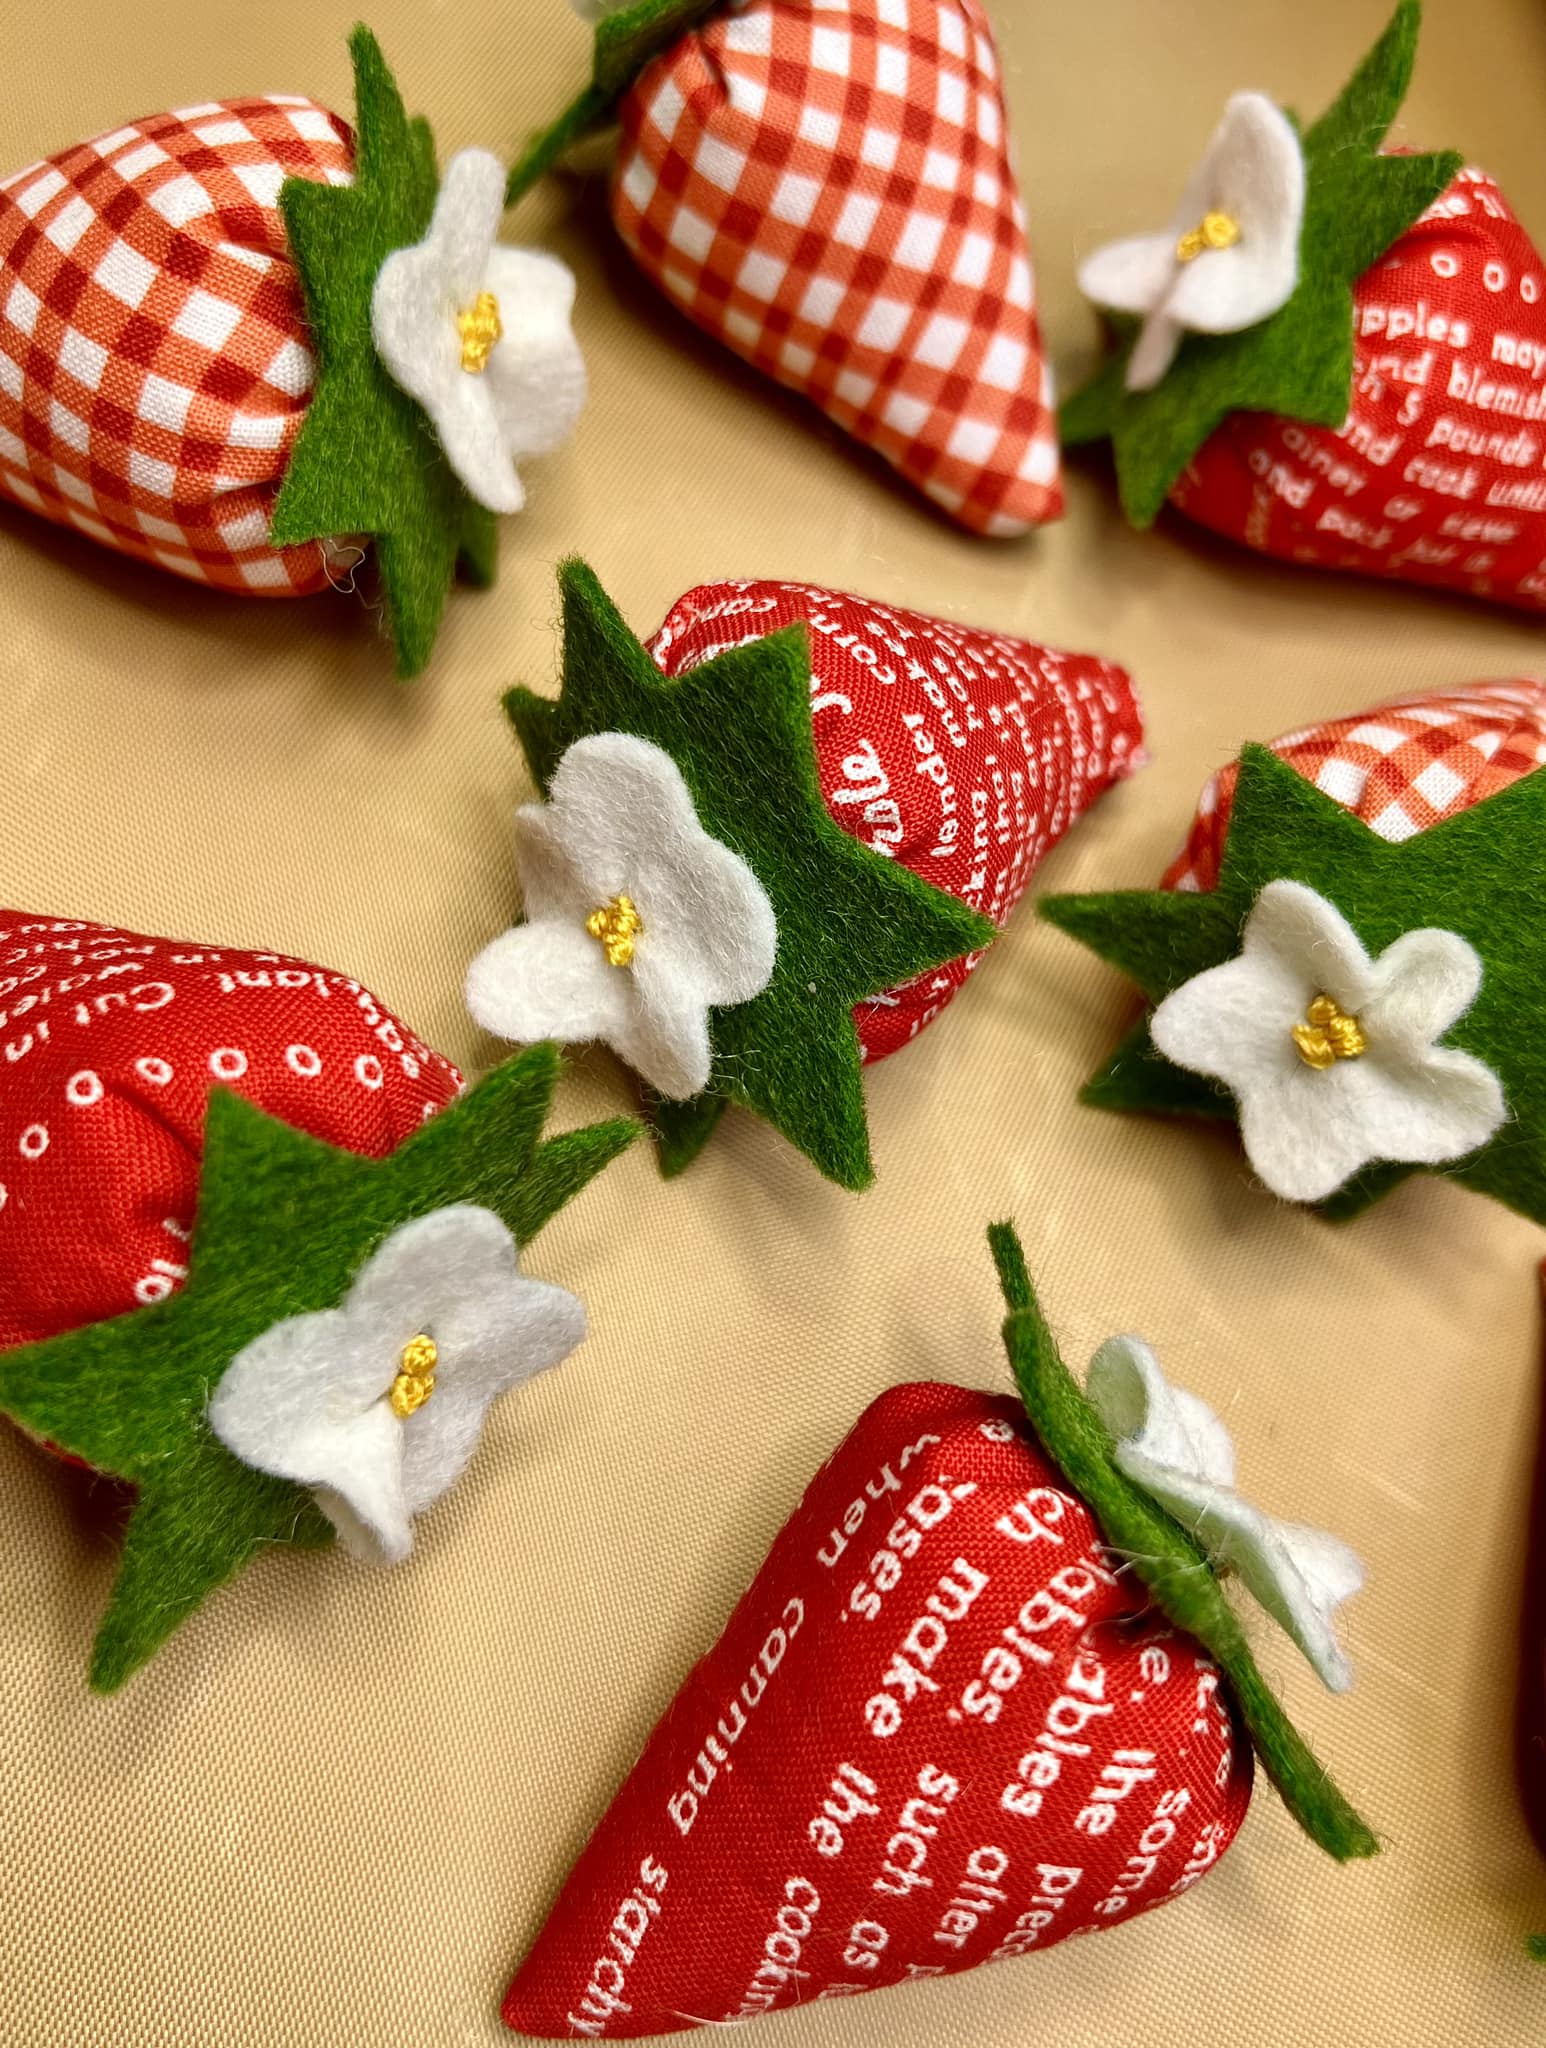
Today, I am showing you how to make these adorable fresh fabric strawberries, which is an example of a fabric fun workshop that we would do in the Fabric Fab Club. Some of our projects are bigger hand-stitching projects, but others are on a smaller scale like these cute little strawberries. I promise you – anyone at any skill level can make this! This is such a fun summer project that you can add to a small basket, bowl, tiered tray, arrangement, and more.
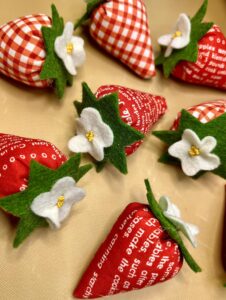
I am working with two different fabrics today – a red checkered pattern and a red fabric with words on it. You can use any fabric that you would like that is in the red or pink family.
We are working with a template that I sent out to the newsletter (hopefully, you are on it and received that!). Take the triangle-shaped strawberry body template and place it on the back of your fabric. Then, outline it with your Frixion Pen, which disappears with heat. Cut out your fabric and you’ll have your strawberry body piece.
We will be stitching on this with some red thread, and we will double-thread our needle. Fold your fabric in half and then add a stitch, then continue stitching down the side with a backstitch. If you don’t like your strawberries to be super pointy, add a little stitch across the bottom point too. Tie off your thread.
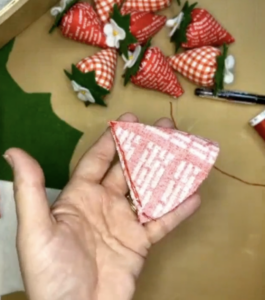
Turn your fabric inside out and you should have a little cone shape! Grab some polyfill stuffing, and make sure you have a tiny bit for the tip, then continue to fill it about halfway.
Next, we will do a gathering stitch around the top. We will double-thread our needle again with the red thread. You are simply gathering as much fabric onto your needle and pulling it through. Then, add some additional stuffing and once it’s full, pull that thread tight.
Then, we’ll need to close the strawberry up, so put your needle through all of that gathered fabric about three times and knot it off.
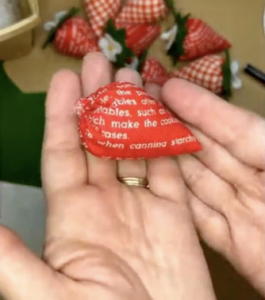
Now you will grab the strawberry topper templates and some green wool felt. Trace the template onto your felt with the Frixion pen and cut it out.
Take the little flower template and some white wool felt and do the same thing. Trace the template onto the felt with your pen and cut it out. Draw a little circle in the center of your flower and add four little stitches with yellow thread. Then, pull the petals of your flower forward and add a gathering stitch. Next, I will add three French knots to the middle of my flower with some more yellow thread.
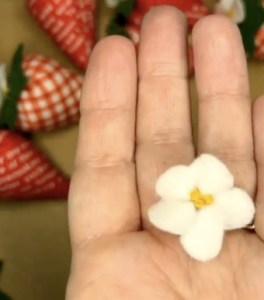
Add a decent amount of hot glue to the top of your strawberry, then add your green felt topper. Press and hold that one for a moment to secure it. Then, add more hot glue and apply your white flower.
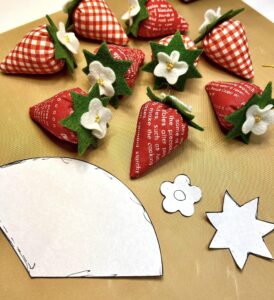
There you have your fresh fabric strawberries! These are all unique and you can easily use your scrap fabric in your stash to create these. Enjoy making these adorable little starwbaerries and have fun decorating with them this summer!
Join the Fabric Fan Club! The Fabric Fan Club is a fab-ulous community where creatives like YOU can learn and be inspired to create awesome projects while learning a wide variety of fabric crafting and stitching techniques!
I go LIVE on my Facebook page every Friday at 11 am CST for a fun and easy Craft-n-Chat Session. Come learn something new while creating something beautiful!


I signed up for your newsletter. Can I get the template for you strawberry pattern?