


Supply List:
- Halloween Fun Mini Napkin Bundle
- 5×7 Chunky Wood Block
- Medium Shiplap Cutting Board
- Country Chic Paint – Simplicity
- Mod Podge Matte
- Plastic Wrap
- Pitt Pens
- Glaze Pens – Bright
- Glossy Accents
- Diamond Stickles
- Black/White Bakers Twine
- Tinsel
- Ribbon and Buttons
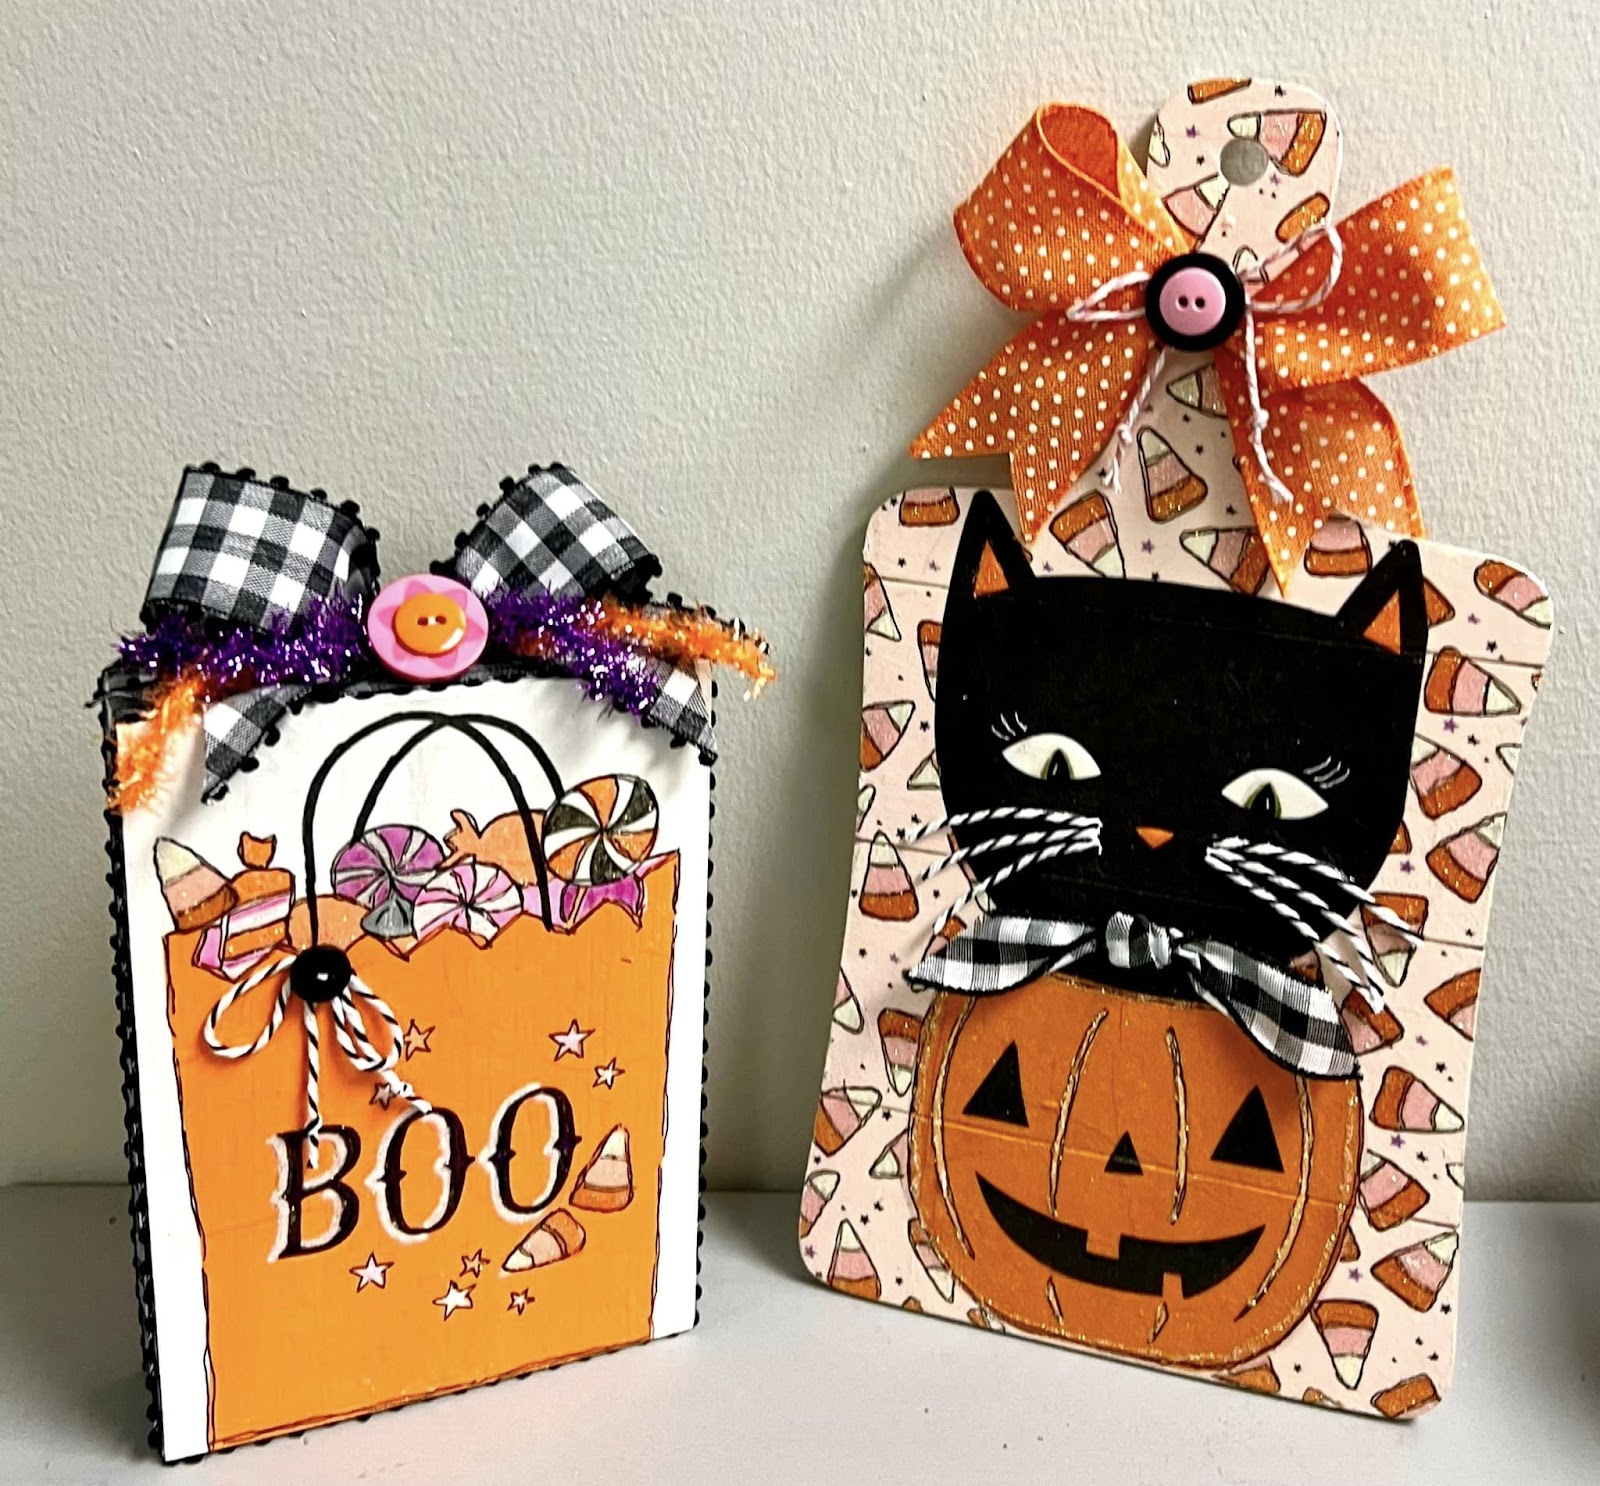
As Halloween approaches, it’s the perfect time to add a touch of spooky fun to your home decor! Today, we’re creating two DIY projects that are sure to add something festive to your space. Using the Halloween Fun Mini Napkin Bundle, we’ll be adding napkin art and embellishments to a 5×7 Chunky Wood Block and a Medium Shiplap Cutting Board. These pieces are not only great for tiered trays, shelf sitters, or easel displays, but they’re also incredibly simple to make with these napkin art techniques!
Adding Napkin Art to Your Shiplap Cutting Board
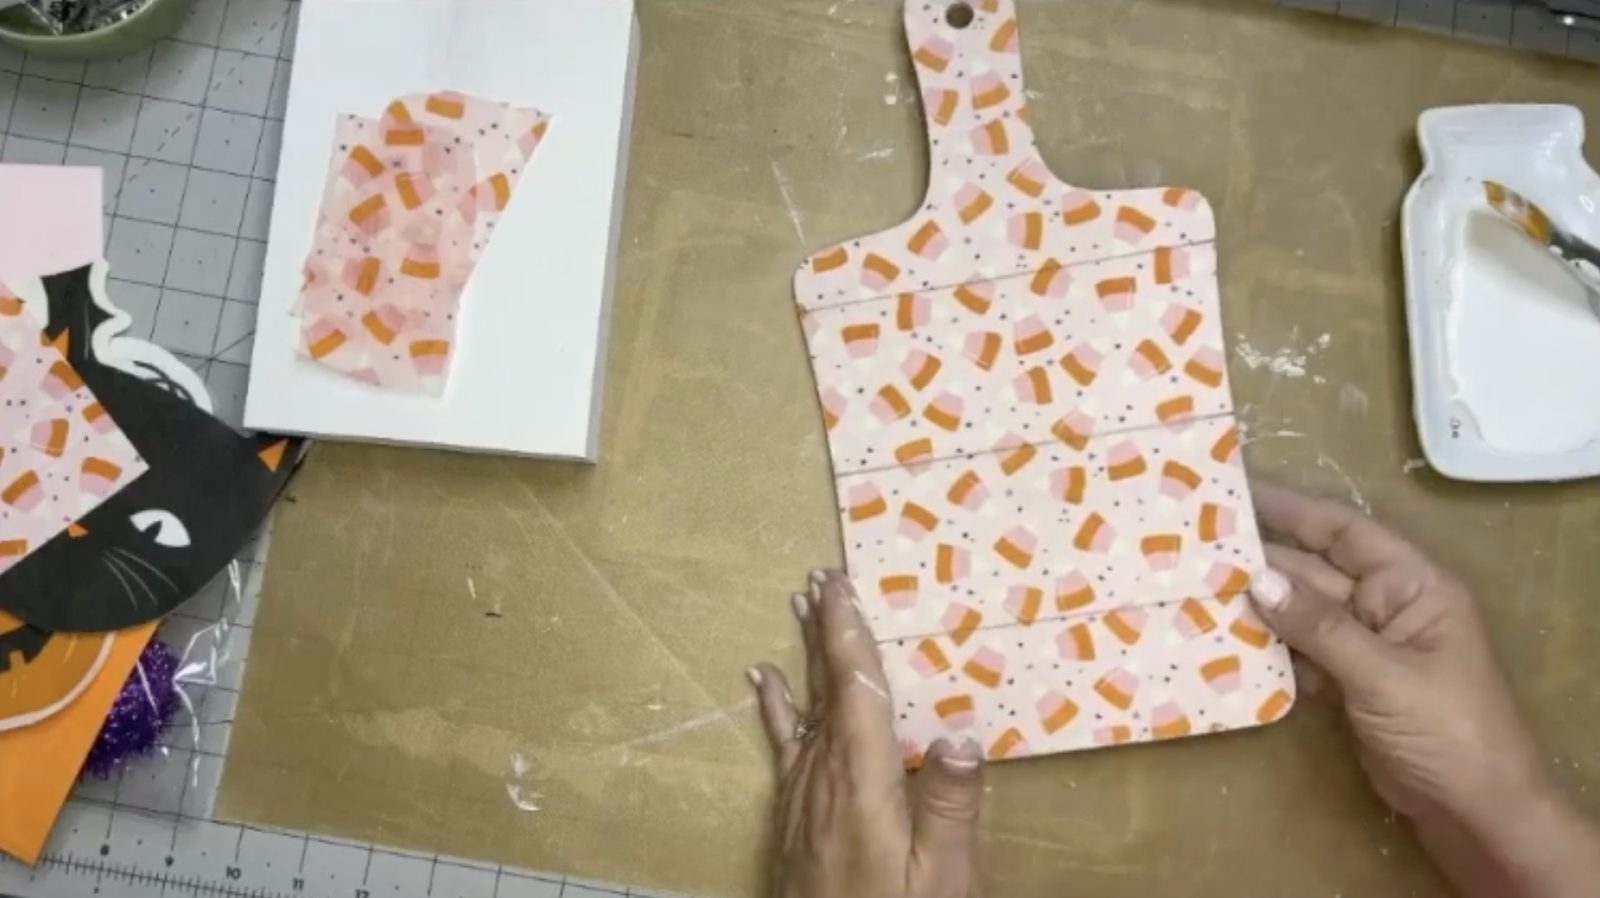
Start by adding a coat of Country Chic Paint – Simplicity to both of your wooden surfaces, including the sides. I’ll also paint the back of the wooden block. Clean out the valleys of your shiplap surface with a toothpick or nail file to keep those indentations in the wood. Dry both with a heat tool.
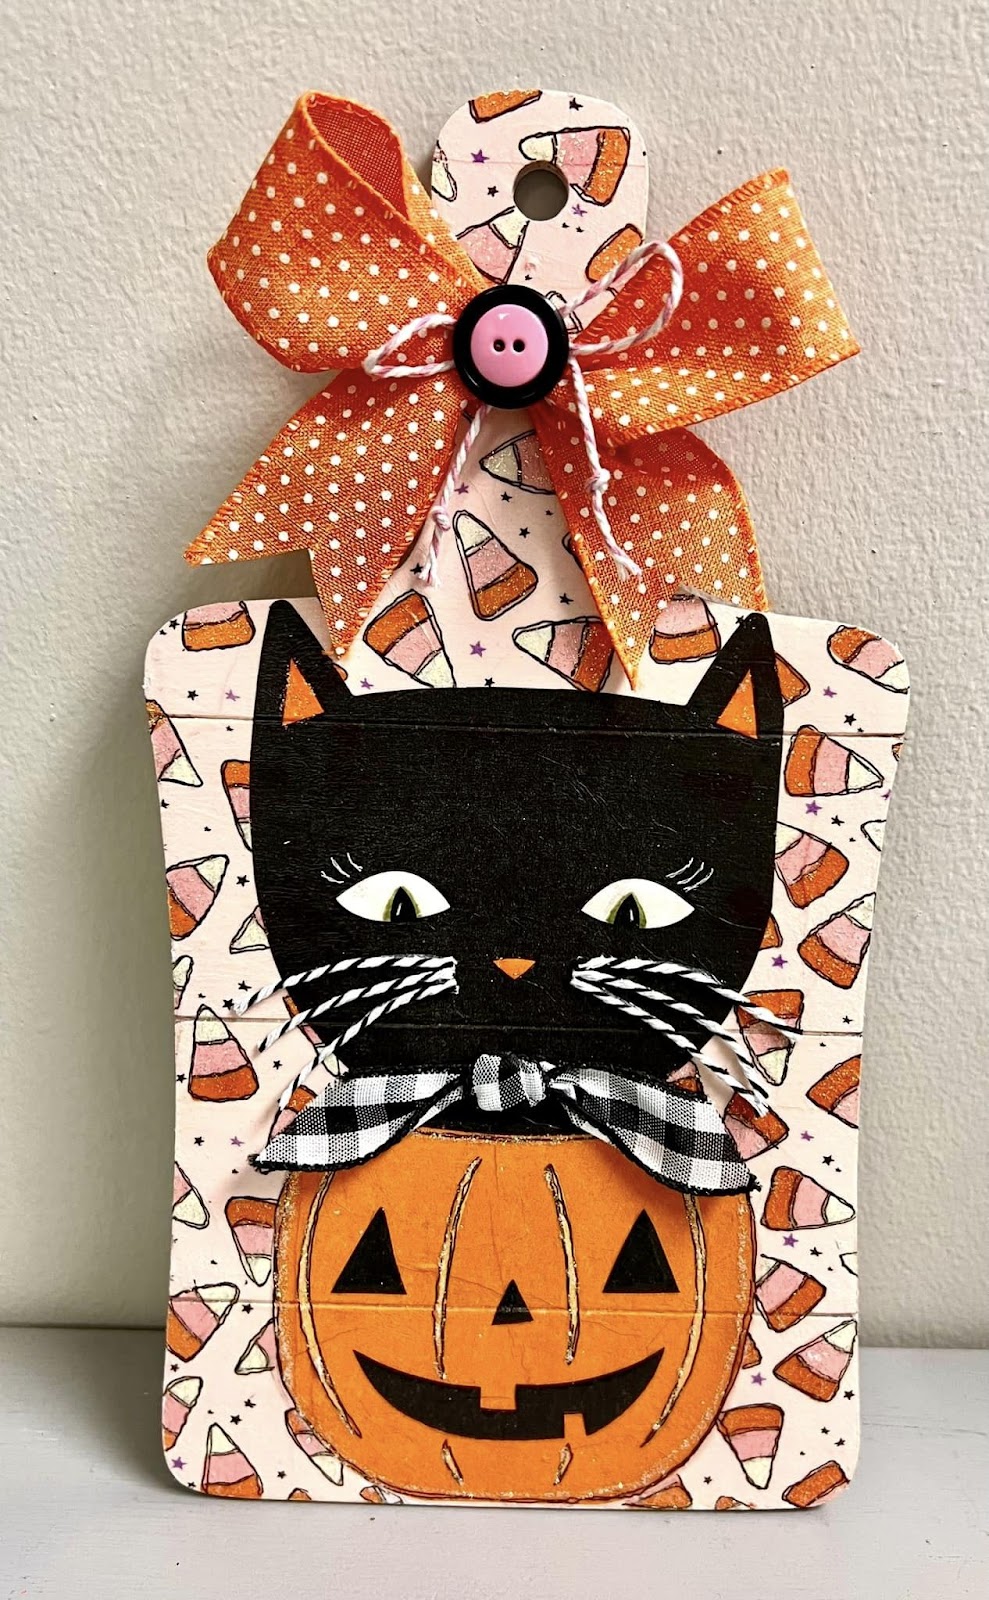
I’m going to start with my shiplap cutting board because I’ll be layering a few different napkins on this one. First, I’ll cover my entire piece with a candy corn napkin. Cut the napkin to size and separate the plys until you just have the top layer of napkin art. Cover the entire surface of your cutting board with Mod Podge Matte. Lay the candy corn napkin on top and smooth it down with plastic wrap on top. Run your fingernail along the valleys of the shiplap to let those indentations show. Dry with a heat tool and use a piece of sandpaper to sand off the excess napkin. Add a top coat of Mod Podge Matte to seal your napkin.
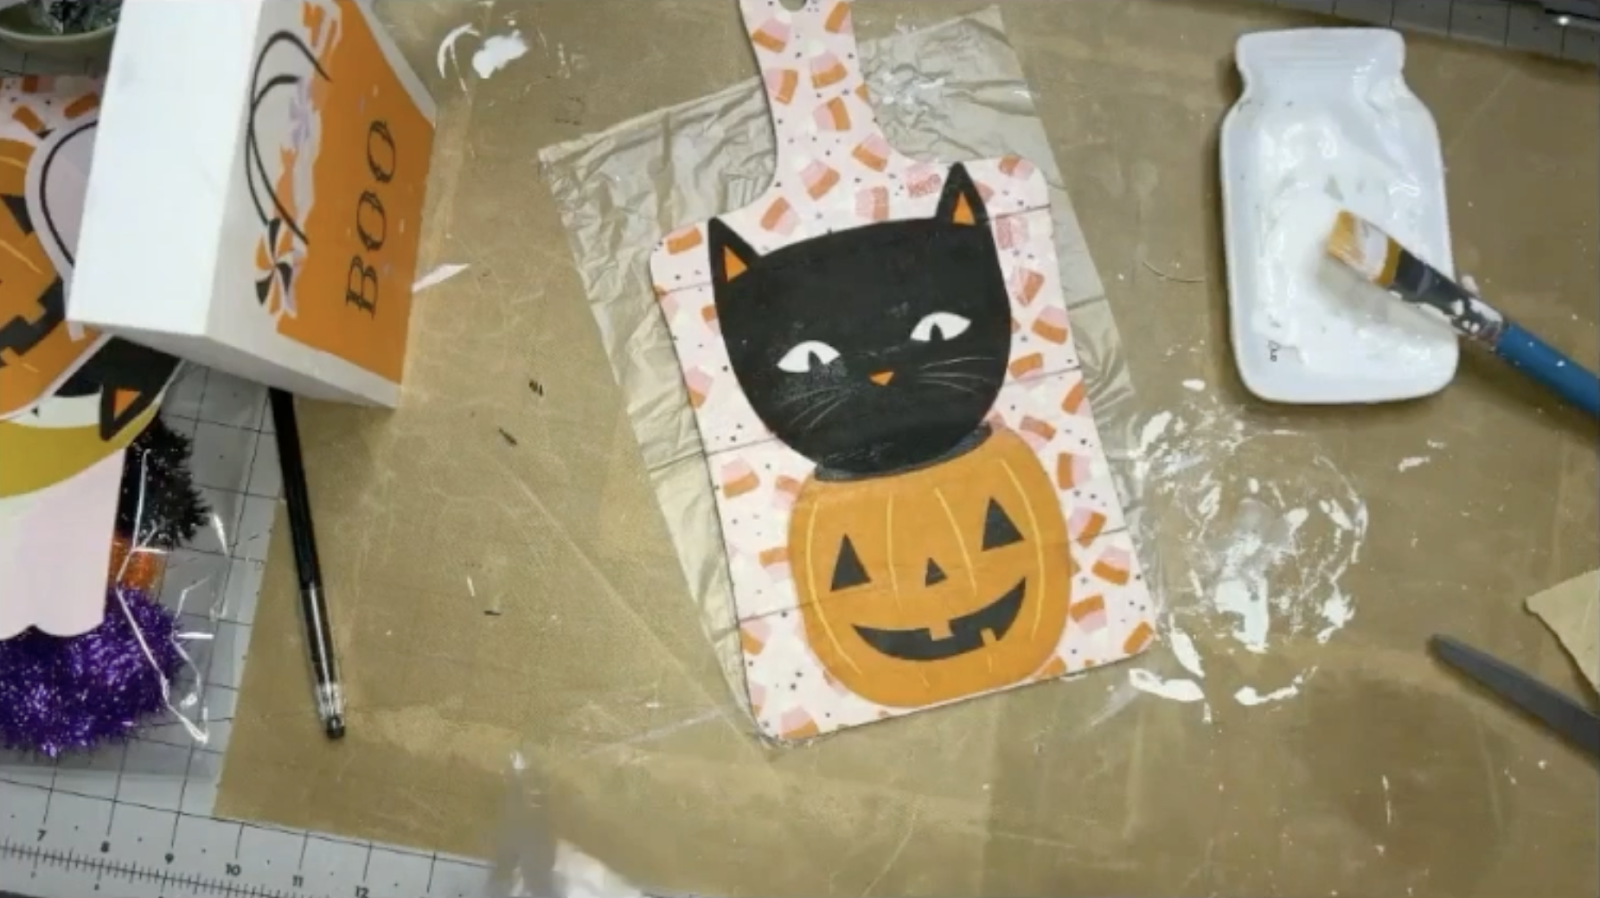
For my next layer of napkin art, I’ll be adding the treat bucket and kitty cat napkins to my surface. Cut the images from your napkin and cut off the handle of the treat bucket. Separate the plys of each napkin.
Our candy corn napkin will show through, so we’ll need to paint the area where we’ll be applying this napkin layer. Lay your cat and treat bucket napkins onto the cutting board and use a Frixion pen to trace around them. Paint this area with a coat of Country Chic Paint – Simplicity. Dry with a heat tool. Add a coat of Mod Podge Matte, lay your napkins on top, and smooth them down with a piece of plastic wrap. Let dry.
Adding Napkin Art to Your Chunky Wood Block
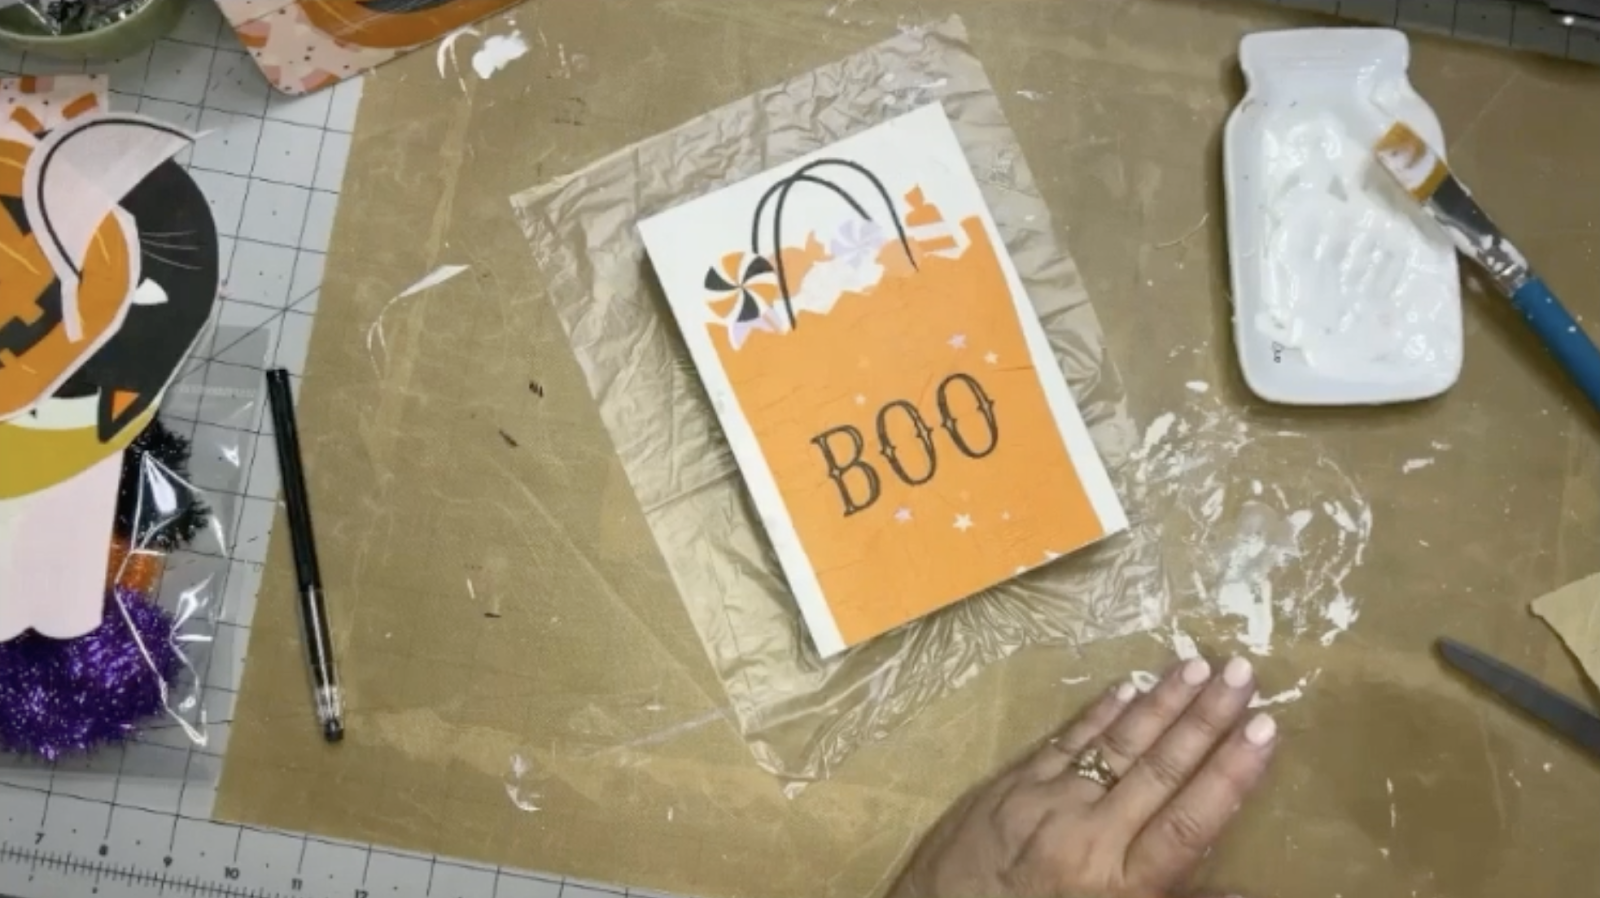
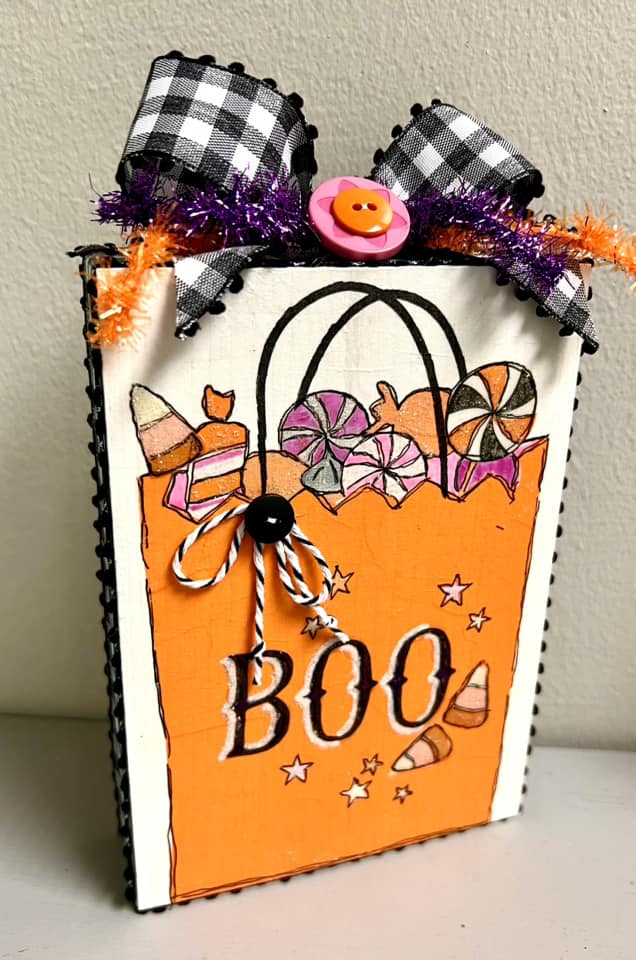
Let’s work on our 5×7 wood chunky block! I’m going to be applying an adorable treat bag napkin to this surface. Cut your treat bag napkin out and then separate the plys until you just have the top layer of napkin art. Cover the entire surface of your block with Mod Podge Matte. Lay the treat bag napkin on top and smooth it down with plastic wrap on top. There will be some excess on the bottom that you can sand off with a piece of sandpaper. Dry with a heat tool. Do this same exact thing on the back with another piece of your treat bag napkin. Seal both sides of your surface with another coat of Mod Podge Matte.
Add Details and Embellishments to your Halloween Decor
For adding details to my napkin art, I love to use Pitt Pens. I’m going to add lots of detail lines on my chunky block – outlining the stars on the bag, the bag itself, and all of the candy pieces. I’ll also cut out a few pieces of candy corn from our candy corn napkin in the bundle and apply those around my piece using Mod Podge Matte. For the ones I’m adding on top of the orange bag, I’ll first outline and then paint the area with some Country Chic Paint – Simplicity.I’ll also outline those candy corn with my Pitt Pens.
You can also color in some areas of the candy with Glaze Pens – Bright and add Diamond Stickles to different areas as well. I’ll finish it off by applying a ribbon around the sides of the block as well as hot gluing a bow and button to the treat bag and the top of the block.
For my shiplap cutting board, I’ll use most of the same embellishing techniques. I’ll outline every candy corn with my Pitt Pens as well as most areas of the cat and pumpkin treat bucket. I’ll also hot glue a bow and buttons to the neck of the cutting board. Finally, I’ll add a bow around the cat’s neck as well as some baker’s twine whiskers.
With just a few supplies and a dash of creativity, you’ve created two stunning pieces of Halloween decor! The Halloween Fun Mini Napkin Bundle made it easy to add that cute-but-spooky vibe, and the simple napkin art techniques ensure anyone can join in on the crafting fun!
I go LIVE on my Facebook page every Friday at 11 am CST for a fun and easy Craft-n-Chat Session. Come learn something new while creating something beautiful! Mark your Calendars for my next Halloween fun workshop on September 20th!
Join the waitlist for The Napkin Club where Unique Makers can connect, learn, and be inspired to create with the Individual Unique Napkin Collections that you will receive every month! A place where Napkin Lovers can unite and be inspired!


0 Comments