Supply List:
- Clear Ornaments – I purchased these from Hobby Lobby. I will be using the Square size and the small Disc size. The item numbers are: Square Ornament- #6224968 Small Disc Ornament- #6225015
- The Christmas Story Napkin Bundle
- Hard Coat Mod Podge – Purple Label
- Simplicity Country Chic Paint- Chalk/Mineral paint
- Heat Tool for drying
- Gold Krylon Pen
- Stickles – Diamond, Unicorn, or Crystal – any of these will work well
- Christmas Greenery- Pine Sprigs or Holly
- Ribbons for topping the ornaments and anything you may want to put in the center of the bow *Irridescent Snow for filling in the ornament as well as other things like glitter beads, pearls, small snowflakes, small items that easily fit through the hole of the ornament
- Hot Glue Gun and Gluesticks
Add a special touch to your holiday decorations with these beautiful decoupage ornaments! I’ll show you how to apply napkin art to clear glass ornaments and add fun embellishments to make them extra festive. These ornaments make wonderful gifts for loved ones and are a great way to keep Jesus’ birth at the center of your celebrations with The Christmas Story Napkin Bundle.
Applying Napkin Art to Christmas Ornaments
With this reverse decoupage technique, we’ll be working from the back of the ornaments to achieve a layered, dimensional look.
To start, add a touch of sparkle with clear Stickles like Diamond, Unicorn, or Crystal. Dot the Stickles onto the back of your ornaments and gently pounce it around with your finger for an even, textured finish. Dry thoroughly with a heat tool.
One of the napkins in the bundle includes four square images that fit perfectly in square ornaments—simply cut them out and separate the layers until only the top napkin layer remains. Another napkin features four circular images, ideal for disc-shaped ornaments. Cut these out in the same way for a perfect fit.
Apply a coat of Hard Coat Mod Podge (Purple Label) to the back of the ornament, directly over the dried Stickles layer. Place the napkin face down onto the ornament and smooth it out using plastic wrap to ensure it adheres seamlessly. Let it dry completely, then repeat the process for each ornament.
Once all of the ornaments are dry, seal them with another coat of Hard Coat Mod Podge (Purple Label).
To make our napkin art pop, we are going to add a coat of Country Chic Paint – Simplicity to our napkins. Give it a little bit of time to dry and then add a second coat of paint. Dry again.
At this point, you can take a Gold Krylon Pen to add the year to the back or a sentimental message. You could also use a brush or your finger to add Metallique Wax – Vintage Gold, Old Silver to accentuate the texture on the back.
Adding Embellishments to Glass Christmas Ornaments
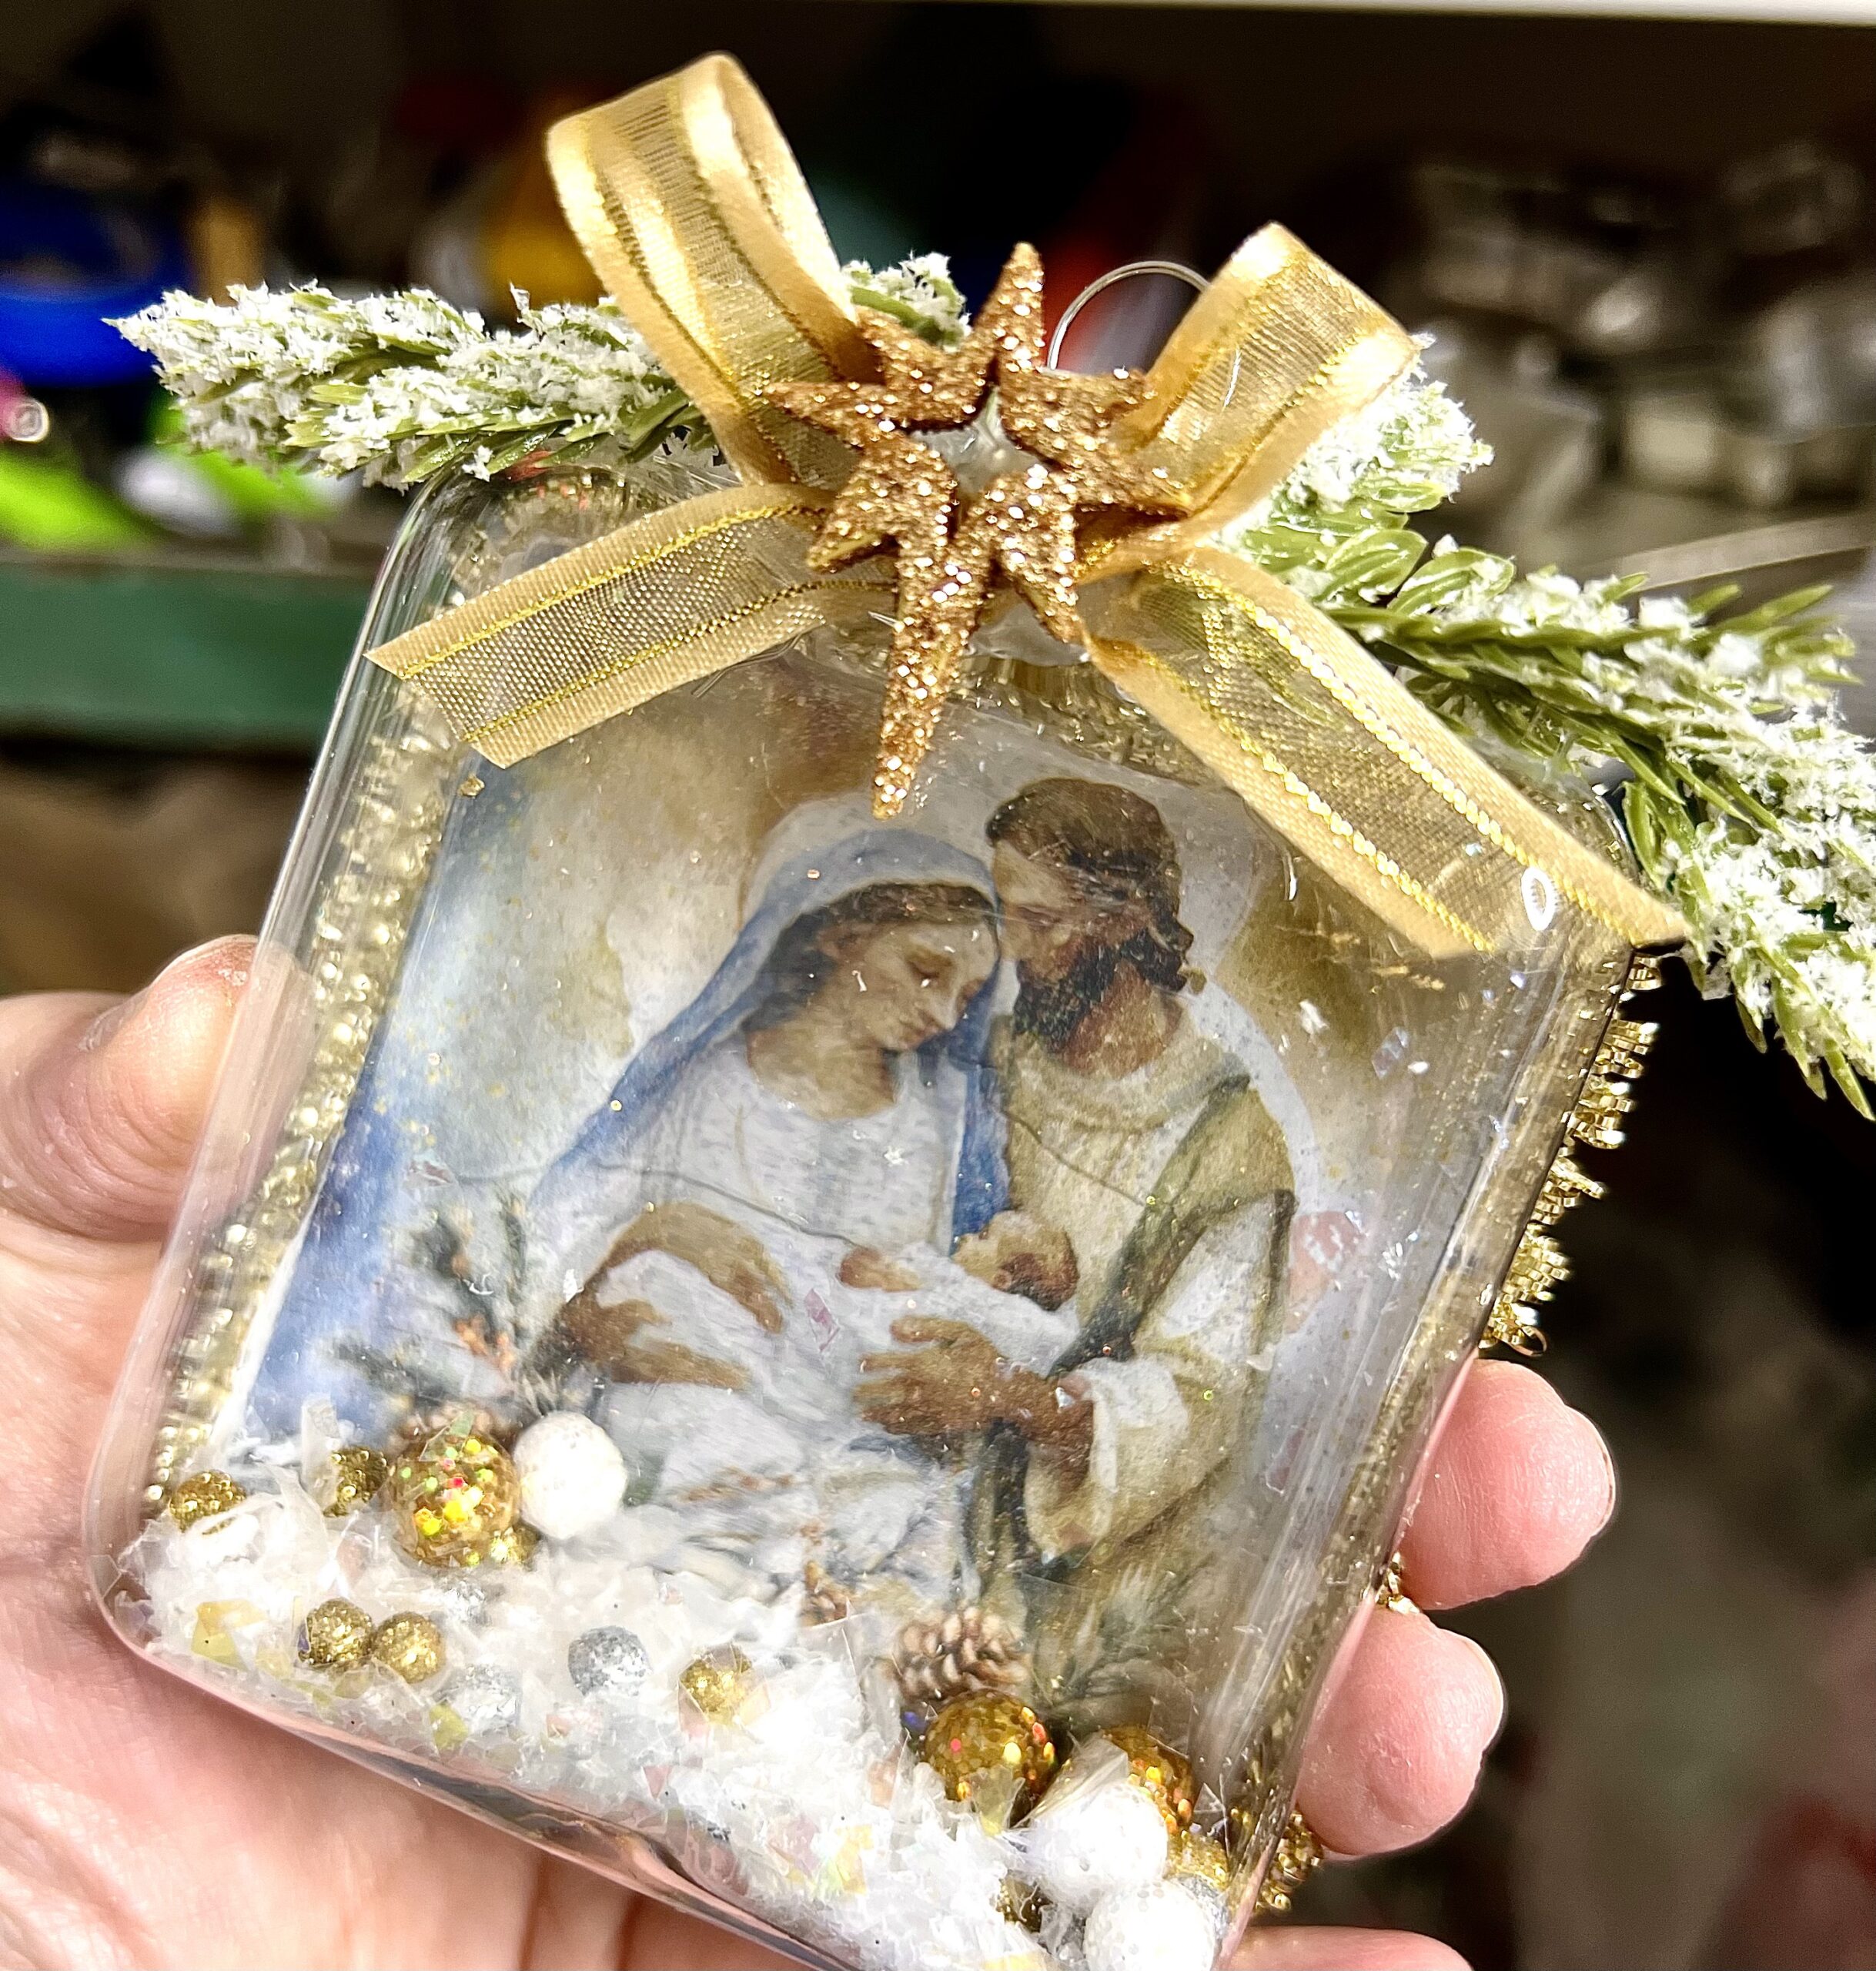
At this point, we are going to put some things inside of our ornaments! You can really add anything that can fit through the top of your ornament. I am going to be using iridescent faux snow along with pearls, gold beads, small snowflakes, and more.
Remove the top of your ornament and add your embellishments. You just want to fill the bottom of your ornament because you don’t want to cover up your napkin art.
If you don’t love the edges of your ornament, you can use hot glue to add ribbon or tinsel around your entire ornament. You can also wrap some ribbon around the top of your ornament, create a simple bow, add some greenery sprigs, jingle bells, or a star to the top.
If you don’t want to add a ribbon around your ornament, you can use a Gold Krylon Pen to outline your napkin art or color on your ornament topper.
These clear napkin art ornaments are a beautiful way to personalize your holiday decor and create meaningful gifts. With the Christmas Story Napkin Bundle and festive embellishments, you can craft ornaments that shine with the true spirit of the season.
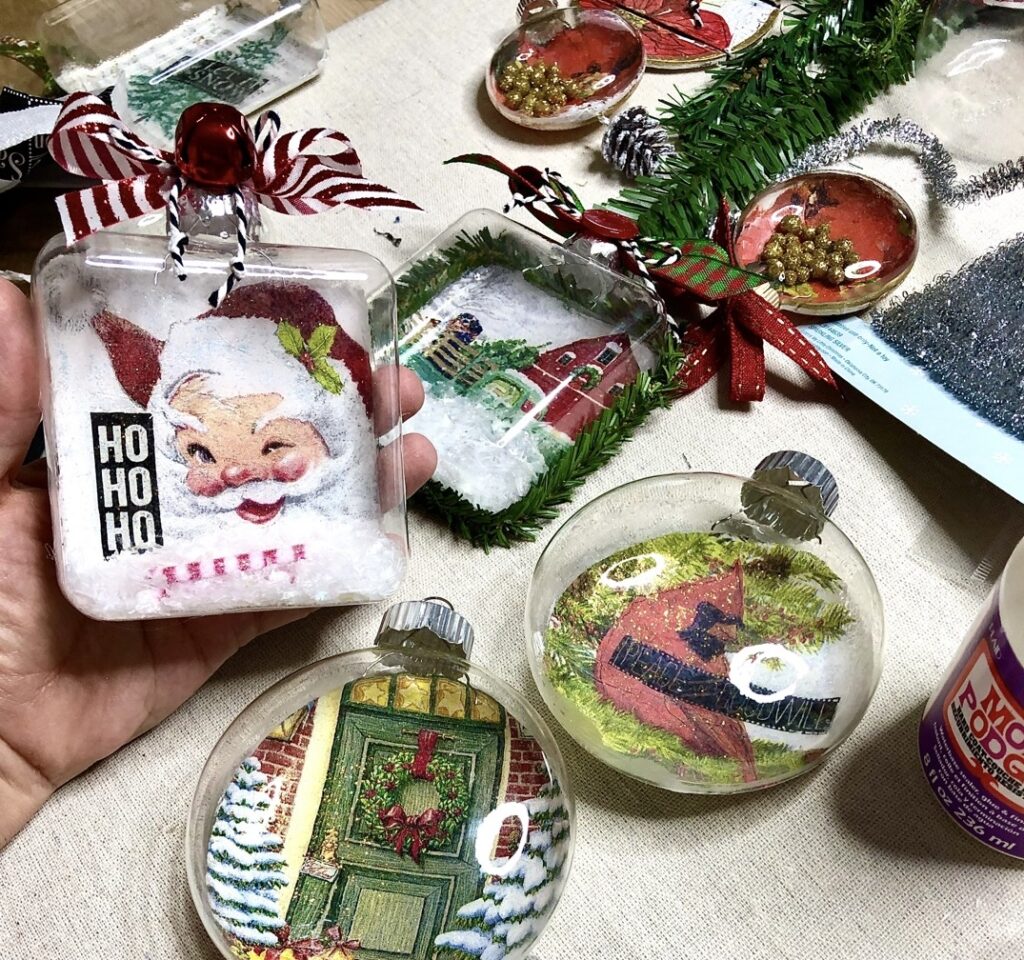
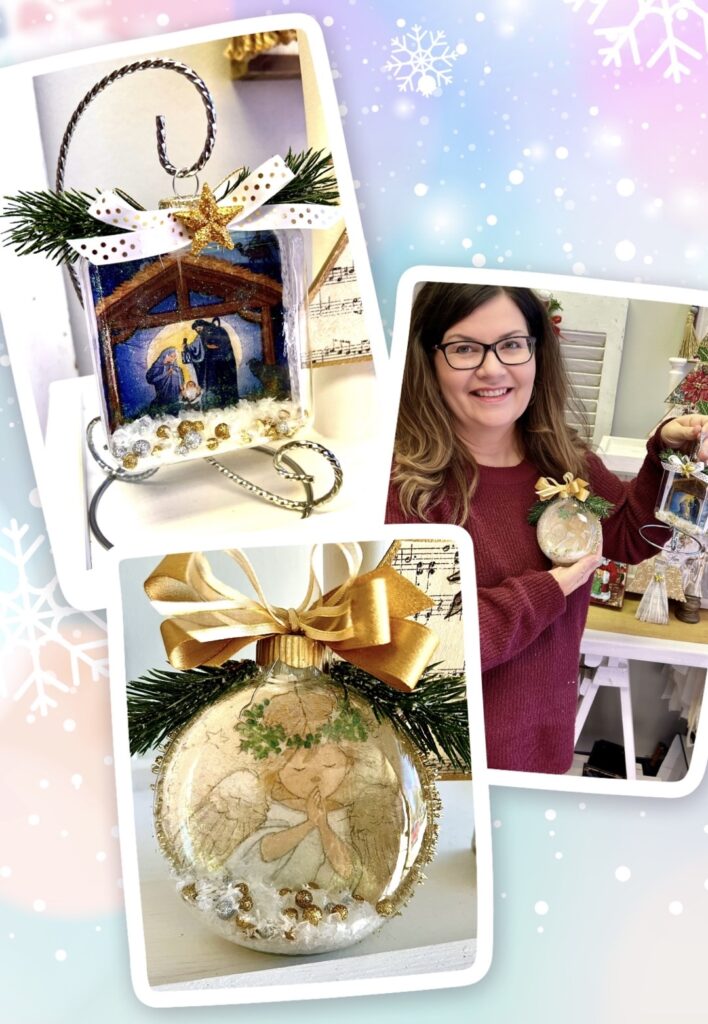
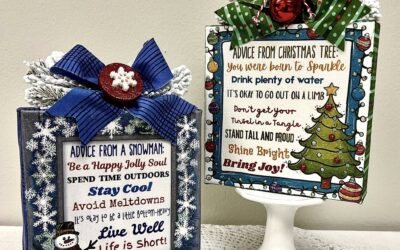
Here are some other clear ornaments I’ve made! It’s just so fun!
I go LIVE on my Facebook page every Friday at 11 am CST for a fun and easy Craft-n-Chat Session. Come learn something new while creating something beautiful!
Join the waitlist for The Napkin Club where Unique Makers can connect, learn, and be inspired to create with the Individual Unique Napkin Collections that you will receive every month! A place where Napkin Lovers can unite and be inspired!


Beautiful