Supply List:
- Fabric Strips 4×21”
- Wood Skewers
- Hot Glue
- Felt for leaves
- Needle and Thread
I want us to welcome March by making some fab flowers! I love creating fabric flowers in the spring, and I have some pretty fabrics to use today. These fabric blooms are wonderful to make with some scrap fabric hiding in your stash and a handful of simple supplies.
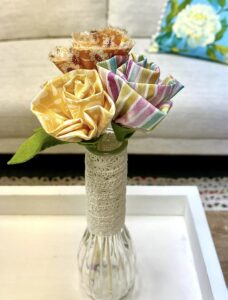
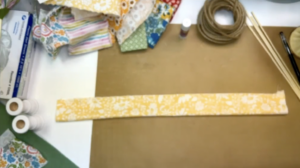
You will need to gather some fabric strips – 4 inches wide and about 21 inches long. If you want a fuller flower, you will just need a longer strip. I love the look of torn fabric, so if you want to have one with a raw edge, add a little slit and just rip your fabric into a strip.
Take a glue stick and run it along the edge of the long side of your fabric strip. Fold your fabric in half.
Using a glue stick is a great tip because it will not gunk up your needle! Load some thread onto a needle – you can use any thread that you would like. I will be doing a running stitch or a gathering stitch. You will gather as mush fabric as you can onto your needle and just pull it through.
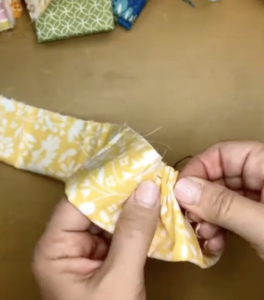
You will continue to do this for the entire fabric strip. Your stitches will look random and maybe a little wonky, but that’s okay!
When you get to the end, gather it so that you have about a 1 inch circle on the inside. Tie off your thread.
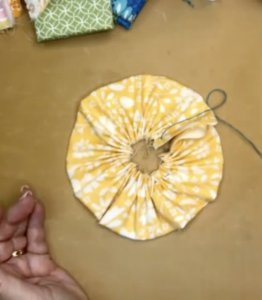
Today, we are building our flowers on a skewer. If you want to do something more wired or bendy, you can do that too.
Place some hot glue on the end of your skewer (the end that is not sharp) and place it inside of your fabric loop on the end.
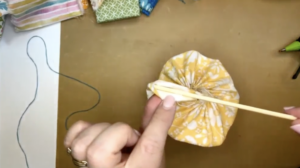
Then, place more hot glue and roll the skewer into the fabric, so you are creating a really tight center. Next, you’ll continue to wrap your fabric around the skewer. Once you get to the end, add some hot glue and hold it in place for a moment.
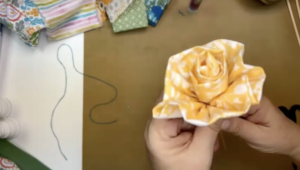
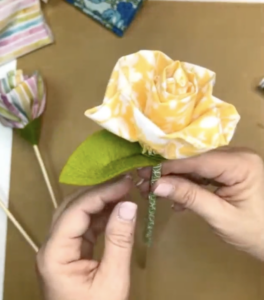
Finally, I’ll take some bright green felt and create the flower base. This helps with the shape! Cut your felt into a circle – it does not need to be perfect. Cut out a triangle, like taking out a piece of a pie. Then, add some hot glue and apply it to the base of the flower.
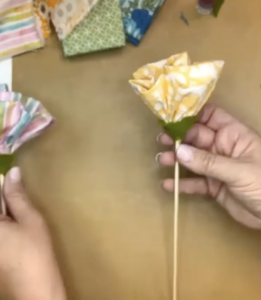
I’d also love to show you how I made the raw-edge fabric flowers! I love the texture of these ones. I’ll use the same method, but to start, I will take my fabric strip and add the glue stick down the center and fold it over. I’ll use the same stitching method to gather my fabric and assemble it. This one will be more open and fringey!
Add Leaves and More to Your Fabric Flowers
At this point, you could wrap the stick with green fabric or ribbon, paint it, or just leave it the way it is.
If you have some scrap fabric, you can wrap the skewer. Start at an angle at your flower base and just wrap it all the way down. Add some hot glue to finish it off.
You can also add some leaves! I hand cut some leaves out of my green wool felt. I’ll take my thread and needle and add some tiny stitches to create a little leaf crease. I like when it is slightly folded. You can do this with any size or shape of leaf. You can add some hot glue and just attach it to your skewer.
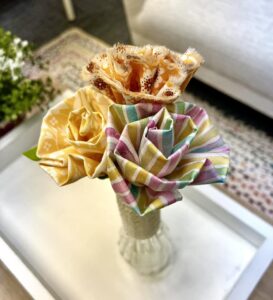
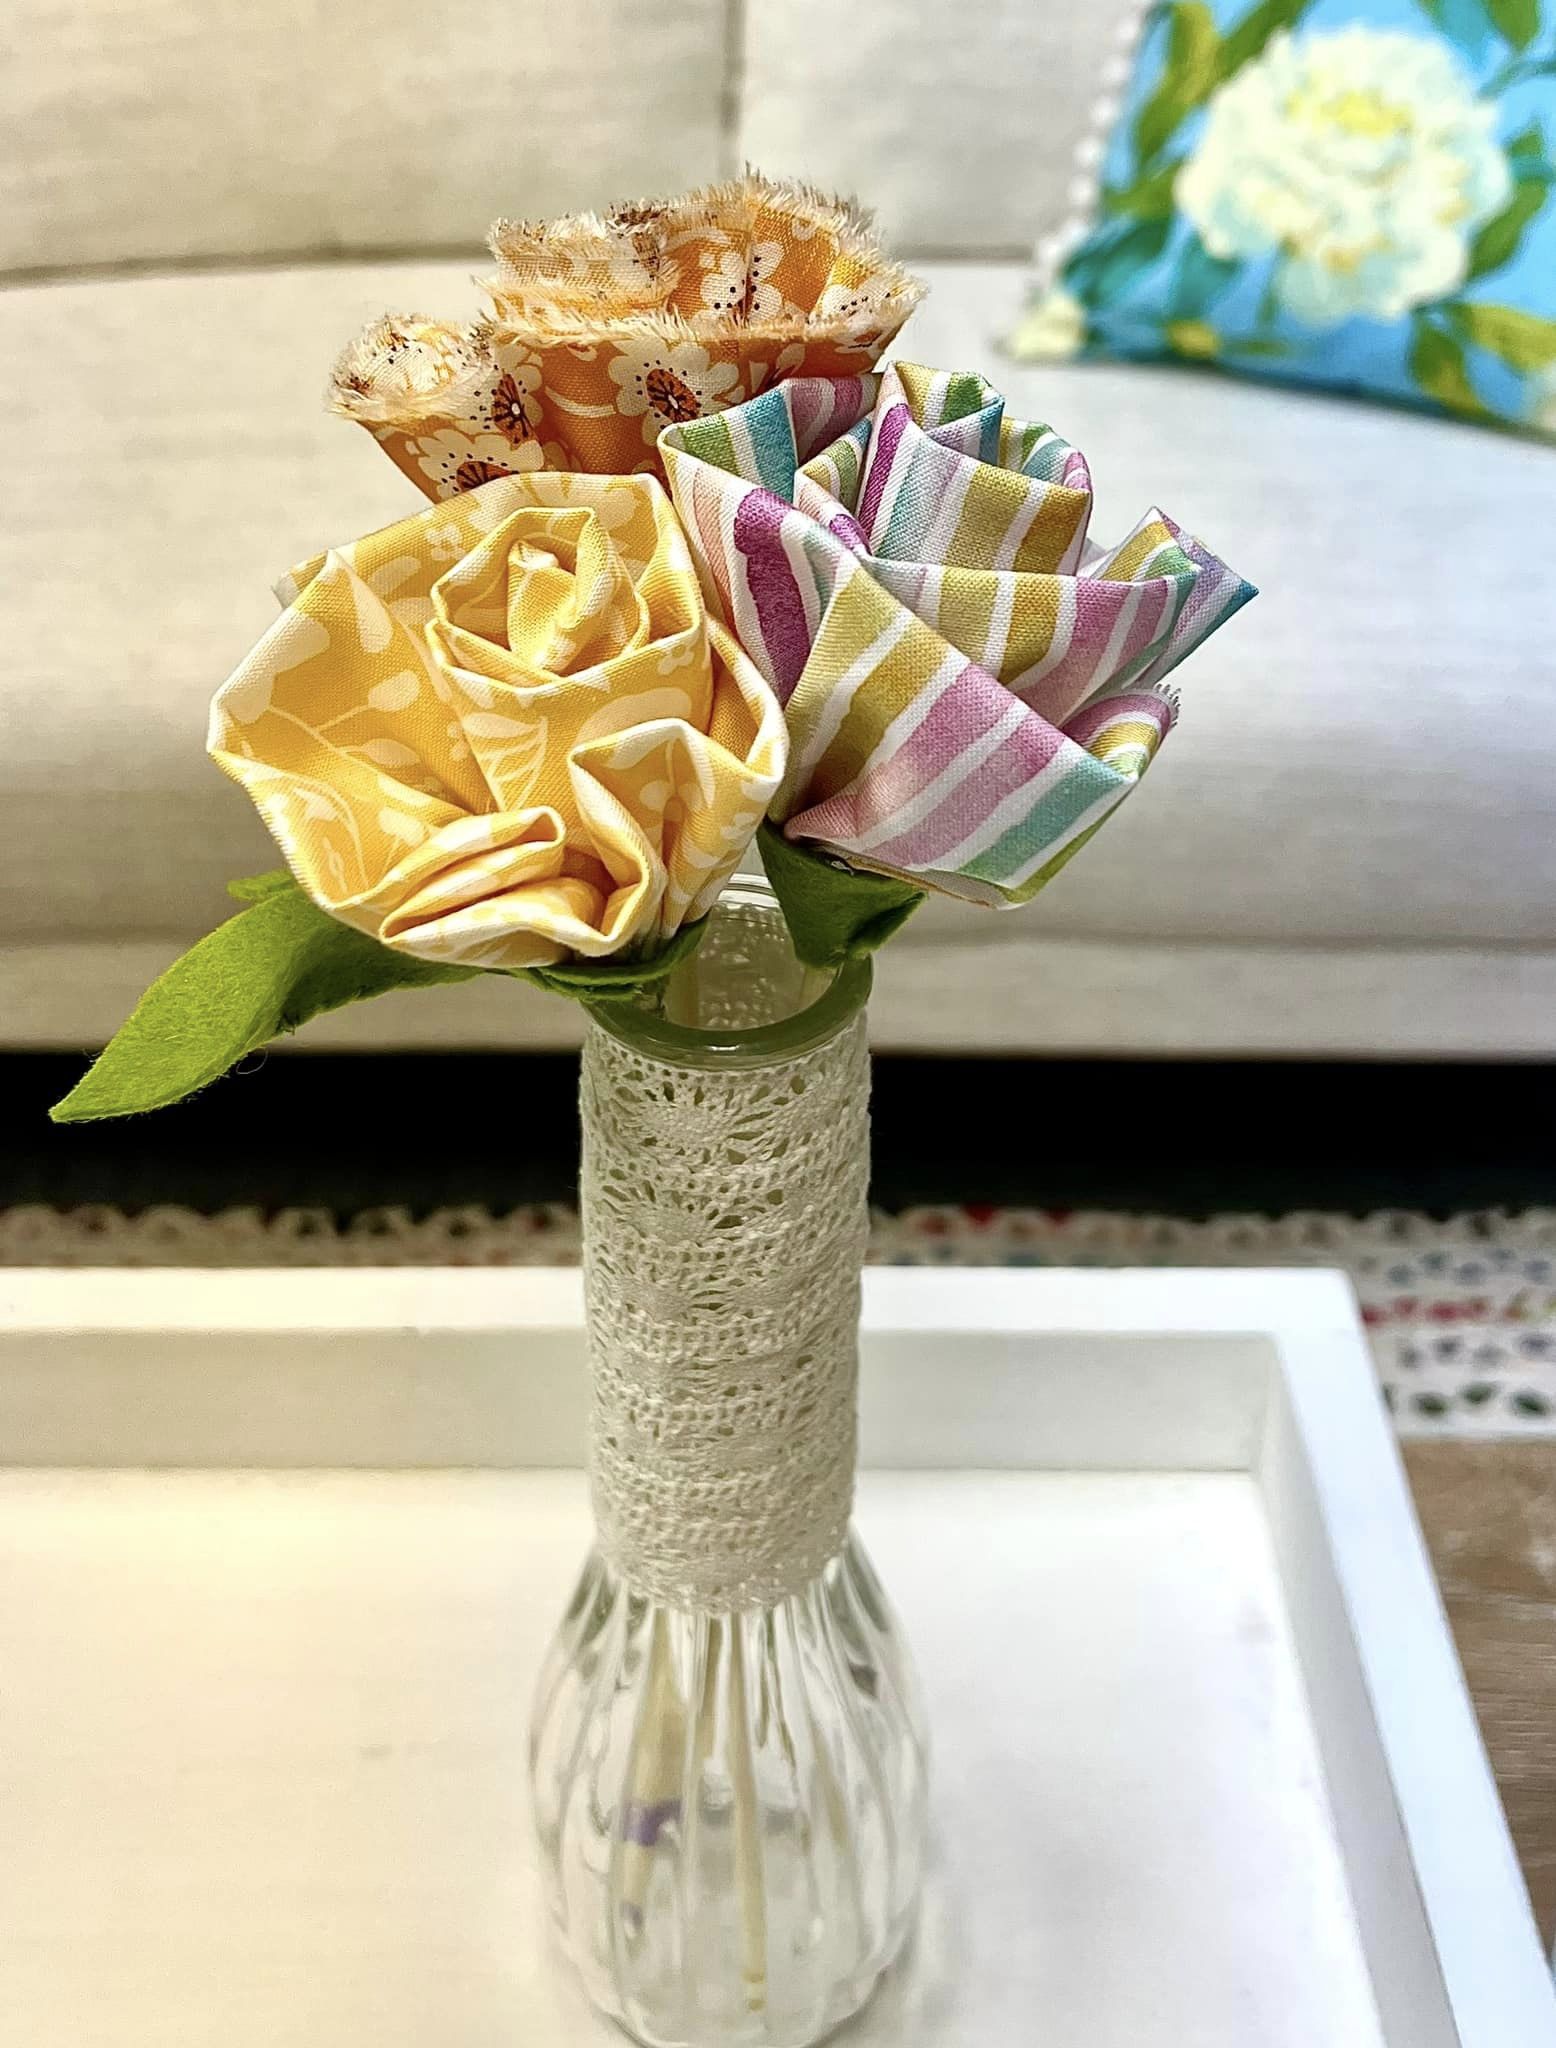
These fabric flowers look so pretty together as a whole bouquet! They are so fun to stick in a vase or a potted plant, and the best part – they are so easy. I can’t wait for you to give this a try.
I go LIVE on my Facebook page every Friday at 11 am CST for a fun and easy Craft-n-Chat Session. Come learn something new while creating something beautiful!
Join the Fabric Fan Club! An exciting NEW shipment will arrive in your mailbox each month, containing a unique variety of designer fabrics, hand-selected and uniquely coordinated by me from top-notch designers!




0 Comments