


Supply List:
- 12×12 pillow cover
- 12×12 pillow insert
- Fabrics: Stars, Stripes (Fabric Fan Club)
- Hot Glue Gun and Gluesticks
- Crocheted Lace
- Rick Rack
- Doilies
- Twine
- Stickles – Diamond
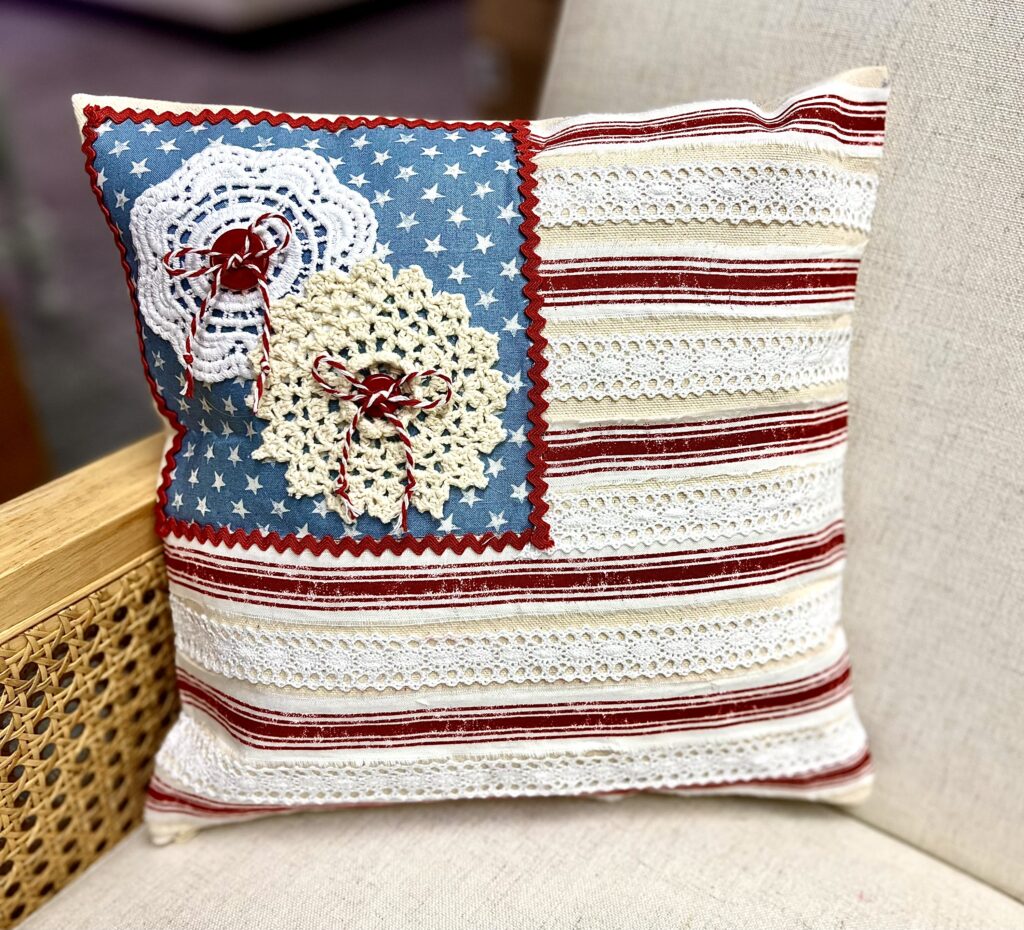
This festive No-Sew Flag Pillow is the perfect addition to your 4th of July celebrations and summer home decor! This easy-to-make 12×12 canvas pillow requires no sewing, making it the perfect project for beginners. Follow along as I guide y’all through each step to create a charming patriotic pillow that showcases your love for red, white, and blue.
Adding Fabric to Your Pillow Cover
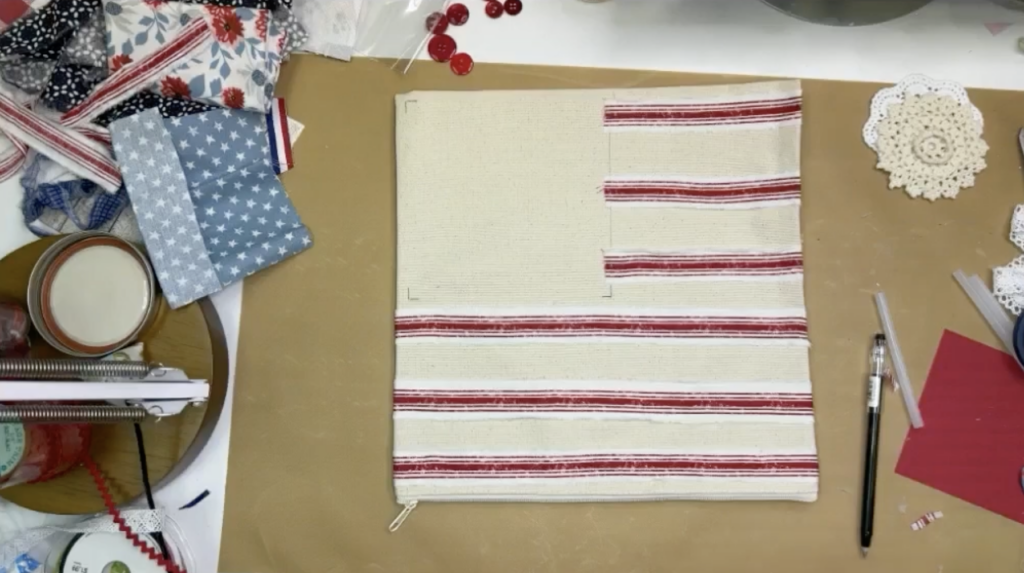
Lay your pillow insert onto your craft table, making sure the zipper is at the bottom. The first thing I will do is cut strips from the striped flag-inspired fabric I am using. I am going to cut 1-inch red stripes by making a small snip and then ripping the fabric the rest of the way to create a textured, frayed edge.
Next, I will take my star fabric and cut a 6×6 square. Lay out your square and stripes on the pillow cover, trimming the stripes to size. If you need to remove any piece, make tick marks with a Frixion pen, which disappears with heat. Take hot glue and begin gluing your stripes onto your canvas. I’m using a “drizzle and drag” method to create a thin layer of glue under each stripe. Dab some glue on the ends and wrap the excess fabric around to the pillow seam.
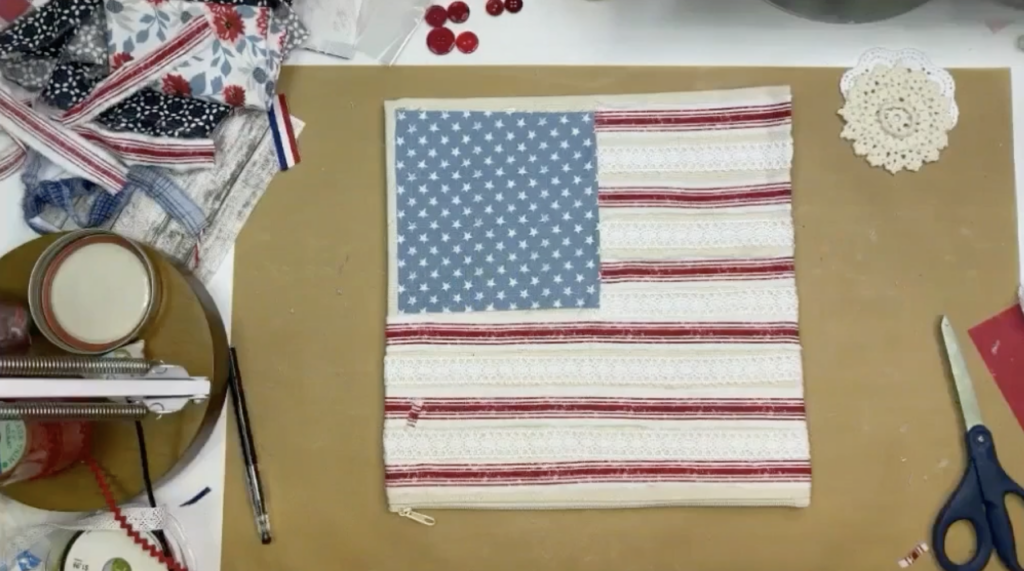
I love adding texture, so I will apply white crocheted lace in between all of my fabric stripes. Hot glue these stripes in the same exact way, securing the ends to the seam as well. Hot glue your fabric square to the pillow cover as well. Make sure you leave some room around your square to add embellishments if you would like.
Embellishing the Patriotic Flag Pillow
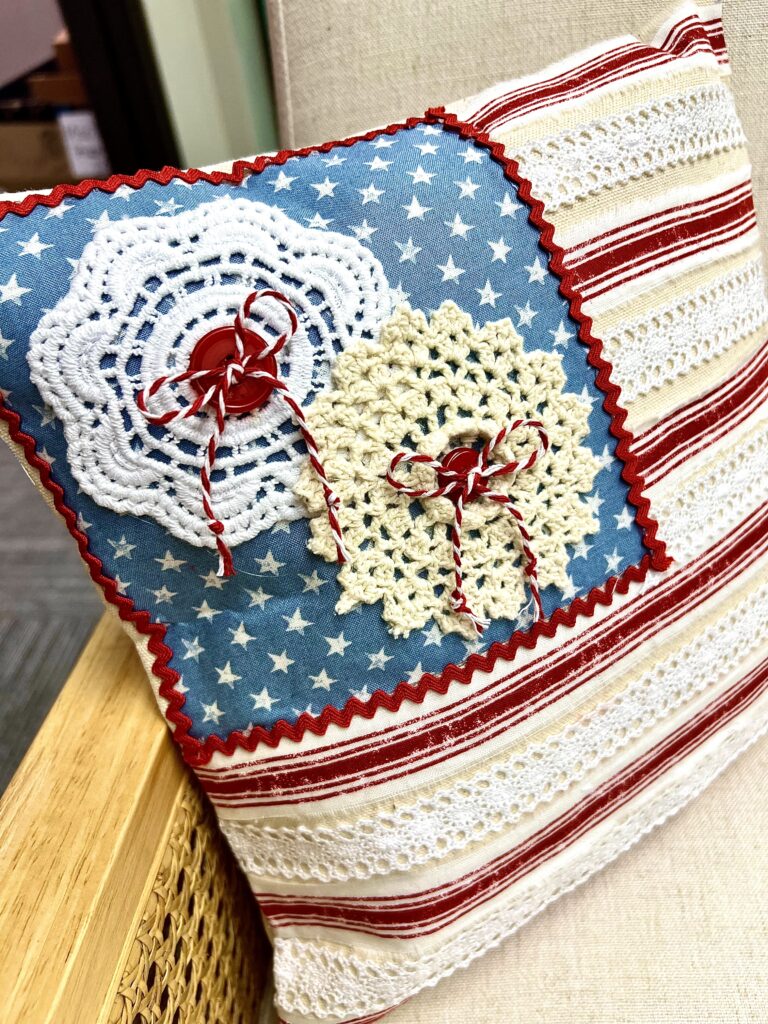
At this point, you can embellish your pillow however you would like! I will hot glue red Rick Rack around my blue square.
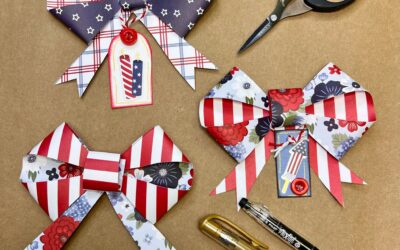
I am also going to hot glue a cream-colored doily and a white doily to my blue fabric square. I love this because it adds even more texture and reminds me of fireworks! I will hot glue red buttons to the center of each doily. I’ll also take red-and-white baker’s twine, tie some bows, and hot glue them to my buttons. Tie a knot in each twine’s tail.
Now, let’s put in our 12×12 pillow insert! This is my favorite part because it’s really when the pillow comes to life. Before inserting the pillow, beat the pillow with your hands to soften it up. If you want anything to sparkle, you can use Stickles – Diamond and apply some pretty glitter!
This simple accent pillow is a great addition to your outdoor furniture for summer or a cozy touch to your home decor! It’s easy to make and adds a stylish, personal flair to any space. Enjoy creating this fun project and adding a bit of your own creativity to your home!
I go LIVE on my Facebook page every Friday at 11 am CST for a fun and easy Craft-n-Chat Session. Come learn something new while creating something beautiful!
If you love working with fabric, hop into The Fabric Fan Club! The Fabric Fan Club is a fab-ulous community where creatives like YOU can learn and be inspired to create awesome projects while learning a wide variety of fabric crafting and stitching techniques!


0 Comments