


Supply List:
- Coffee Themed Napkins (This one is from the June Napkin Club Bundle.)
- 6 x 6 Canvas
- 8 x 10 Wood Shiplap Sign
- Mod Podge Matte
- Bakery/Deli Plastic Sheets
- Chip Brush
- Stickles
- Pitt Pen- Black Fine-Tip
- Black and White Twine
- Buttons
- Scissors
- Heat Tool
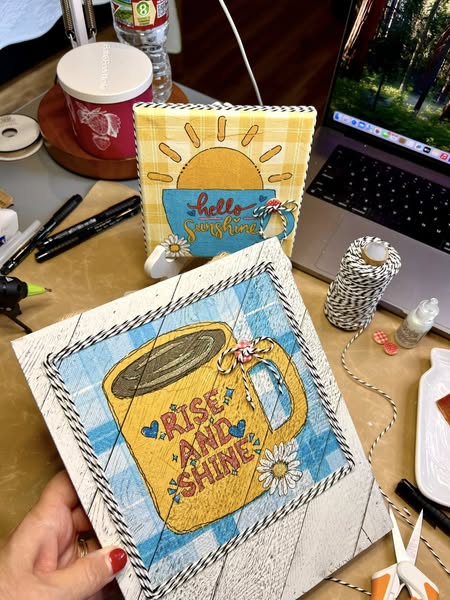
If you’ve got a cozy little coffee corner (or even a full-on coffee bar) at home, today’s napkin art project is just for you. In this project, we’re using one of my custom-designed napkins featuring two cheerful summertime designs: “Hello Sunshine” and “Rise & Shine.” These are perfect for brightening up your space and can be displayed on an easel, tiered tray, or hung on the wall. I made one canvas piece and one wooden hanging piece to coordinate, and I’ll walk you through both.
Getting Started with Basic Napkin Art
We started with a simple 6×6 white canvas. First, I separated the top printed ply from the rest using my trusty Mod Podge trick: just dab a bit of Mod Podge Matte between your fingers and press them together to pull off the extra layers.
Once I had the printed layer ready, I brushed a generous, even coat of Mod Podge Matte onto the canvas and laid the napkin on top. To smooth out wrinkles and bubbles without tearing, I laid a deli sheet (plastic wrap that doesn’t stick to itself) over the napkin and used my fingers to burnish from the center out. For the edges, I wrapped the napkin around the sides of the canvas while the Mod Podge was still tacky, using the deli sheet to help smooth it all down. Then I let it dry completely.
After drying, I added a protective top coat of Mod Podge, which goes on milky but dries clear. This not only seals the project (just in case of coffee splashes!) but preps the surface for pen work.

Adding Finishing Touch to Coffee Canvas
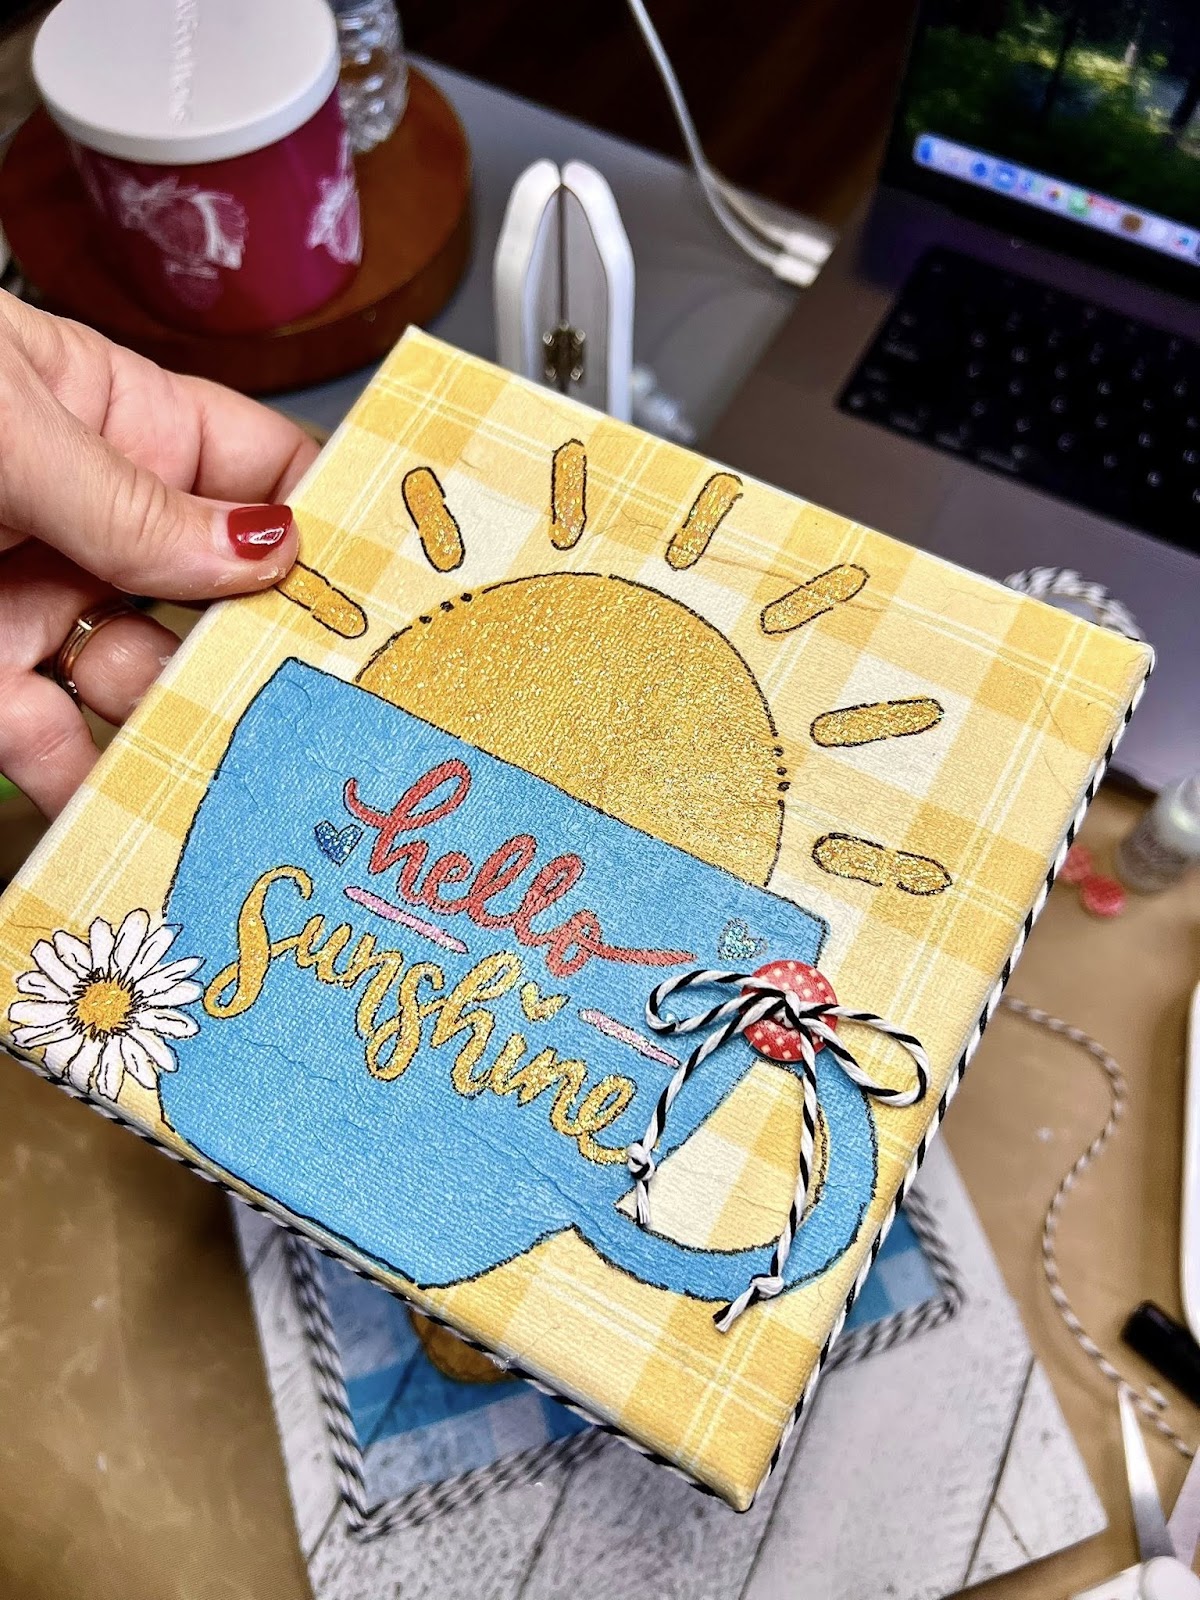
Once dry, I grabbed my favorite Faber-Castell Pitt Pens and started outlining the design with a loose, doodly trace. Don’t worry about perfection here – the charm is in the wobble! I outlined the coffee cup, words, hearts, and daisy, then added extra details like dots and squiggles.
To decorate the canvas edges, I wrapped black-and-white baker’s twine around the sides using Scotch Fast Grab Tacky Glue (hot glue works too!). I added a bow with a cherry-red button accent and finished it off with Crystal Stickles on the sunshine, flower center, and little hearts. It’s the perfect pop of shimmer!
Rise & Shine Rustic Wood Sign
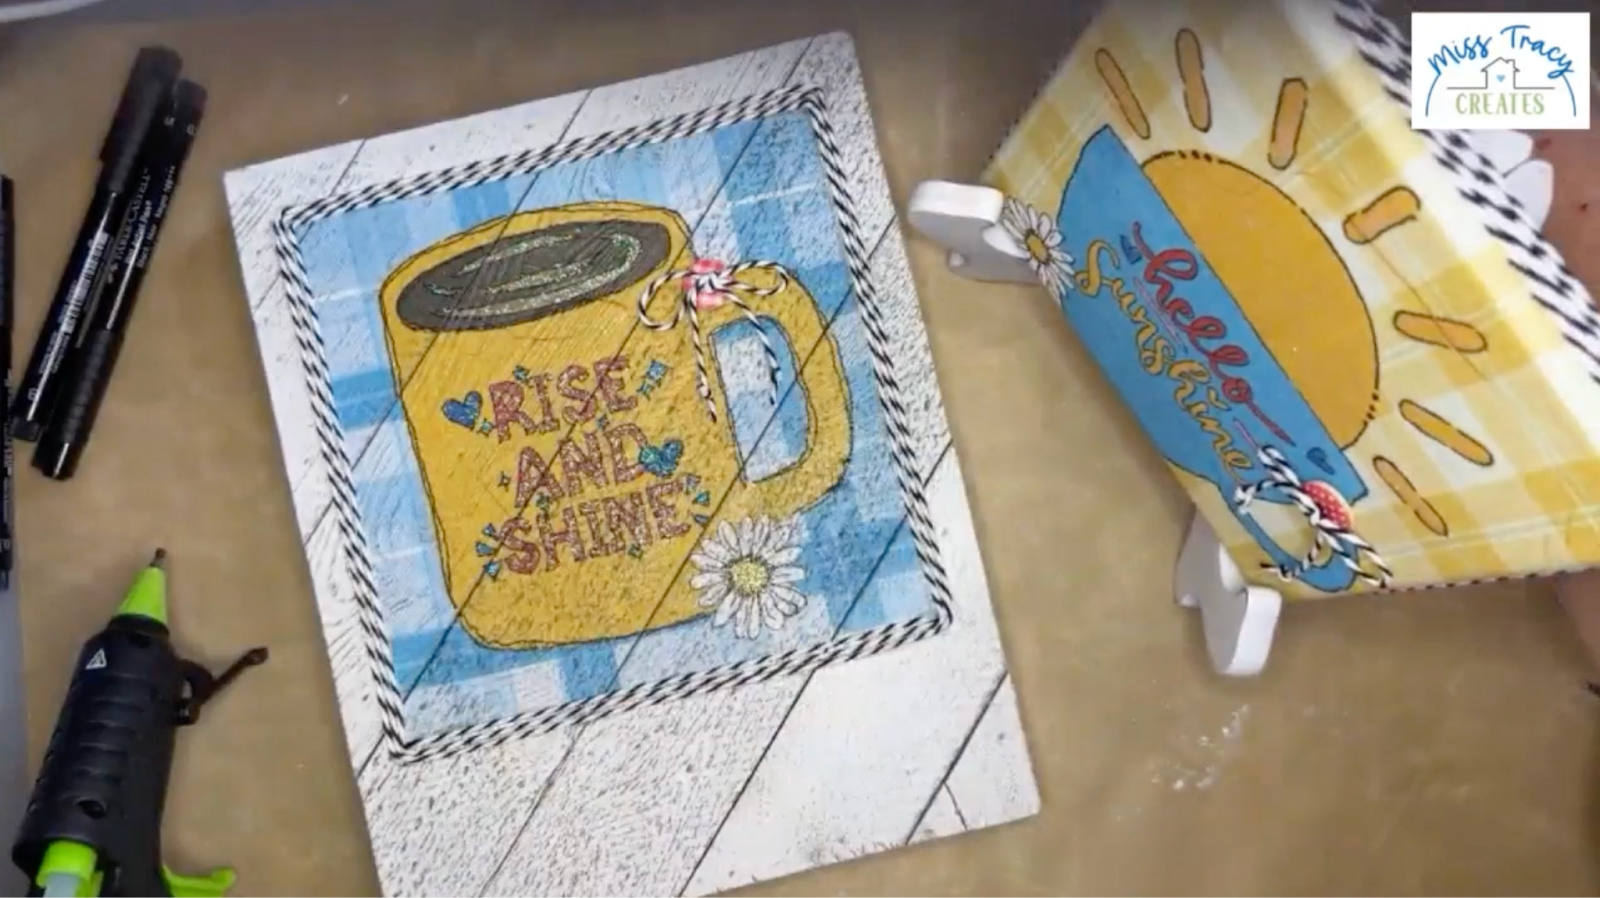
Next up was a charming rustic wood sign I found at Walmart. It had a whitewashed, slatted wood finish with great texture, which is amazing for napkin art. I centered the “Rise & Shine” napkin design on the top half of the sign, planning to add cute cup hooks or knobs underneath later for hanging mugs.
Because of the textured surface, I used a natural bristle chip brush to gently “pounce” the napkin into all the grooves after applying Mod Podge Matte. Once the napkin was in place, I went in with a deli sheet and my fingernail to press the napkin into the slats.
Just like with the canvas, I let it dry, added a top coat of Mod Podge Matte, let it dry again, then got to work on the pen detailing. I traced the design (double tracing the mug for extra doodle charm) and outlined the “Rise & Shine” text, hearts, and flower. I even used the pen to define the slats in the wood for that extra farmhouse vibe.
Instead of wrapping this one with twine, I glued three rows of black-and-white baker’s twine around the napkin area to create a sweet, handmade frame. Then came another cute bow with a coordinating button and a sprinkle of sparkle on the red hearts and coffee swirls.
Now I’ve got a bright, summery little duo to decorate my lakehouse coffee corner – one canvas on an easel and one hanging sign ready for hooks and mugs. I love that they coordinate without being identical, and the sparkle just makes it!
I go LIVE on my Facebook page every Friday at 11 am CST for a fun and easy Craft-n-Chat Session. Come learn something new while creating something beautiful!
Did you love this? Join the waitlist for The Napkin Club! We ship out fresh, seasonal napkins to our members every month (many designed by yours truly!) and create gorgeous, easy-to-follow projects together in our private Facebook group. You’ll get access to live tutorials, inspiration posts, a welcoming community, and tons of crafty joy.


0 Comments