


Supply List:
- Fabric Strawberry Kit (everything you need!)
- Various red or pink cotton fabric
- PolyFil stuffing
- Wool Felts – Moss & Snow White
- #7 Embroidery needle
- Sulky Thread – Red & Yellow
- Scissors
- Frixion Pen
- Free template
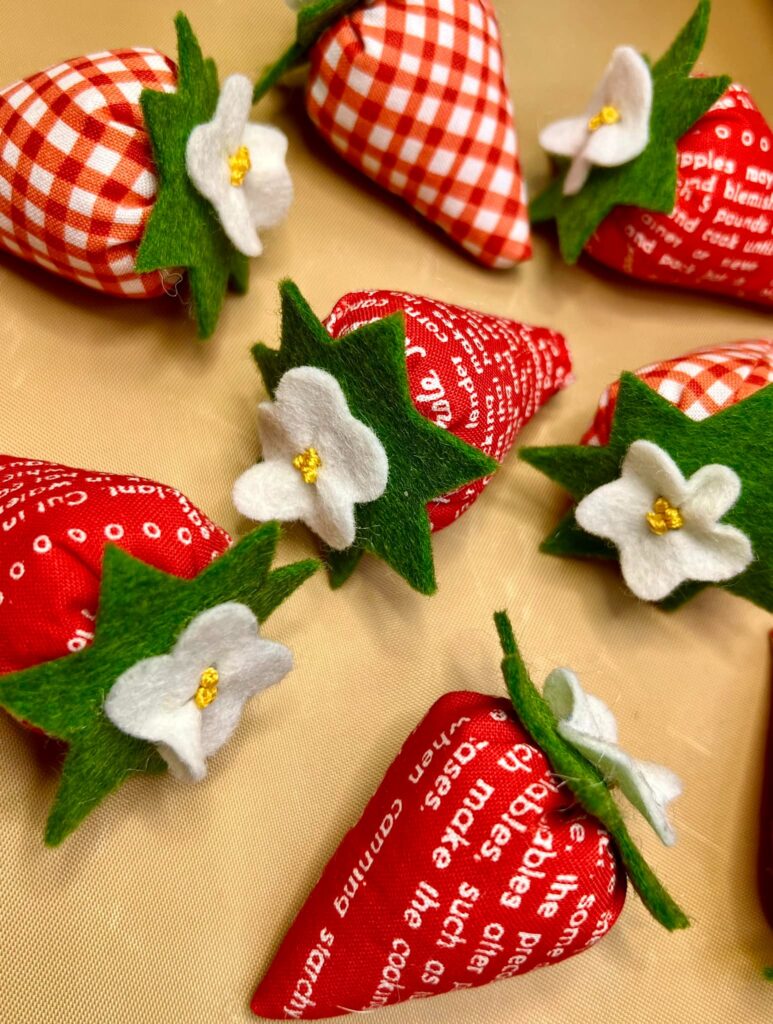
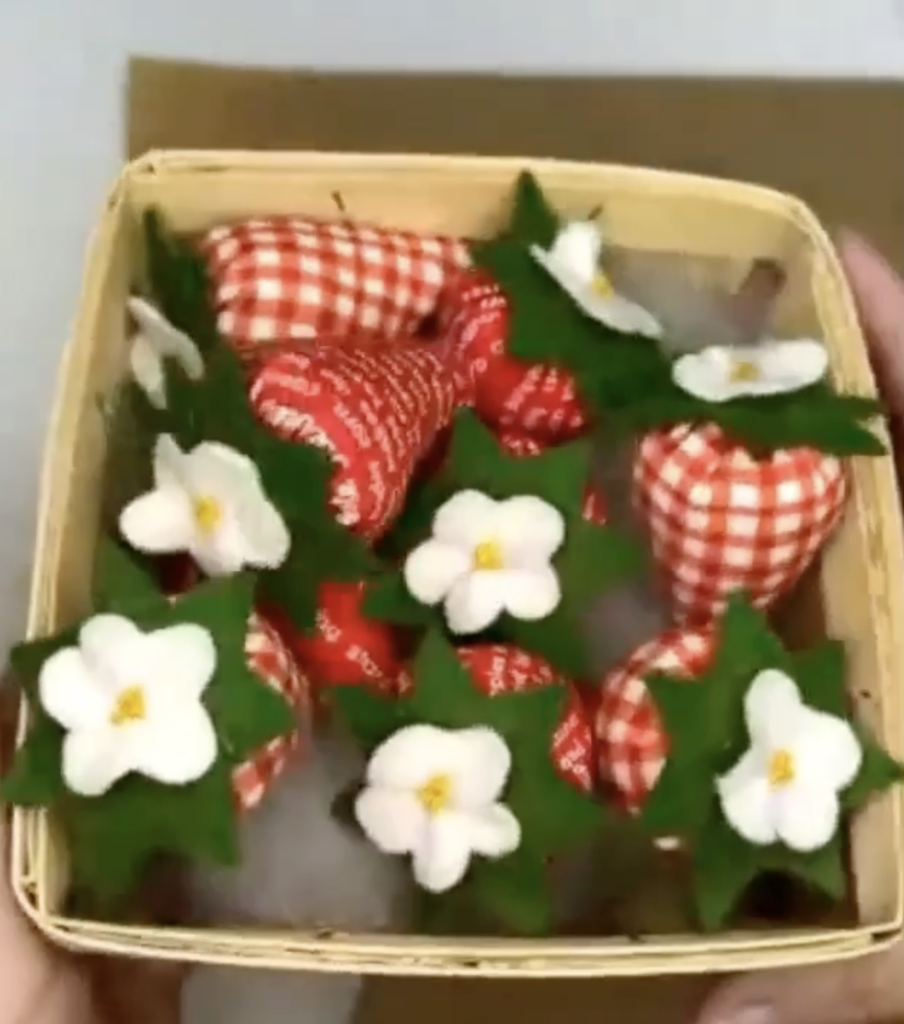
If you love sweet handmade decor, these fabric strawberries are such a fun little project to make. They’re soft, charming, beginner-friendly, and perfect for using red, pink, or patterned fabric scraps from your stash. You can display them in a basket, tuck them into a bowl, add them to spring or summer decor, or make a whole “pint” of fabric strawberries as a handmade gift.
This project is also a great introduction to simple hand stitching. You’ll use a basic back stitch, a gathering stitch, felt leaves, and a tiny felt flower to create a fresh little strawberry with lots of handmade character.
Step 1: Trace and Cut the Strawberry Body
Start by placing the strawberry body template on the back side of your fabric. Trace around the template with a Frixion Pen, then cut the shape out with scissors. Don’t worry too much about directional patterns or text on the fabric. Once the strawberry is stitched, stuffed, and shaped, the design becomes part of the charm.
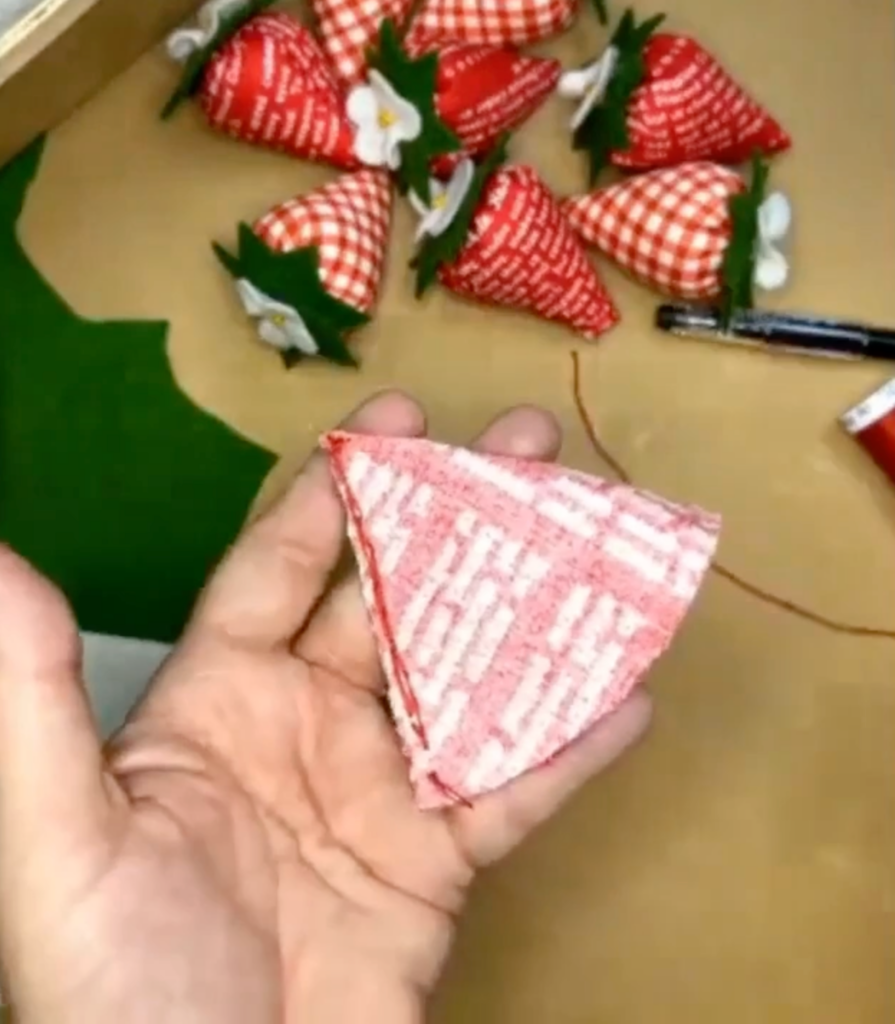
Step 2: Fold and Stitch the Strawberry Shape
Fold the strawberry body so the right sides of the fabric are touching, or “kissing.” Line up the straight edge and begin stitching from the wider end down toward the point using a simple back stitch. To make a back stitch, go slightly ahead of the previous stitch, then bring the needle back to meet the stitch before it.
When you reach the bottom point, add one or two small stitches across the tip. This softens the point so the finished strawberry has a rounded, natural shape instead of a sharp point. Tie off your thread securely and trim the excess.
Step 3: Turn and Stuff the Strawberry
Turn the strawberry right side out. Use your fingers or the capped end of a pen to gently push out the bottom point. Add a small bit of polyfill first and push it all the way down into the tip. Then continue adding more stuffing until the strawberry is about half full.
Don’t overfill it yet, because the next step is easier if the top is still flexible. Once the gathering stitch is in place, you’ll add a little more stuffing before closing it up.
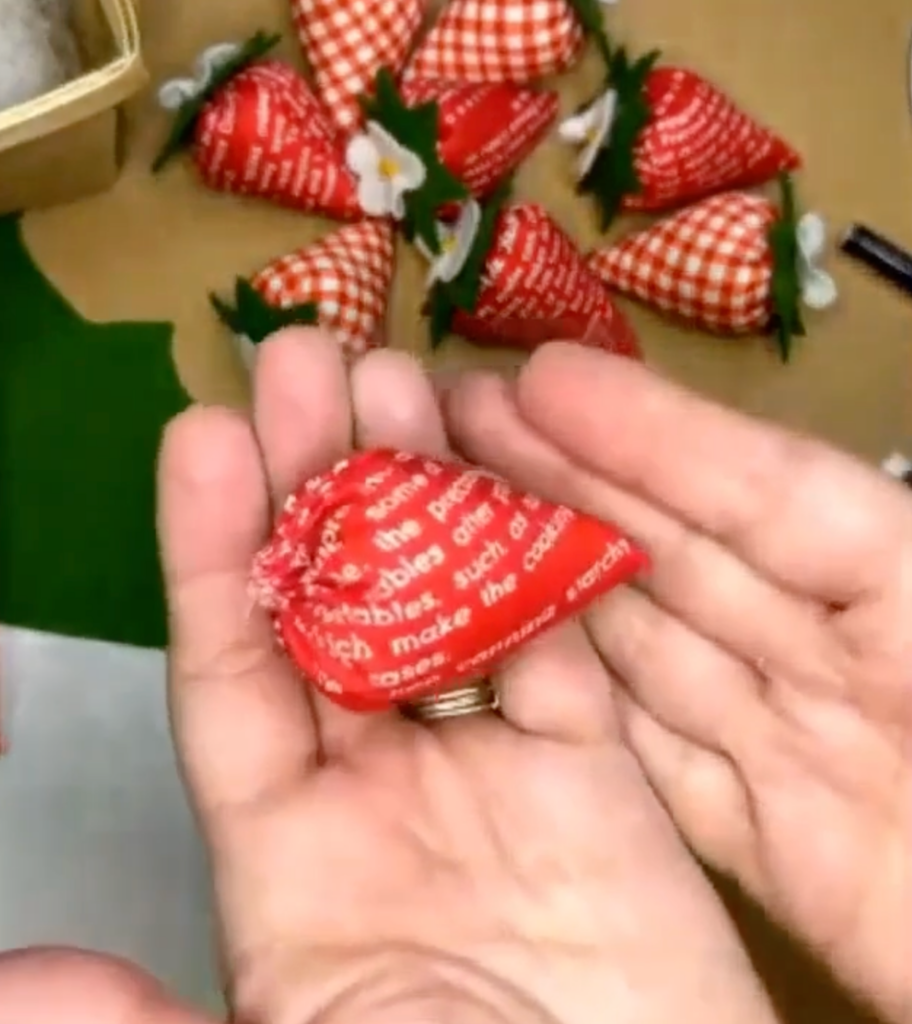
Step 4: Gather the Top Closed
Thread your needle again and stitch around the open top edge using a gathering stitch. To do this, weave the needle in and out around the top opening, gathering the fabric onto the needle as you go.
Before pulling the thread tight, add more polyfill. A good rule is: when you think it’s full, add just a little more. Then pull the thread tight to close the top. Stitch through the gathered area in a few directions and knot it securely so the strawberry stays closed.
Step 5: Cut the Felt Leafy Topper
Trace the leafy topper template onto green wool felt using your Frixion Pen, then cut it out. Wool felt works beautifully here because it cuts cleanly, holds its shape, and adds a lovely texture to the fabric strawberry. If any pen marks show, remove them with heat.
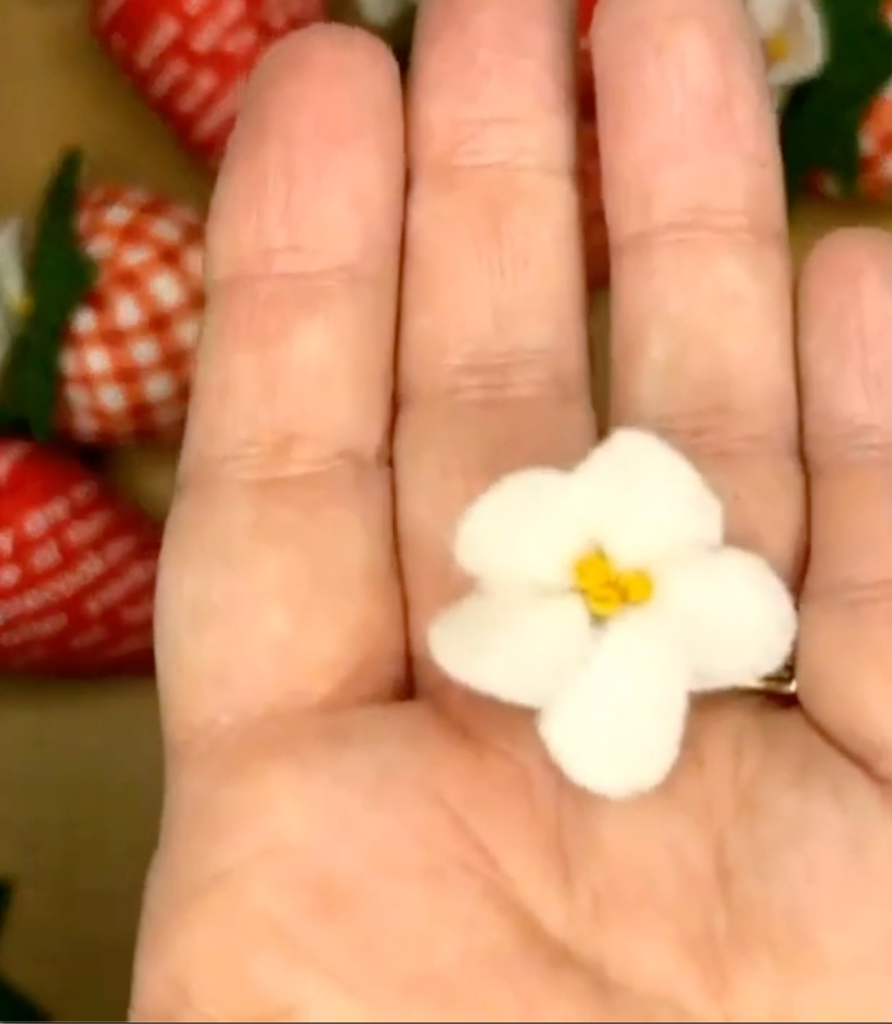
Step 6: Make the White Felt Flower
Trace the flower template onto white wool felt and cut it out. Draw a small circle in the center of the flower as a guide. Stitch four small stitches around that circle, then gently pull the thread to gather the center. This gives the flower shape and dimension instead of leaving it flat.
Tie off the thread on the back of the flower. For the yellow center, add a few French knots with yellow thread. If you’re not ready for French knots, glue a tiny yellow bead or button in the center instead.
Step 7: Glue the Leaves and Flower in Place
Add a blob of hot glue over the gathered top of the strawberry. Place the green felt topper onto the glue, then flip the strawberry upside down and gently press. This spreads the glue and helps the strawberry plump up nicely.
Do not glue the tips of the leaves down. Let them lift naturally for dimension. Finally, glue the white felt flower onto the top of the strawberry.
Display Ideas for Fabric Strawberries
Once you make one, you’ll probably want to make a whole basket full. Display your fabric strawberries in a berry basket, clear jar, bread bowl, tiered tray, or spring centerpiece. You can also mix different red and pink fabrics for a collected, handmade look. Patterned fabric, gingham, text fabric, polka dots, florals, and scraps all work beautifully.
Want the Fabric Strawberry Kit?
If you’d love to make these adorable fabric strawberries without hunting down supplies, grab the Fresh Strawberry Supply Kit from my shop. The kit includes the fabrics, wool felt, thread, embroidery needle, and favorite supplies I used to create these sweet little strawberries, making it easy to jump right in and start stitching. It’s the perfect beginner-friendly hand stitching project and such a fun way to create a whole basket full of handmade strawberries for your home decor!


Where is template for strawberries?
On this blog post, you’ll just click on the blue words that say “Free Template.” Easy Peasy.