

Supply List:
- Easter Treat Bag Topper Printable
- Clear Plastic Treat Bags (4×6)
- Cardstock
- Scotch Tacky Glue
- Hole punch or Cropadile
- Stapler
- Ribbon
- Black Fine-tip Journaling Pen
If you’re looking for a quick, cute, and meaningful Easter project, I have such a fun one to share with you. These Easter treat bag toppers are one of my favorite “little somethings” to make…simple, adorable, and perfect for sharing with others.
In this project, I’m going to walk you through exactly how I make these using a free printable, some cardstock, ribbon, and a few sweet treats. They come together so quickly, which makes them perfect when you need to make a bunch at once for family, friends, church, or even coworkers.

Step 1: Make the Easter Treat Bag Toppers
Start by printing the Easter topper printable onto white cardstock. Cardstock works best because it gives the topper structure and helps it hold its shape once attached to the bag.
Before cutting, use a black pen to add simple dashed lines around each design and outline the Easter eggs. This step is optional, but it adds a handmade, doodled look that makes each topper feel extra special.
Next, apply Stickles or glitter glue to the eggs for a bit of sparkle. Allow everything to dry completely before moving on.
Once dry, cut out each topper using scissors or a paper trimmer. Then take the 4×4 cardstock squares and fold each one in half. These folded pieces will become the base of the treat bag toppers.
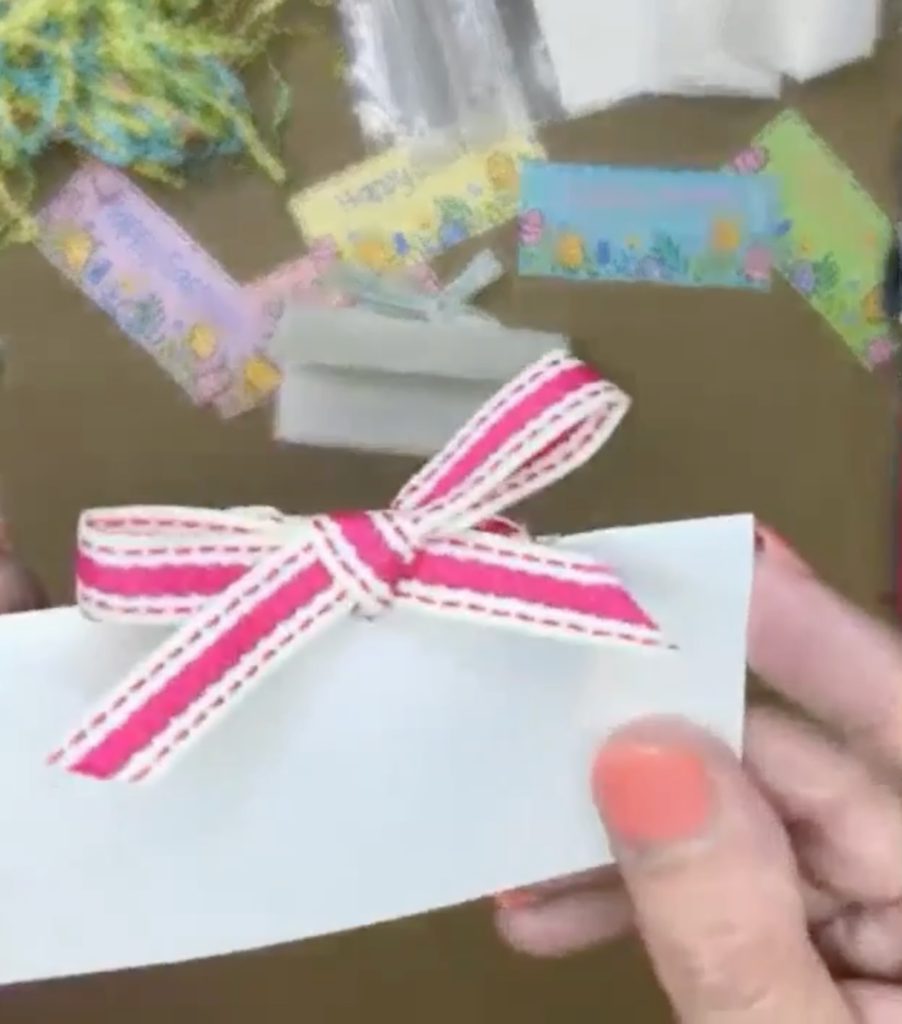
Step 2: Adding Ribbon to the Topper
Use a hole punch to create a hole on each side of the folded edge of the cardstock topper. Make sure the holes line up when the topper is closed.
Thread ribbon down through one hole and back up through the other. Tie a bow at the top.
Trim the ribbon ends at an angle for a clean, finished look. This step adds a decorative touch and makes the topper feel more complete.
Step 3: Filling the Treat Bags
Open each 4×6 clear treat bag and add a small amount of crinkle paper to the bottom.
Next, fill each bag with candy, small gifts, or a mix of both. Choose items that fit easily and don’t overfill the bag so the topper can close neatly.
Step 4: Attaching the Topper
Place the folded topper over the top of the filled bag. Staple the topper in place, positioning the staples slightly in from the edges so they can be covered.
Apply glue to the back of the printable piece and attach it to the front of the topper. This step hides the staples and gives the project a polished finish.
Step 5: Adding a Personal Message
Before attaching the label, you can write a message on the back of it. Add a simple note such as “Jesus loves you,” a short greeting, or a meaningful verse. This small detail turns the treat bag into something more personal and thoughtful.
Once the message is written, glue the label onto the topper.
Tips for This Project
Work in batches to make the process faster. Complete each step (printing, decorating, cutting, and assembling) for all toppers at once.
Mix and match ribbon colors, papers, and fillings to create variety. Soft pastels, bright spring colors, or even neutral tones all work beautifully.
Keep the process simple and use what is already in your stash. This project is meant to be easy, fun, and flexible!

These Easter treat bag toppers are a simple way to create something thoughtful and handmade. They come together quickly, are easy to customize, and make meaningful gifts for all ages.
Use them for Easter baskets, classroom treats, church events, or just to brighten someone’s day. Even the smallest handmade project can make a big impact.Do you love paper crafting? The Paper Crafters ClubHouse is a warm, welcoming monthly membership designed especially for women who love all things scrapbooking, cardmaking, and creative paper crafting. Join here!