


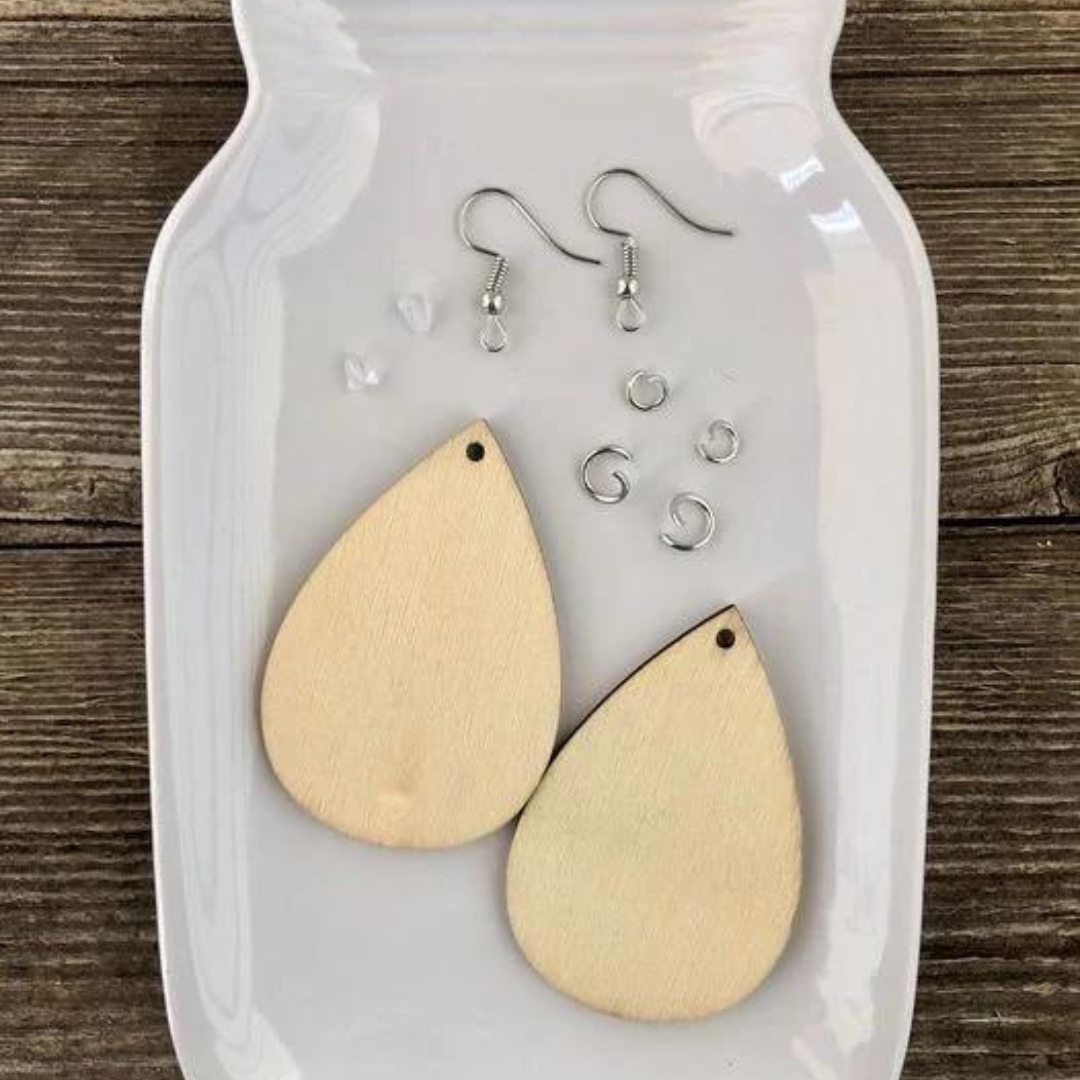
Supply List:
- Blank Wood Earring Kit
- Decorative Paper Napkin
- Mod Podge Matte
- Frixion Pen
- Sandpaper
- Needle nose pliers
Today, we’re diving into the world of DIY jewelry, specifically making earrings using napkin art! If you’re a member of our Napkin Club, you’re already familiar with the magic of napkin crafting. But for those new to this, get ready to fall in love with a unique and affordable way to make stunning earrings.
Napkins come in endless patterns and colors, making them perfect for crafting. Our Napkin Club members often create and sell these earrings at craft shows or in rental booths, and they are a hit! Earrings are so fun – they’re lightweight, inexpensive to make, and allow for endless creativity.
Applying Napkin Art to Earrings
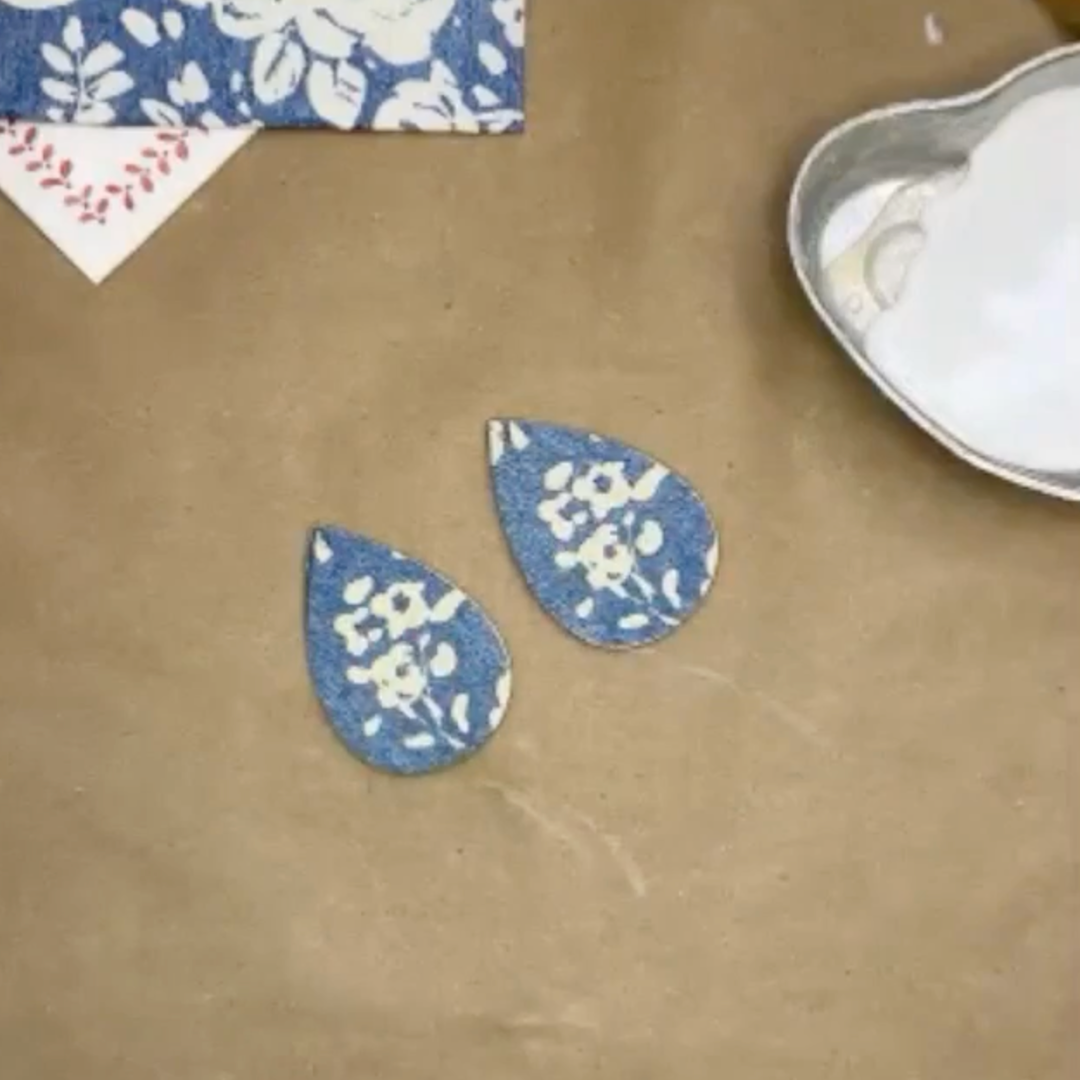
Lay out your chosen napkins and decide which parts of the pattern you want to use. For instance, a denim-like napkin can be a great choice for a casual look. You might also choose checks or florals depending on your style.
Separate the plys of then napkin until you just have the top layer of napkin art. Lay the wooden earring blank on the napkin and use a Frixion Pen to trace the outline. Make sure to leave a little extra napkin around the edges to ensure full coverage. Cut out the traced shapes with scissors.
Apply a thin layer of Mod Podge Matte onto the wooden earring blank. Carefully place the cut-out napkin piece onto the earring blank. Use plastic wrap to smooth the napkin onto the wood, preventing wrinkles and ensuring a flat, smooth surface.
Once the napkin is dry, use sandpaper to gently sand off the excess napkin from the edges of the earring blank. This creates a clean finish. If you want a finished look on both sides of the earring, repeat the process on the back side. Apply a thin, even coat of Mod Podge Matte over the top of the napkin to seal and protect it. Let it dry completely.
Assembling Your Napkin Art Earrings
Use a paper piercer or a sharp object to puncture through the napkin where the hole of the earring blank is.
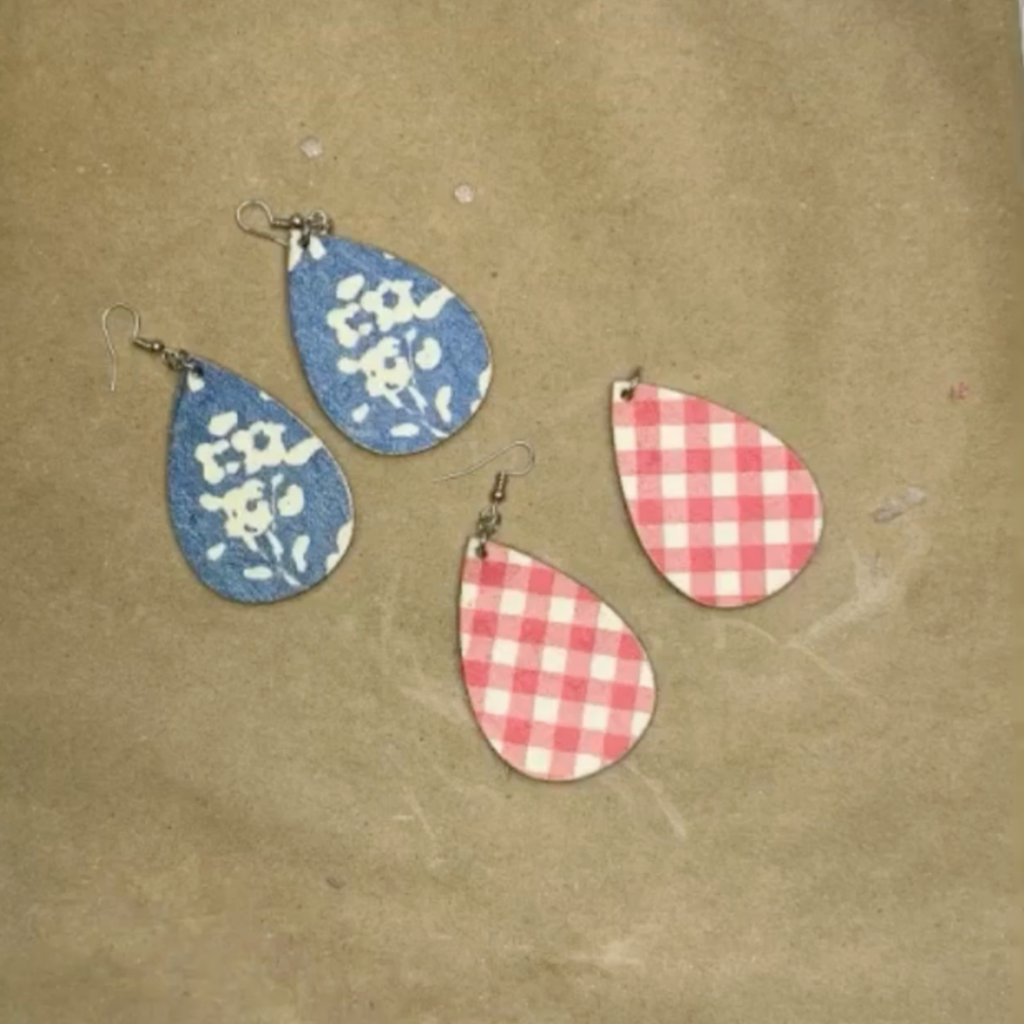
Next, let’s attach our hardware! Start with the larger jump ring. Use needle nose pliers to open the jump ring and insert it through the hole in the earring. Close the jump ring tightly.
Next, take the smaller jump ring and attach it to the larger jump ring. Before closing it, add the earring hook to ensure it faces the right direction.Squeeze the smaller jump ring closed. Insert the plastic backs onto the earring hooks to ensure they stay securely in your ears.
Feel free to mix and match different napkin designs. Mismatched earrings are trendy and can add a playful touch to your accessories. You can also add Stickles for some sparkles or do some pen work to make your design pop!
Did you love this? Check out my online creative memberships! They are all a little different, and each is designed to ignite your imagination, inspire your craft, and connect you with fellow art enthusiasts. If you’re a creative looking for an online space to learn and thrive, we have something for everyone!


Thank you very much for this clear explanation. Very generous of you