Supply List:
- Winter Canvas Set
- Winter Canvas Set With House
- Mod Podge Matte
- Pitt Artist Pens
- Glossy Accents
- Clear Stickles
- Simplicity Paint to paint your greenery
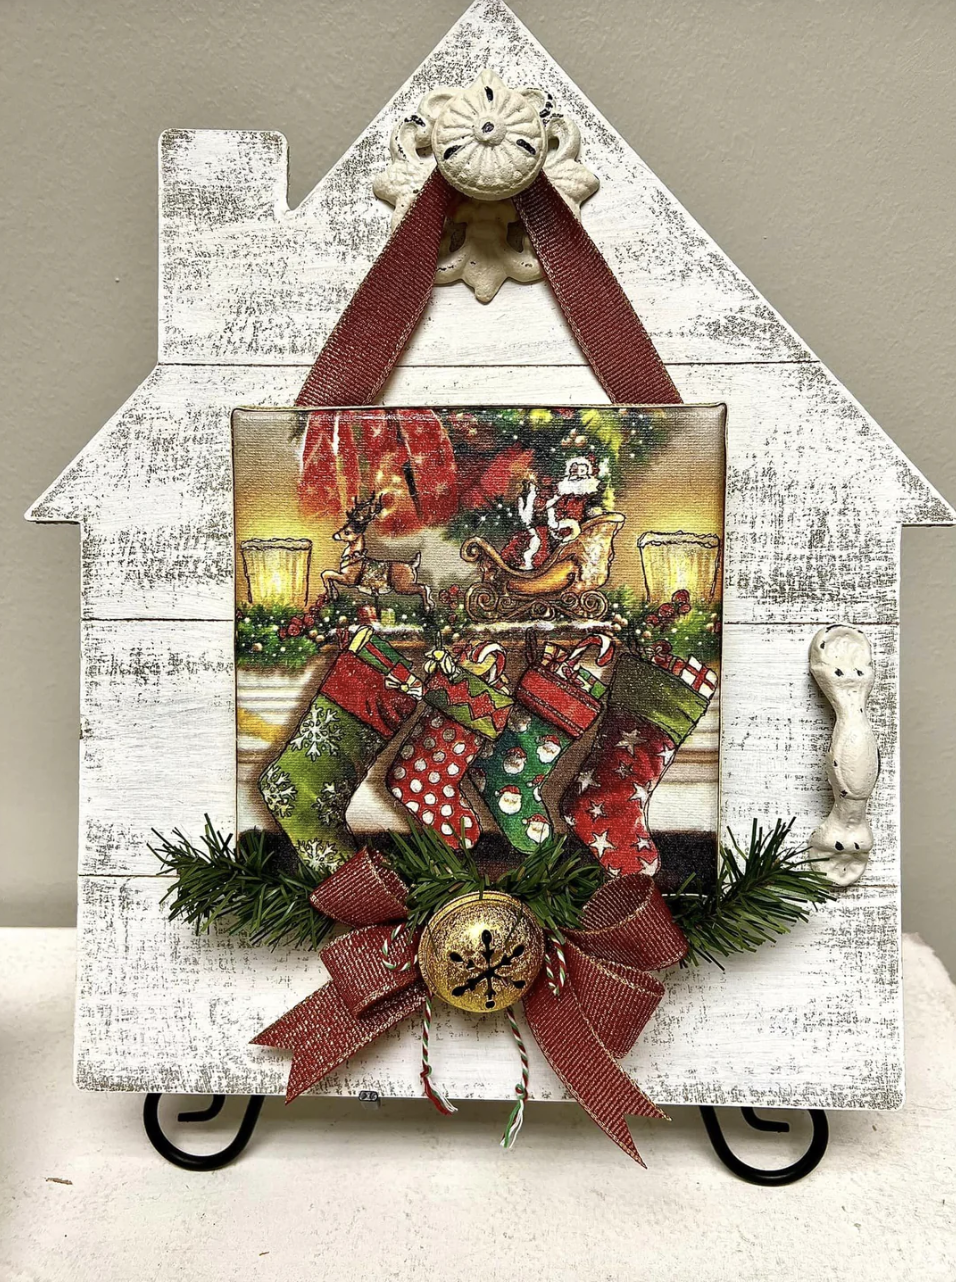
Have you been participating in our Welcome Home Canvas kits program? You’ll get a gorgeous shiplap house to hang and switch out different canvas decor. We release kits every season, and the winter kits just dropped! I’ll show you how to create these adorable canvases using the new kits – one canvas is winter themed and the other is Christmas themed!
Our kit includes everything you need to complete this project – two 6×6 canvases, Christmas napkin, winter napkin, specialty metallic ribbons and holiday twines, greenery, and silver and gold bells. Grab yours before they’re gone!

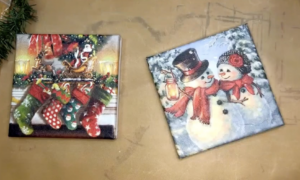
Adding Napkin Art to Your Canvases
Separate the plys of your napkin until you have that top layer of napkin art. Add a coat of Mod Podge Matte to your canvases, add your napkins on top, place some plastic wrap over top, and smooth the napkin onto the canvas with your hands.
If you have any overlapping napkin, let it wrap around your canvas. Dry with a heat tool, add another coat of Mod Podge Matte to seal it, and let it dry again.
Adding Details and Embellishments
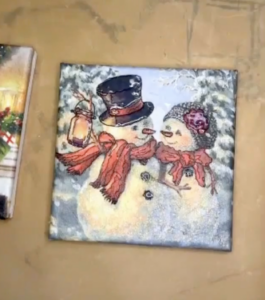
I love using Pitt Artist Pens to do my penwork on my napkin art. For my winter canvas, I am going to add detail lines on their scarves, hats, and the lantern. I’m also going to add Clear Stickles to my snowman and snowwoman and also in the lantern. When you have a bigger area, you can add lots of Stickles and then take a small paintbrush to spread them around. Dry with a heat tool.
Then, I’m going to use Glossy Accents on the carrot noses, the hats, and the lantern. This creates a three-dimensional gloss to your napkin art. This does take some time to dry, so just set it aside.
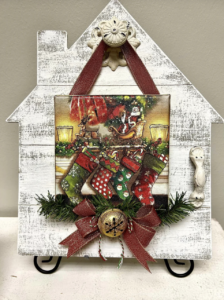
I’m also going to add lots of penwork to my Christmas canvas. Then, I’m going to add some ribbon and embellishments. In your kit, you will have a piece of gold ribbon and a piece of red ribbon. Apply hot glue around the edge of your canvas and wrap your gold ribbon around your entire canvas. I like to mix and match, so I’m going to use my red ribbon to add the hanger. Cut the ribbon to be 11 inches, and you can either staple it to the back of each corner or hot glue it.
Then, we will make a pretty bow! Lay out your baker’s twine and grab your red ribbon. Bunch up your red ribbon using three loops, then wrap and tie the baker’s twine around the middle of the ribbon until you have your bow. I’m also going to cut a flag end on my ribbon.
Next, take the greenery from your kit and bend it so it looks draped. Add hot glue to the center of the bottom of your canvas and then on the bottom two corners and add your greenery. Hot glue your bell to the center of your ribbon. When you attach your ribbon and bell to your canvas, you are actually going to add hot glue to the top of your bell and secure it to the bottom of the canvas, so it is hanging down. At this point you could use Stickles to add some glitter accents or Glaze Pens to personalize and add names to your stockings!
You will use these same exact techniques to add your ribbon, bow, and bell to your winter canvas. For the greenery on my winter canvas, I’m actually going to add Simplicity Paint to give it a snowy effect.
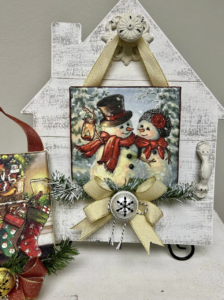
Enjoy making these beautiful holiday and winter canvases to use to decorate your home. These are both wonderful for the entire holiday season!
I go LIVE on my Facebook page every Friday at 11 am CST for a fun and easy Craft-n-Chat Session. Come learn something new while creating something beautiful!
Join the waitlist for The Napkin Club where Unique Makers can connect, learn, and be inspired to create with the Individual Unique Napkin Collections that you will receive every month! A place where Napkin Lovers can unite and be inspired!




0 Comments