


Supply List:
- Reversible Summer Cutting Board DIY Decor Kit
- Mod Podge Matte
- Small Piece of Sandpaper
- Scissors
- Plastic Bakery/Deli Sheets
- Heat Tool
- Hot Glue
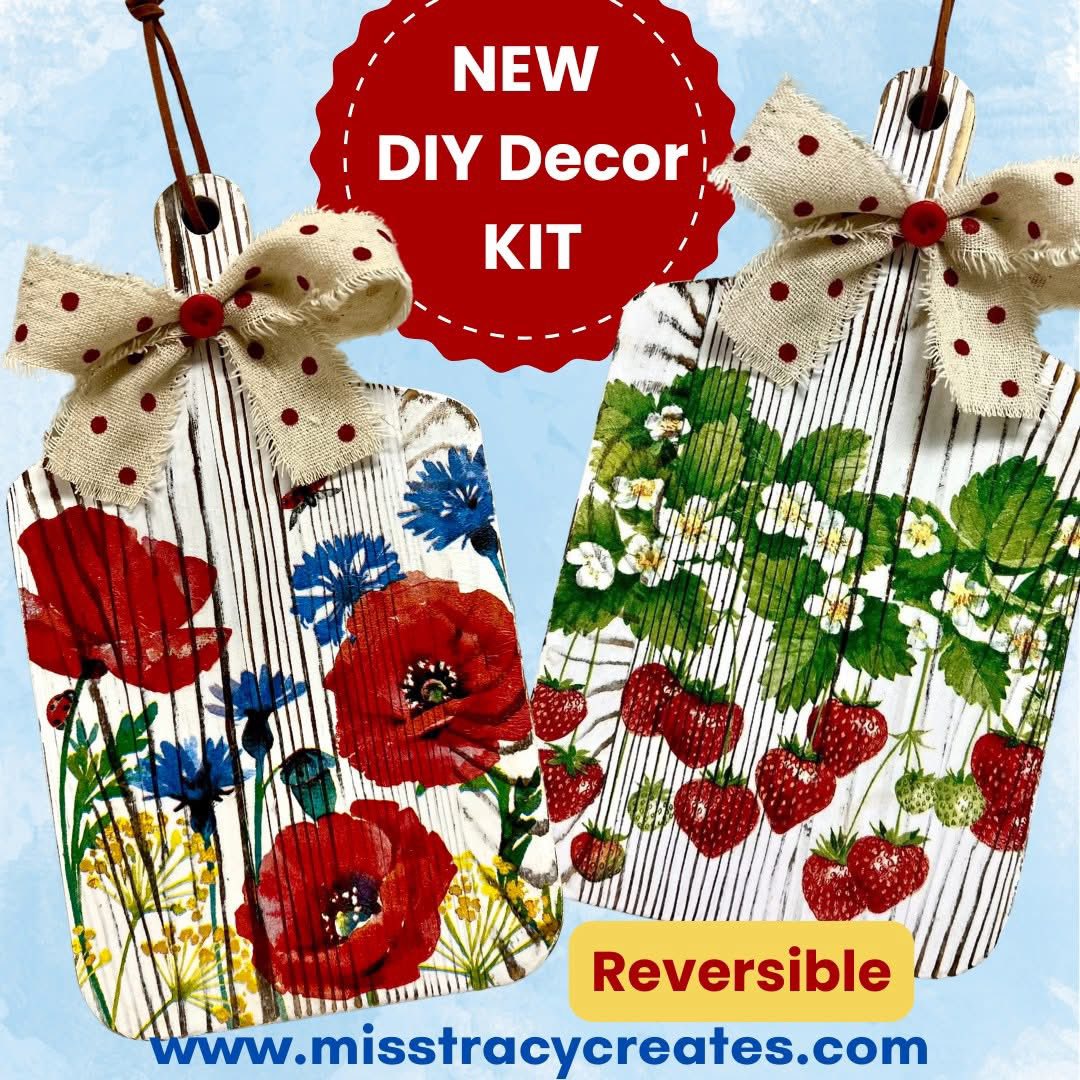
If you’ve ever wanted to try napkin art but weren’t sure where to start, this project is for you! This adorable Reversible Summer Cutting Board is a beginner-friendly napkin art project that’s as fun and simple as it is cute and giftable. Whether you’re brand new to crafting or a seasoned maker who just loves a “little something” project, this one checks all the boxes: quick, easy, and cute!
You’ll get to play with two different summer-themed napkins, learn my favorite method for smooth, bubble-free application, and create a double-sided piece that you can flip around depending on your mood or your decor!
Your kit will include: your distressed cutting board, two napkins (poppies & strawberries), ribbon, twine, and a red button.
Step 1: Prep Your Napkins
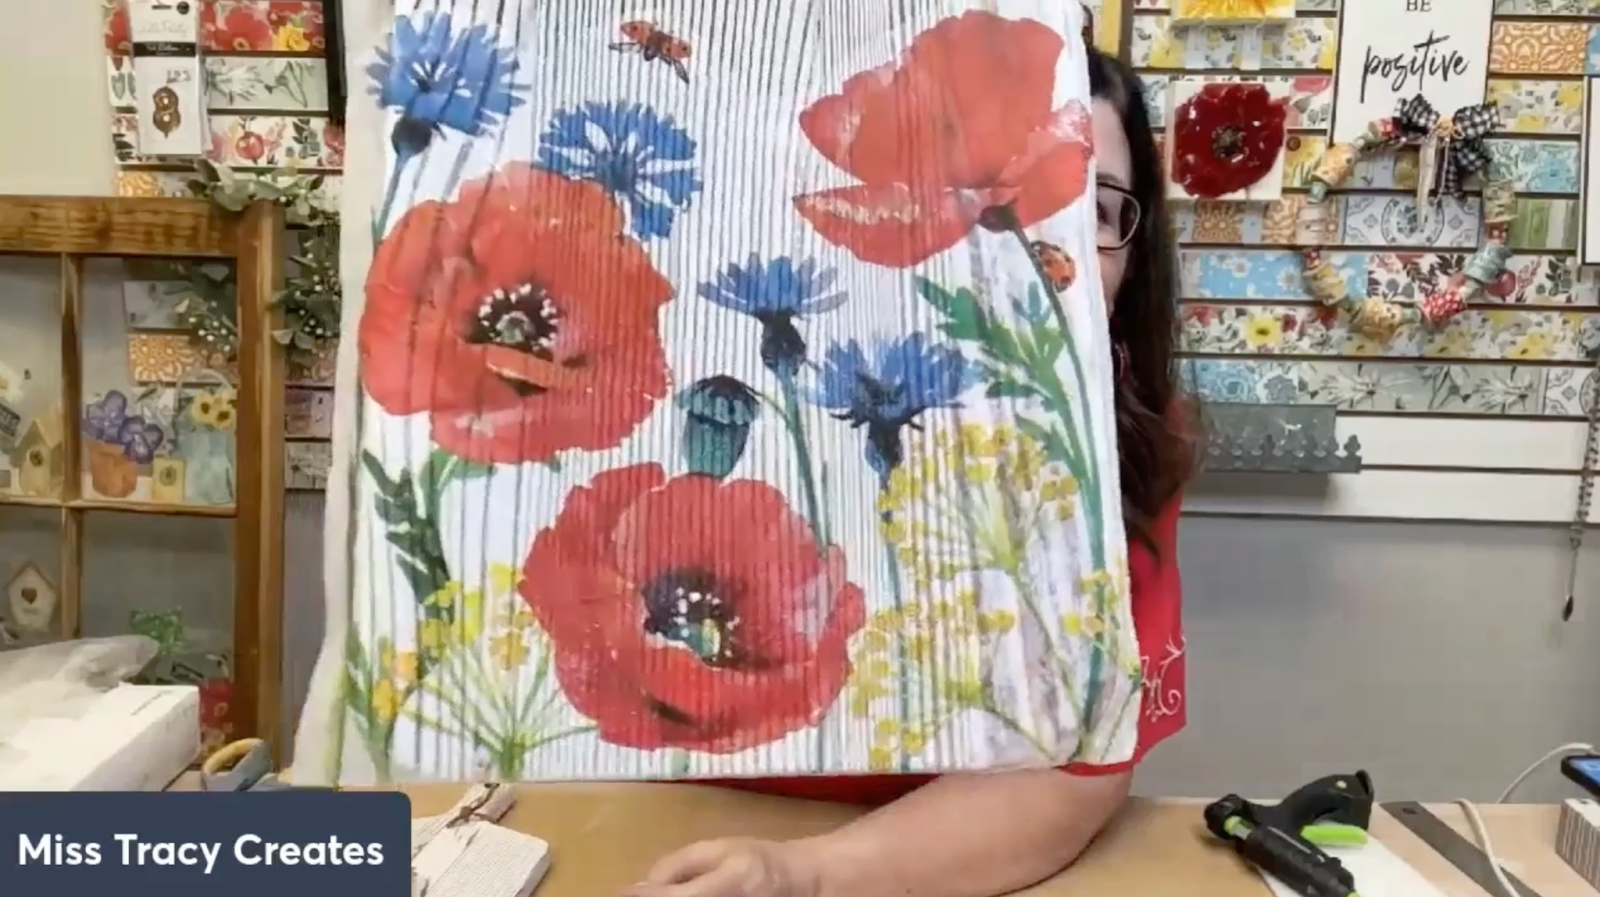
Before you apply anything, we need to prep your napkins. Each napkin is three-ply, and for napkin art, we’re only using the top printed tissue layer. You can do the “lick and stick” method or dab a tiny bit of Mod Podge Matte between your fingers and gently press to lift that top layer.
Your napkins are just about the perfect size for the cutting board, but you’ll probably see a little overhang on the edges – that’s okay! I like to take a pair of scissors and soften the straight lines a bit. Just follow the edge of the floral design and make a gentle curve. You don’t have to fussy-cut, but trimming those harsh edges helps the napkin blend more beautifully into the wood and makes your final project look extra polished.
Step 2: Apply Your Napkin Art
Grab your paintbrush and give your cutting board a generous coat of Mod Podge Matte. Then, gently place your napkin down, smoothing it with your fingers just enough to keep it from shifting. Place your deli bakery sheet or plastic bag over the napkin, and using three fingers, start smoothing from the center outward. You want to gently but firmly press the napkin into the grain of the wood. This technique helps you avoid tearing the delicate tissue and gives your piece that hand-painted look.
Dry with a heat tool. Once dry, take your sandpaper or emery board and gently sand off the napkin that’s hanging over the edge of the board.
Step 3: Repeat on the Back
Now for the second side! Flip your board over and follow the same steps using the second napkin design. Mod Podge, napkin, smooth with plastic, dry, and sand. This is the “reversible” part of the project, and it’s so fun to have two completely different summer looks to flip between!

Step 4: Seal and Protect Your Beautiful Work
Once both sides are fully dry and sanded, it’s time to seal them. Apply a thin, even topcoat of Mod Podge Matte to both sides. This top layer protects the delicate tissue and makes the napkin even more transparent, letting all that gorgeous wood grain and distressing shine through.
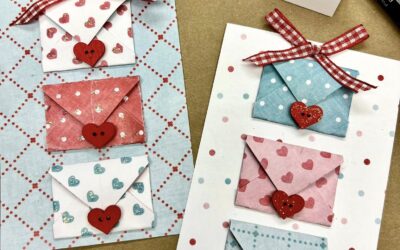
Step 9: Add the Finishing Touches
This bow is one of my favorite parts because it ties the whole piece together, literally! To make it, take your frayed-edge ribbon and cross it into a tribute ribbon shape. Scrunch the center where it overlaps and tie it tight using the red-and-white baker’s twine from your kit. Hot glue the red button right in the center for that extra little pop of charm.
Tie the bow onto the leather strap of the cutting board. That way, when you flip the board around to display the other side, you can just flip the bow too! It’s like a little accessory for your decor.
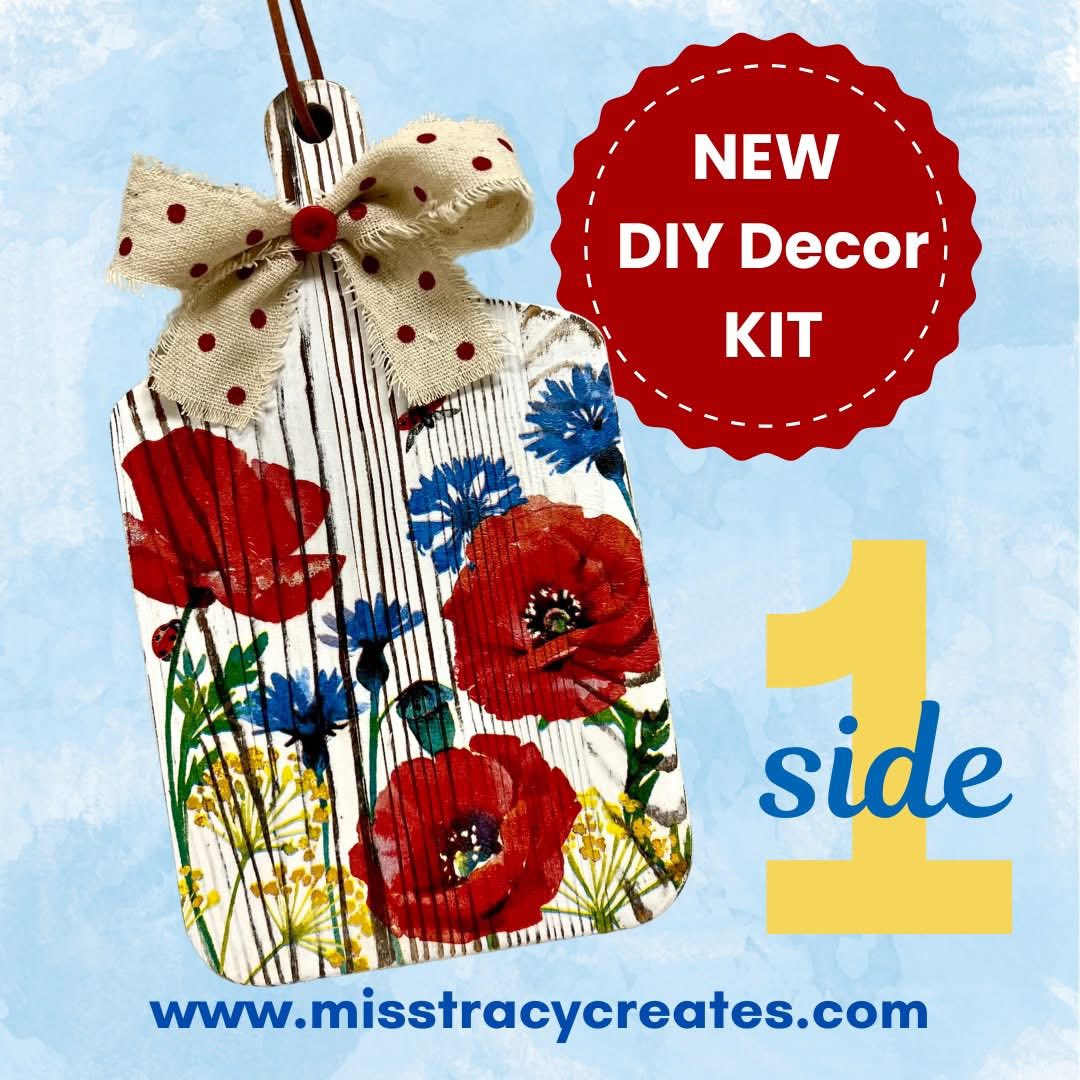
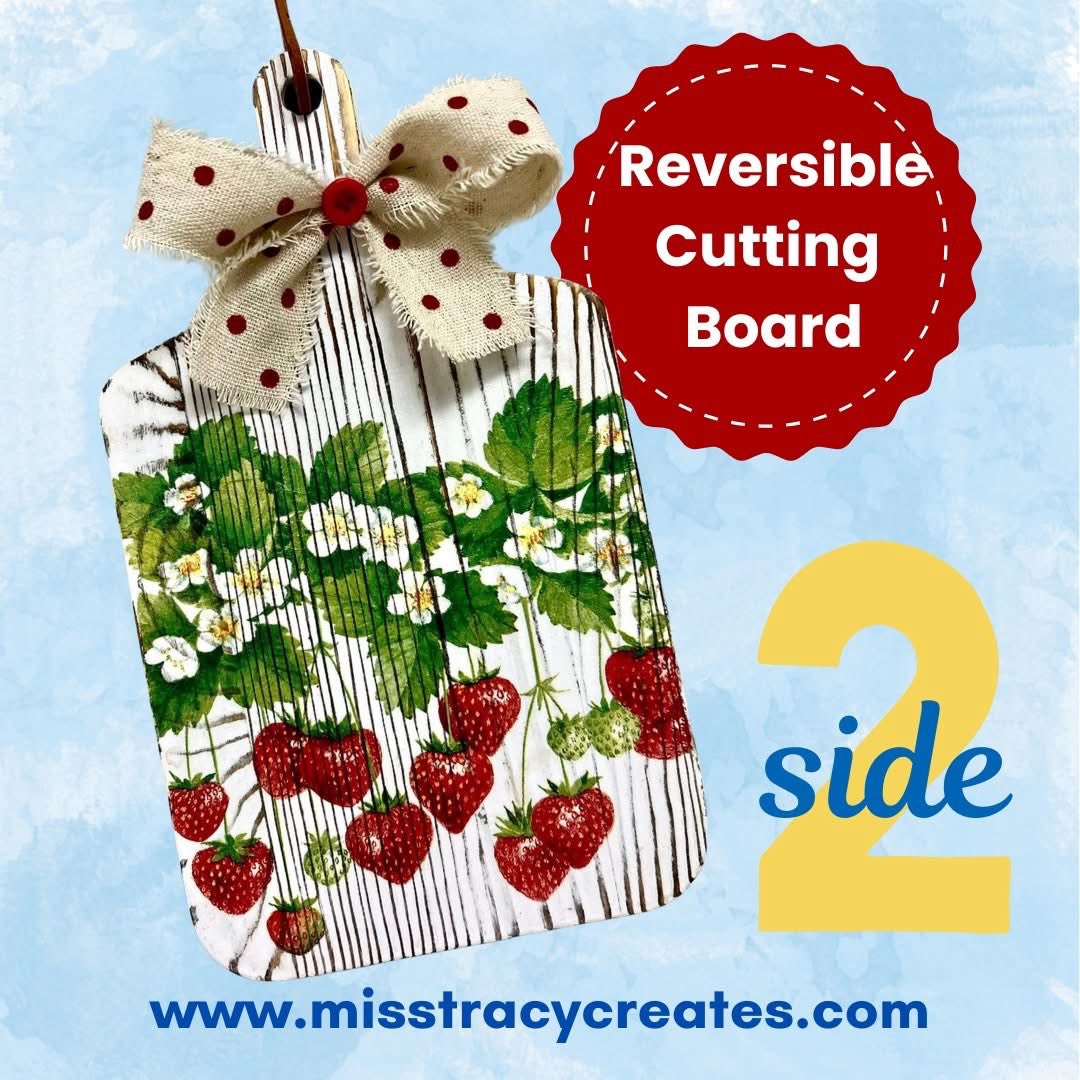
You’ve just created a sweet, simple, reversible piece of napkin art! One side gives you the patriotic poppy vibe, and the other is a fresh, fruity strawberry scene that looks like it came straight from a vintage farmhouse. Set it on an easel, hang it from the strap, or gift it to someone who could use a little handmade joy. It’s the perfect “little something” craft – quick, easy, and cute.
I go LIVE on my Facebook page every Friday at 11 am CST for a fun and easy Craft-n-Chat Session. Come learn something new while creating something beautiful!
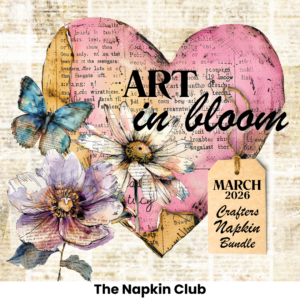
Did you love this? Join the waitlist for The Napkin Club! We ship out fresh, seasonal napkins to our members every month (many designed by yours truly!) and create gorgeous, easy-to-follow projects together in our private Facebook group. You’ll get access to live tutorials, inspiration posts, a welcoming community, and tons of crafty joy.


0 Comments