


Supply List:
- Medium Shiplap Star
- Decorative Napkins (included with the purchase of the Star)
- Simplicity Paint
- Mod Podge Matte
- White Cardstock
- Scissors
- Stickles – Diamond
- Sandpaper
- Foam Tape
- Ribbon
- Hot Glue
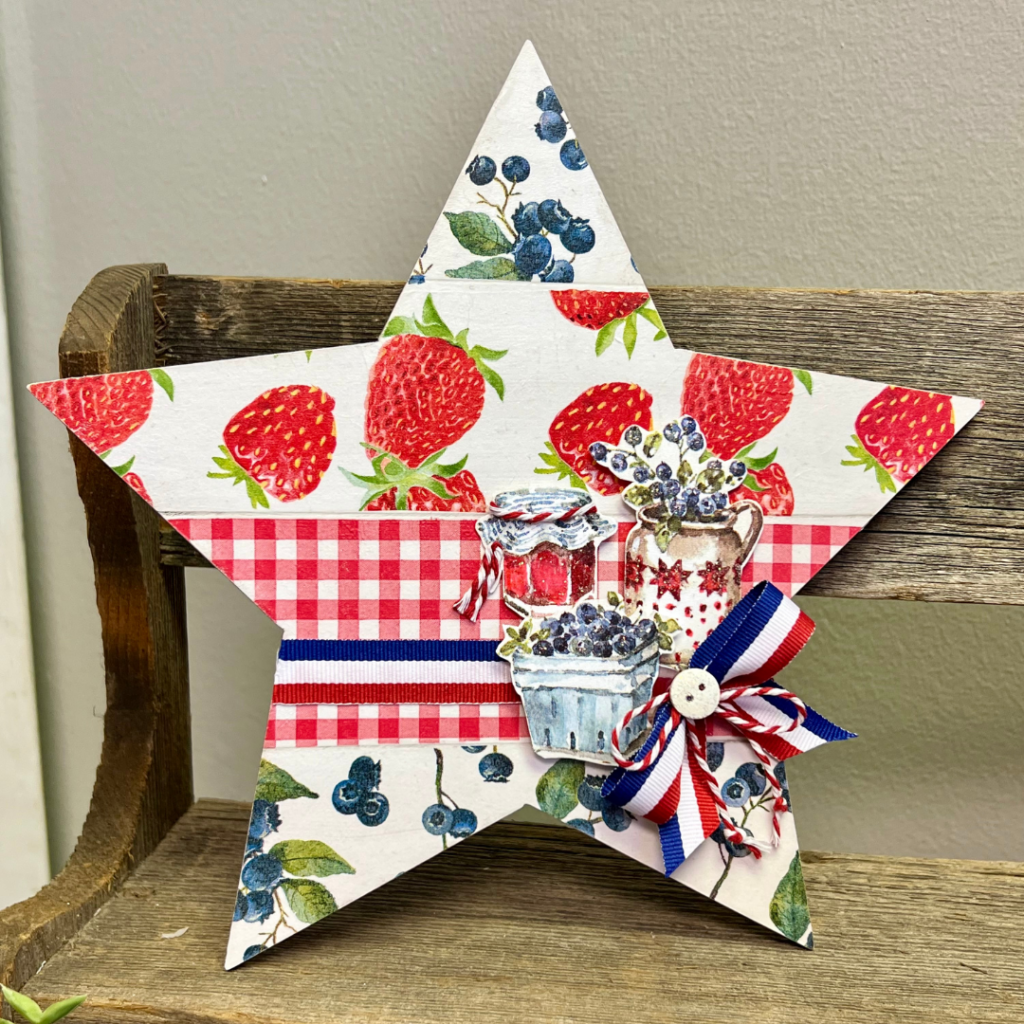
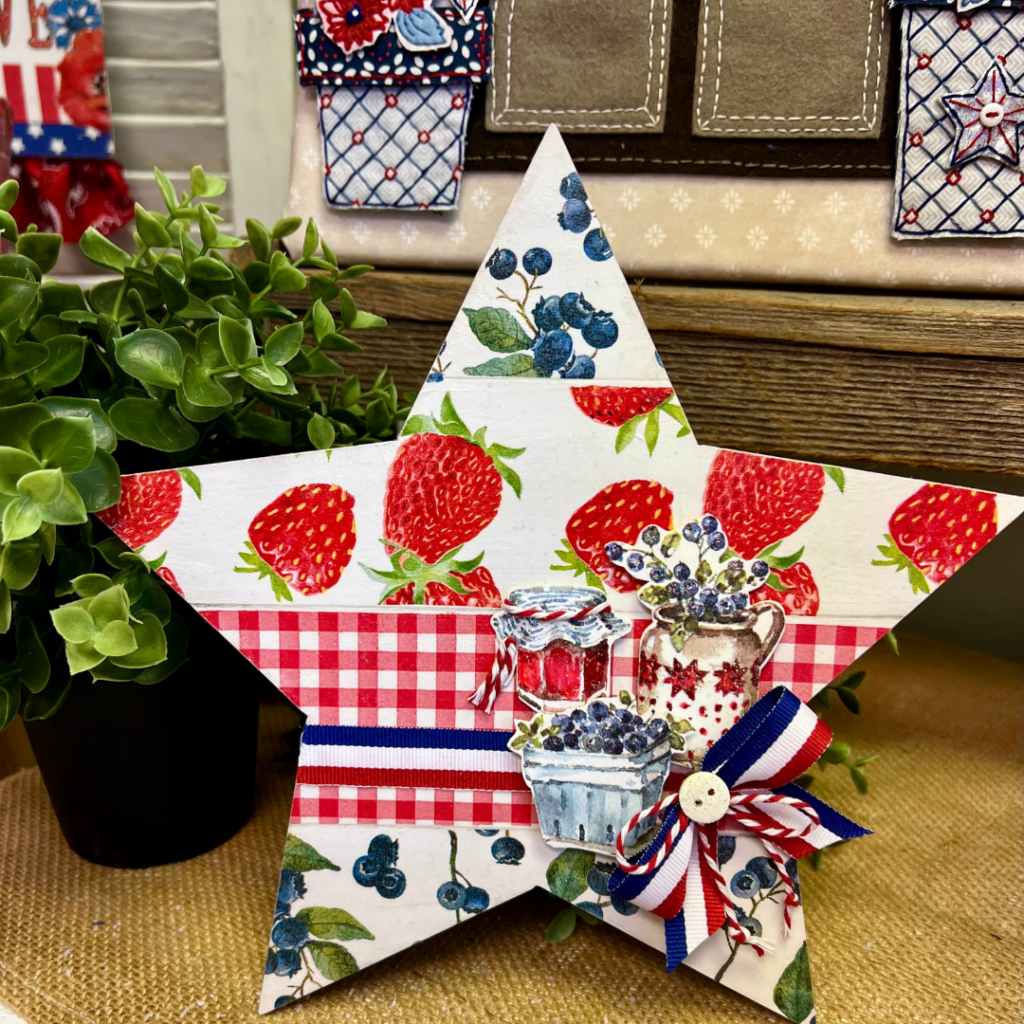
Add a touch of unique patriotism to your home decor with this project! We’ll transform ordinary napkins and a shiplap star into a stunning red, white, and blue decoration. We’ll be using napkins that aren’t necessarily patriotic patterns but have red, white, and blue colors. When they come together, they have this subtle patriotic feel that I love! Whether you’re gearing up for the Fourth of July or the summer season, this creative and beginner-friendly project is simple to put together and will look stunning in your kitchen or home!
Applying Napkin Art to your Shiplap Star
We’ll begin by transforming our shiplap star into a blank canvas. Apply a generous coat of white Simplicity Paint using your paintbrush. If needed, apply a second coat of paint to ensure complete coverage. Dry your star with a heat tool.
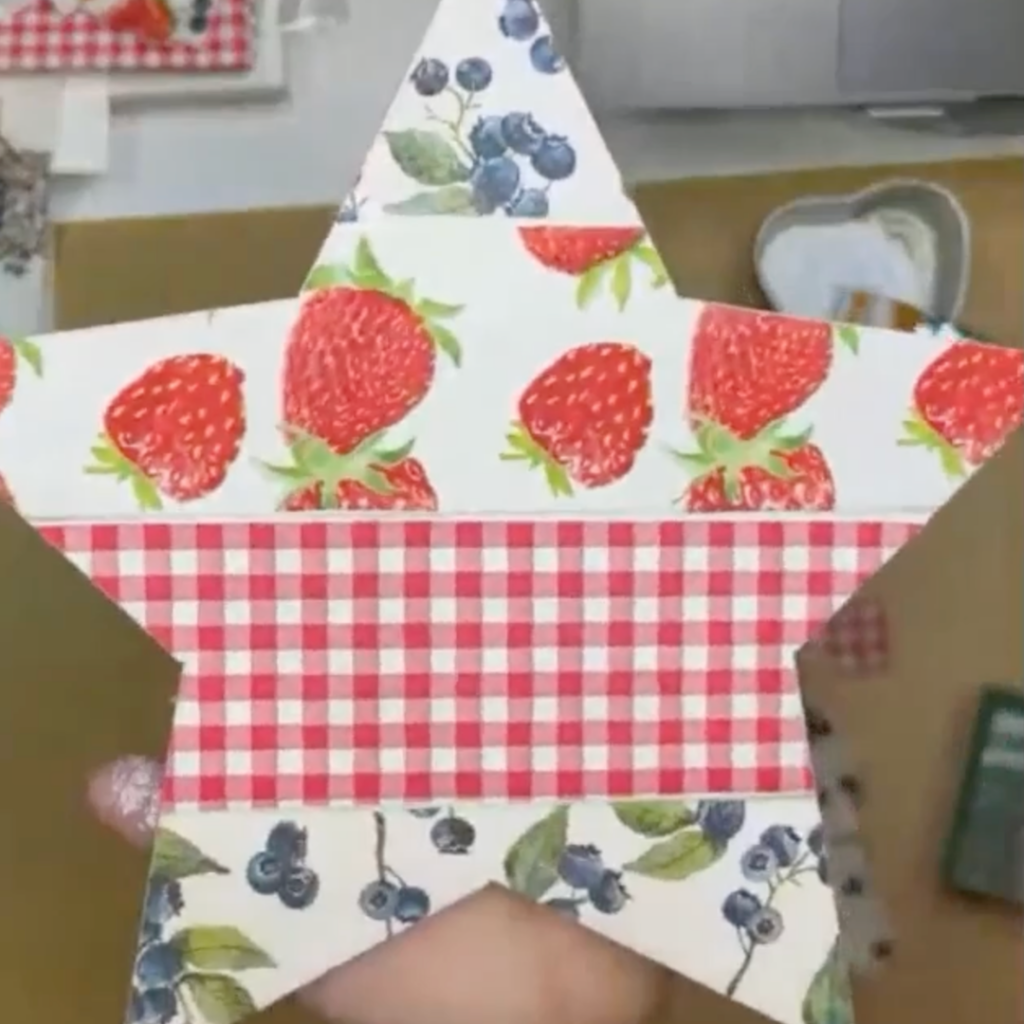
Now comes the fun part: choosing the perfect napkins! Explore your collection and pick out napkins with red, white, and blue patterns. I’m using napkins with blueberries, red gingham, strawberries, and more! Plan the placement of each napkin on the star. Place the napkin on your shiplap and use your finger to make a fold line so you know where to cut. Cut your napkin strips and separate the plys until you just have the top layer of napkin art.
Grab your Mod Podge Matte and gently apply a thin layer to a specific section of the star where you’d like to place a napkin design. Lay the pre-cut napkin piece onto the Mod Podged area. Smooth out any wrinkles or air bubbles using a piece of plastic wrap. Repeat this process for each chosen napkin design, building your red, white, and blue masterpiece. Dry with a heat tool.
Once dry, take your sandpaper or sanding block and gently sand the edges of the decoupaged areas. This removes any excess napkin material that might be sticking out. Apply a coat of Mod Podge Matte to seal your napkin art.
Adding Embellishments to Your Summer Star
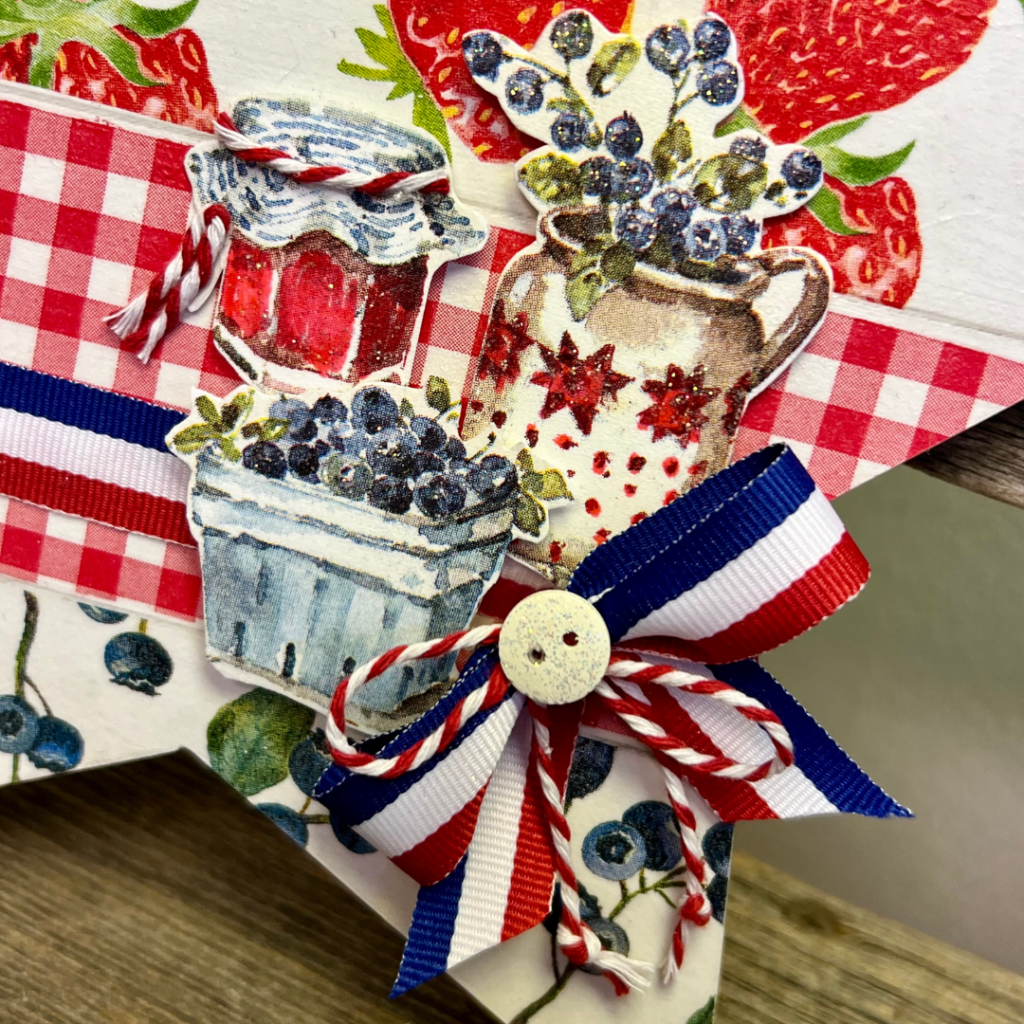
Next, I’m going to create some napkin art cut-outs to embellish my star even more! I have a napkin with several different designs on it that I will cut out and add, like a pie, jam jar, blueberry carton, and even a cute little crock!
Apply Mod Podge Matte to a piece of white cardstock and dry with a heat tool. Separate the plys of your napkin cut-outs and lay the top napkin art layers onto your Mod Podged card stock. Lay a piece of parchment paper on top and use an iron (without water!) to smooth it down. The iron will activate your Mod Podge and create your own decorative paper. I’ll use a red glaze paper to brighten some of my red areas up.
Let your paper cool and then cut out around your images. Add Foam Tape to the back of your images to make them pop up, and then hot glue them onto your star.
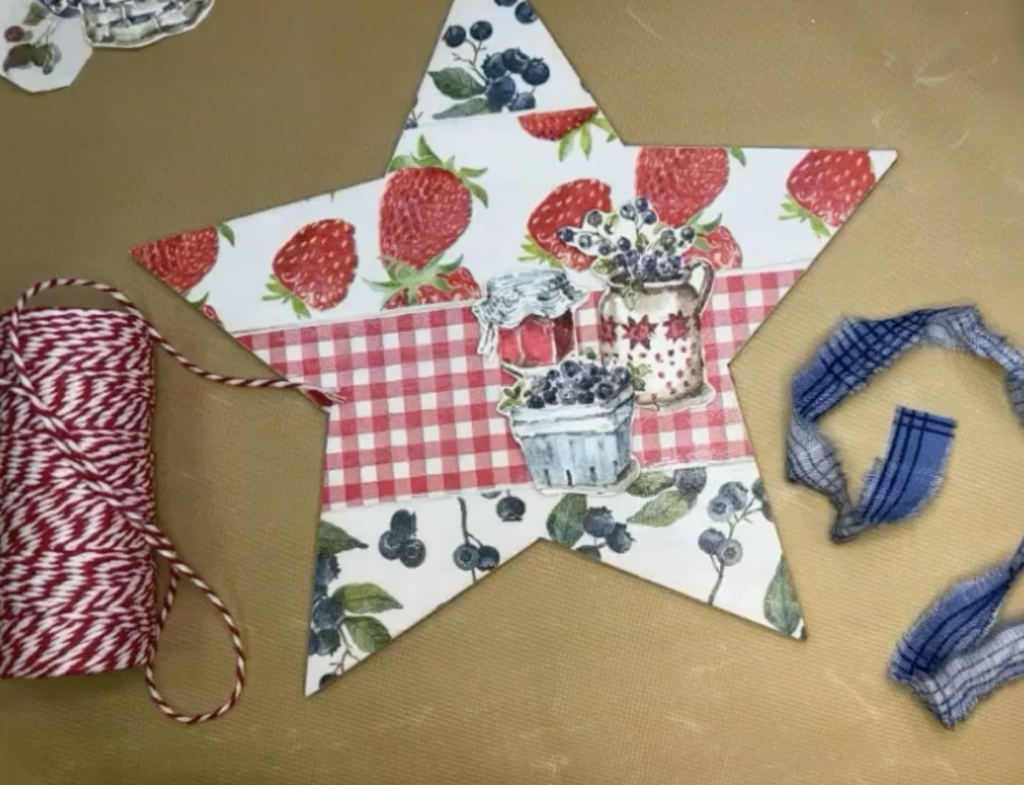
Next, I’m going to hot glue a red, white, and blue striped ribbon to run across the star. I’ll also create a bow to add to my star. Take a ribbon and create a “tribute ribbon” shape, scrunch the loop down, and tie off the middle with a piece of twine. Hot glue the ribbon to your star and add a small button to the center.
Finishing your Wooden Shiplap Star
At this point, you can create a ribbon hanger to display your star, but for this project, I will make an easel back with two clothespins. You’ll take your clothespin and slide one half of the clothespin back to create a stand. I love this because you can flatten the clothespin again for storage!
Hot glue the two clothespins to the back bottom area of your star. Now, it can stand up and display beautifully in your home! You can also add Stickles – Diamond to add sparkle to your napkin art too.
Congratulations! Your red, white, and blue star creation is complete. Find the perfect spot to display your masterpiece and enjoy your one-of-a-kind decoration.
I go LIVE on my Facebook page every Friday at 11 am CST for a fun and easy Craft-n-Chat Session. Come learn something new while creating something beautiful!
Join the waitlist for The Napkin Club where Unique Makers can connect, learn, and be inspired to create with the Individual Unique Napkin Collections that you will receive every month! A place where Napkin Lovers can unite and be inspired!


0 Comments