


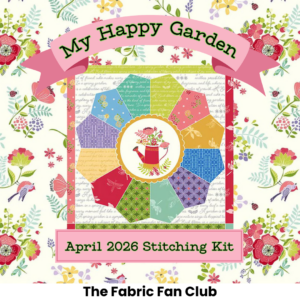
Supply List:
- Fabric Fun Bundle or Fabric Mini Pack
- Fusible Fleece
- White or any Color Sulky Embroidery Thread
- Needle
- Aleene’s Twist Up Fabric Glue Stick
- Scissors
- Iron
- Optional: Needle Threader, Wooden Skewer, or Chopstick
Looking for a quick and satisfying project to use up your favorite fabric scraps? These Fabric Patchwork Coasters are the perfect bite-sized sewing adventure. Whether you’re a beginner or a seasoned stitcher, you’ll love how easy (and addictive!) they are to make. Let’s walk through the steps together and stitch up a set that’s cute, cozy, and full of character.
Step 1: Gather Your Materials
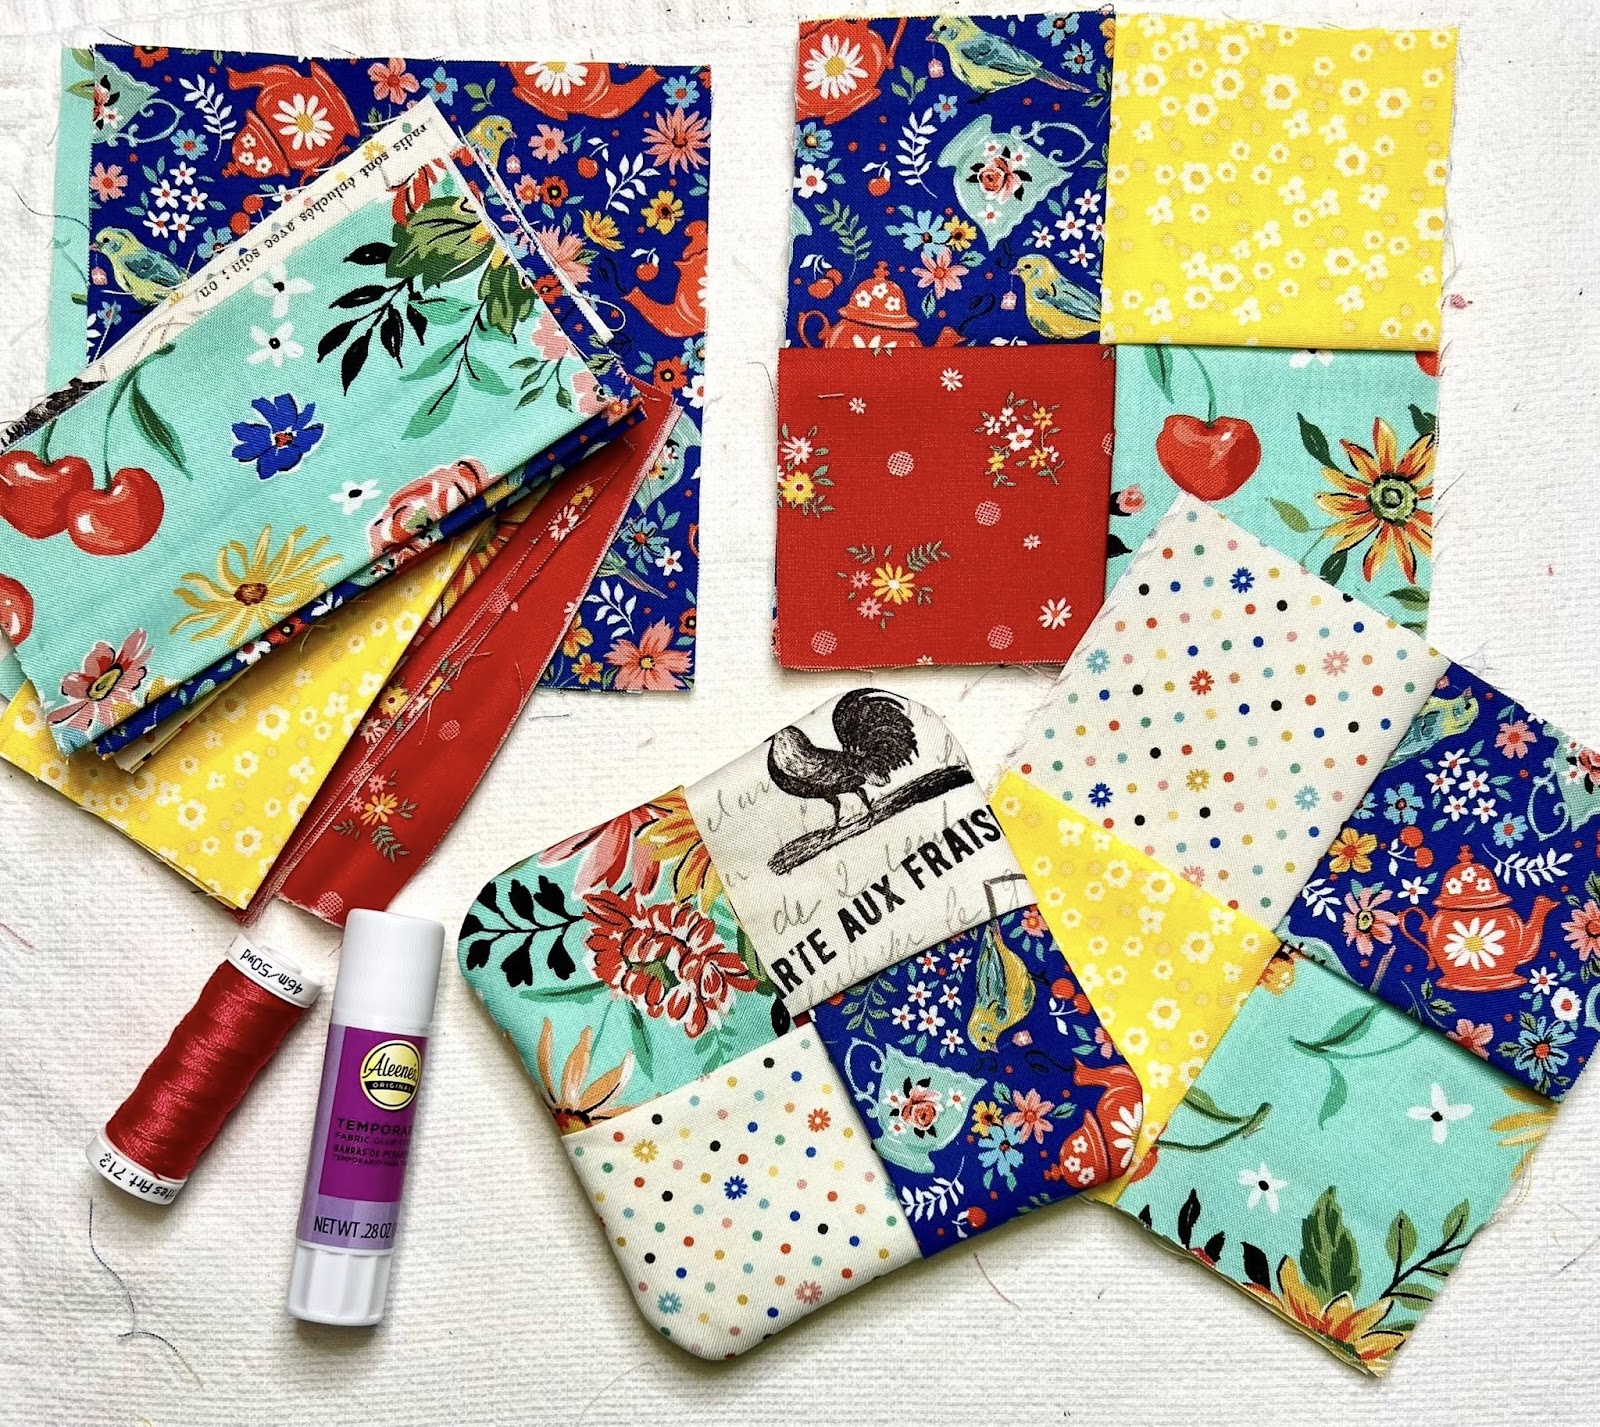
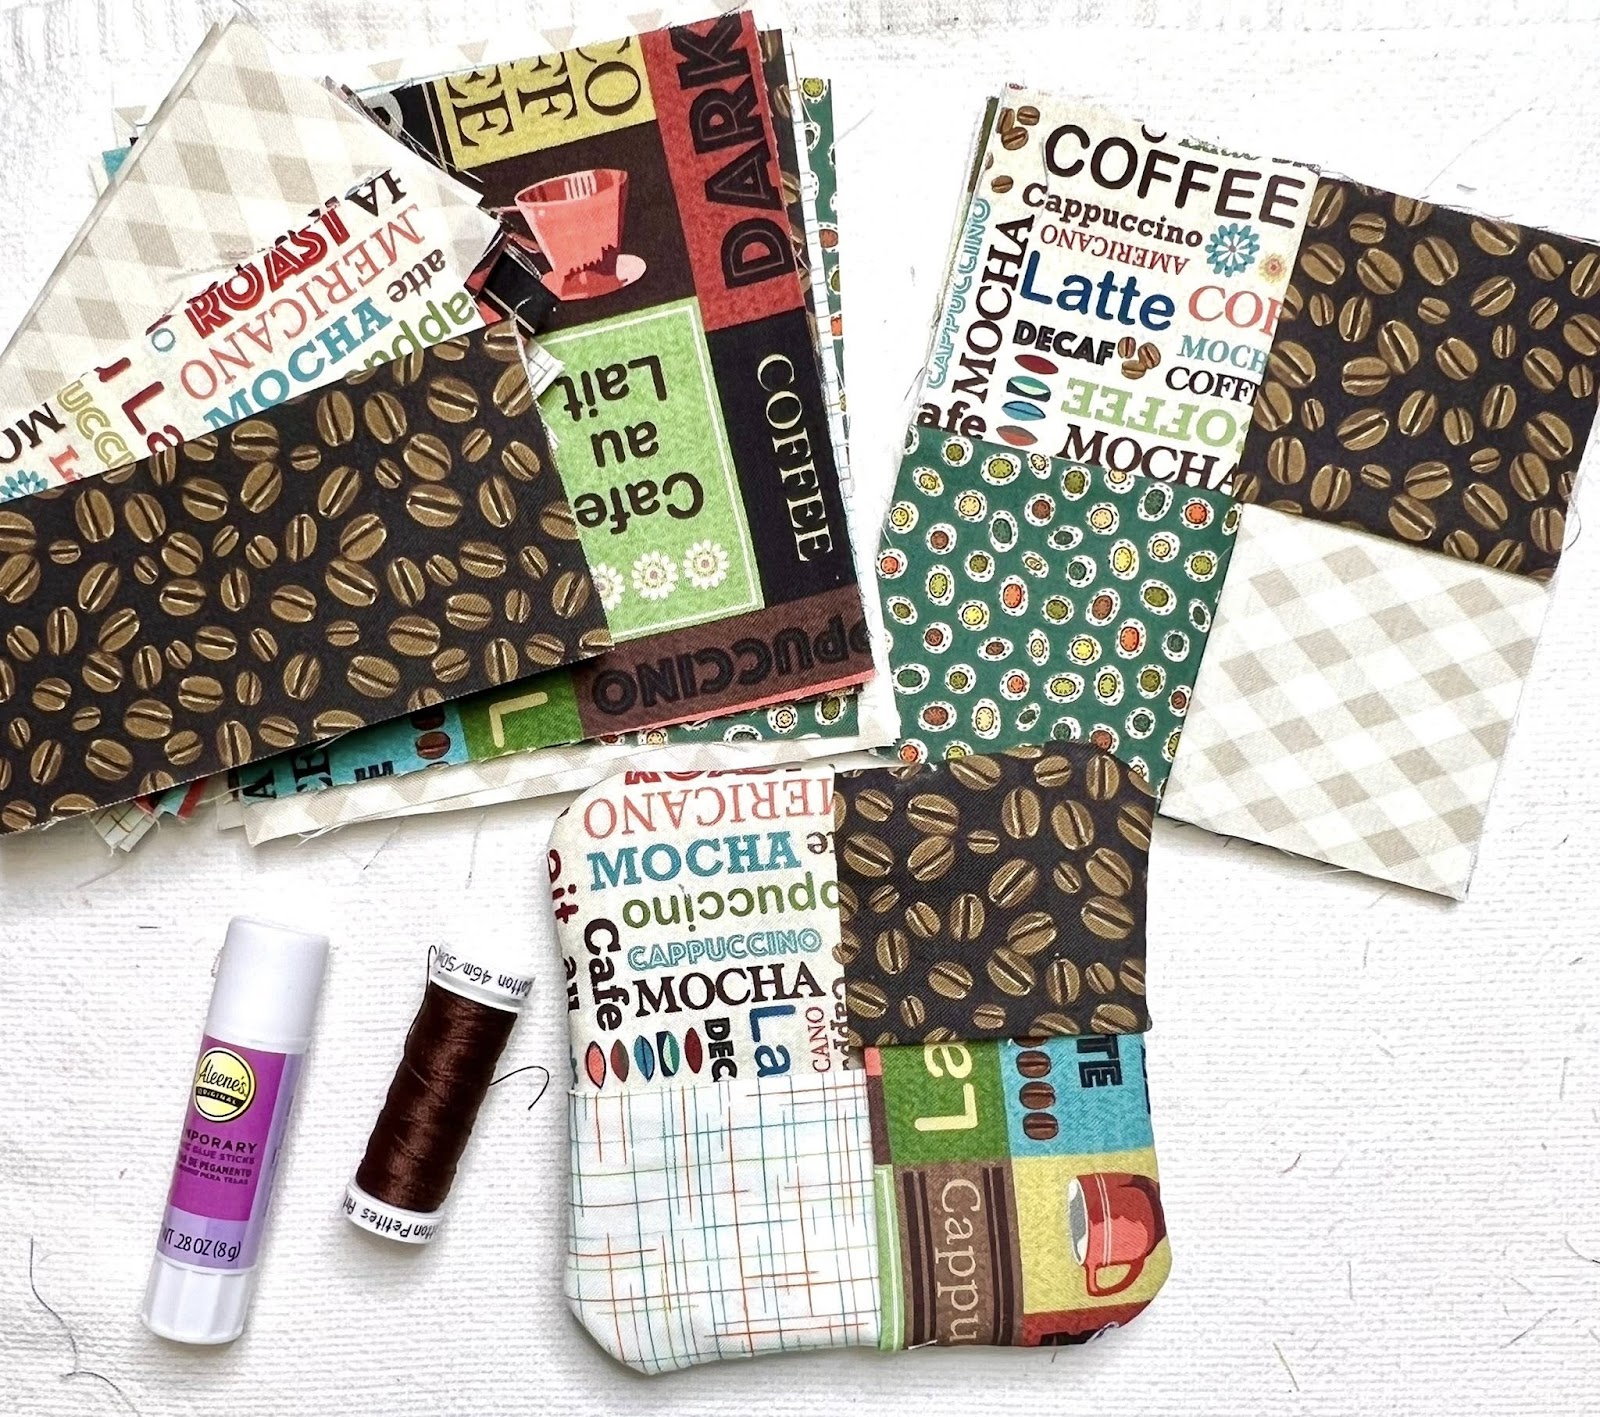
To get started, you’ll need six 5×5″ fabric squares per coaster. This project is all about the mix-and-match magic! I used six different prints for a fun patchwork effect, but you can repeat fabrics or use just three patterns doubled up. You’ll also need one 5×5″ square of fusible fleece for the inside, a temporary fabric glue stick, and either a needle and thread or your sewing machine. Don’t forget your iron – pressing makes all the difference!
Step 2: Prepare Your Fabric Squares
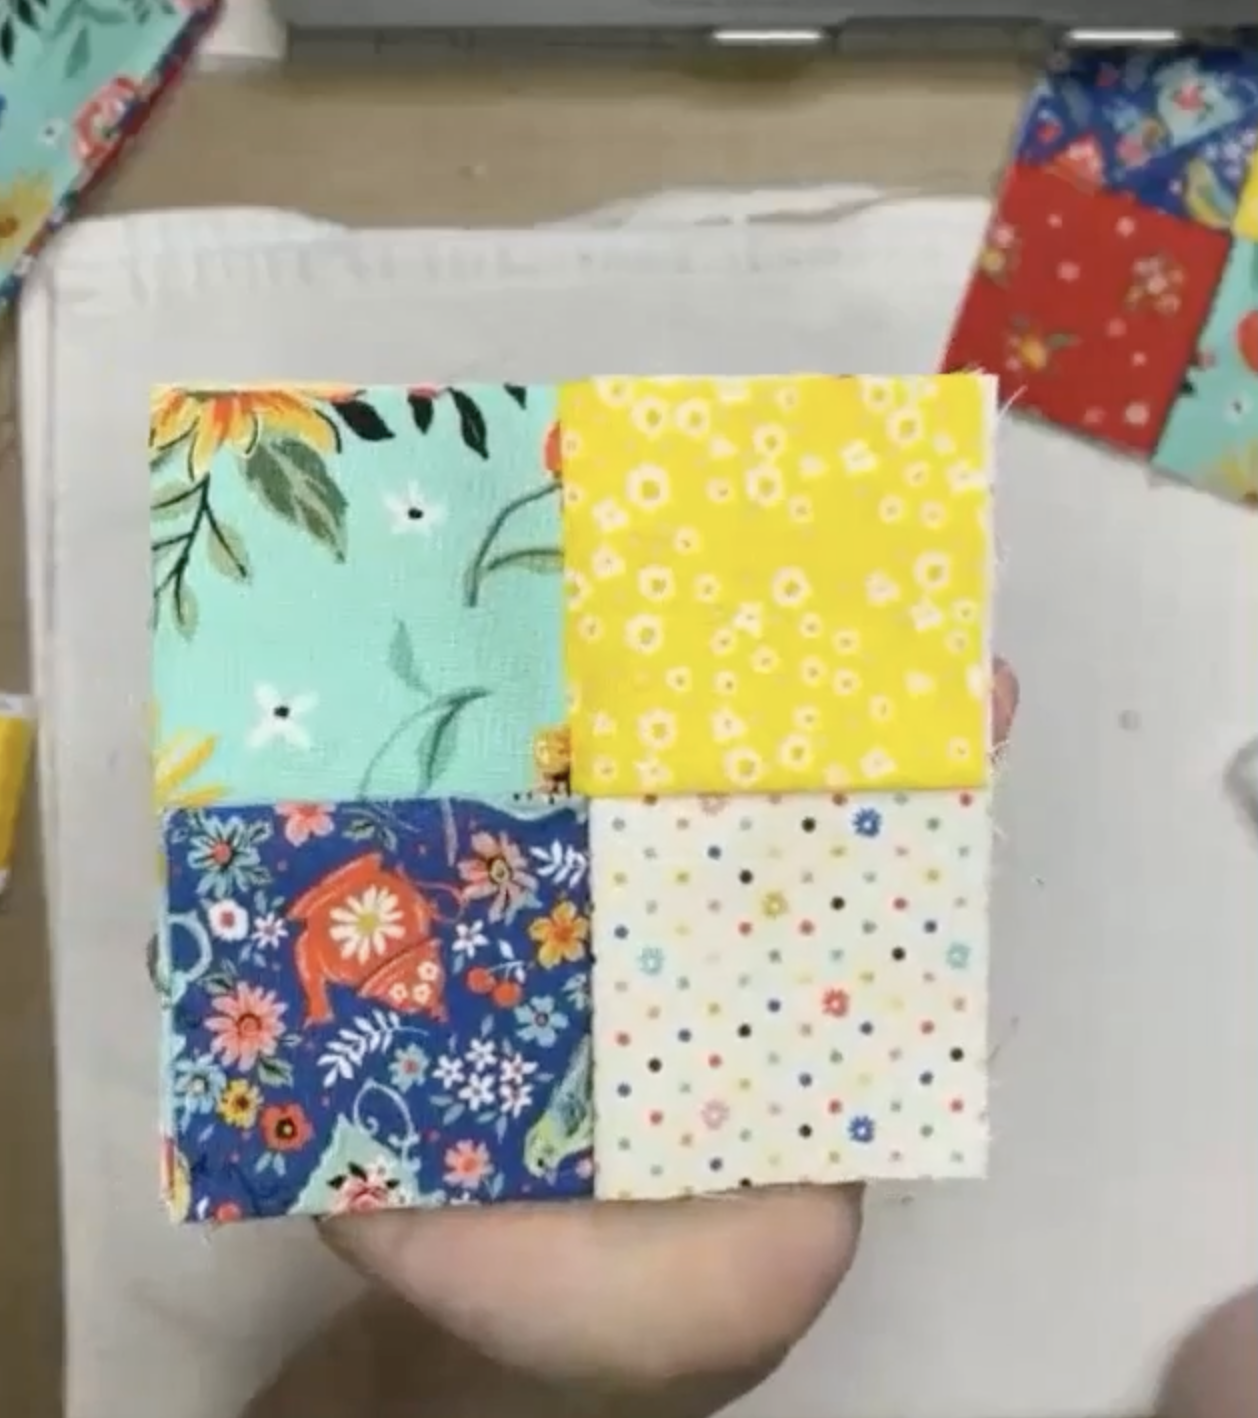
Choose your six fabric squares. Two of them will remain whole – they form the front and back of the coaster. The other four will be folded in half once (like a hotdog fold in paper crafting) and pressed with an iron to create a crisp crease. These folded pieces will eventually overlap to form the top patchwork layer, giving the coaster its signature peek-a-boo charm.

Step 3: Make Your Coaster Sandwich
Now it’s time to layer your pieces. First, lay one full 5×5″ square face down. This will be the bottom of your coaster. Add a square of fusible fleece on top, with the soft (non-glue) side touching the fabric. Use a bit of glue stick to hold it in place if needed. Then place your second full square, face up, on top of the fleece – this becomes the interior lining and will peek through once the coaster is assembled.
Take your four folded squares and layer them one at a time, with the folded edge facing inward and the raw edges lined up with the outer edges of the square. Add a dab of glue stick to the edges to keep everything in place. As you add the last folded piece, lift up the first one slightly to tuck it under, just like overlapping flaps on a box. This creates a clever overlapping patchwork pattern.
Step 4: Stitch Around the Edges
Once your pieces are layered, it’s time to sew! You can either use a sewing machine or hand stitch with a simple backstitch. Sew around all four edges of the square, about 1/4″ from the edge. Don’t worry about making perfect stitches; this part will be hidden inside the coaster. If you’re hand-stitching, use a sturdy 12-weight cotton thread. Stitching all the way around secures your layers together before turning it right side out.

Before turning your coaster right side out, carefully trim the corners (just the excess fabric – don’t snip through your stitching!). This reduces bulk and helps your corners lay flatter. Now comes the fun part: turn your coaster inside out by gently pulling the layers through the center opening. Use your fingers or the blunt end of a paintbrush or skewer to gently push out each corner.
Step 5: Final Touches and Press
Once your coaster is turned right side out, take a moment to adjust the fabric and push out the corners. You’ll notice the edges have a soft, rounded look – that’s totally normal and adds to the charm! Give it a final press with your iron to help everything lay nice and flat. And just like that, your patchwork coaster is ready to use, gift, or display!
These coasters are adorable on their own, but they’re also full of potential! Slip a gift card inside for a sweet surprise, use them as small pouches for jewelry or threads, or even scale up your squares to make potholders (just be sure to use Insul-Brite instead of fusible fleece if you’re dealing with oven heat). Seasonal fabrics would make great holiday sets or thoughtful handmade gifts.
Whether you’re sewing up a batch for your coffee bar, making handmade gifts, or teaching a young crafter their first stitches, these coasters are a fun and flexible project. They’re beginner-friendly, stash-busting, and totally charming. So grab your favorite fabrics, make time to be creative, and start stitching your own set of patchwork coasters!
I go LIVE on my Facebook page every Friday at 11 am CST for a fun and easy Craft-n-Chat Session. Come learn something new while creating something beautiful!
Did you love this? You’ll absolutely love being part of the Fabric Fan Club! Each month, members receive exclusive fabric bundles and lots of beginner-friendly projects. Whether you’re new to sewing or have years behind a needle, this club is all about making time for creativity, one stitch at a time.


0 Comments