


Supply List:
- 2 – 6×6 square pieces of scrapbooking paper – it’s best to use double-sided
- A scoring tool such as a scoreboard or a ruler/pencil – a Frixion Pen works too
- Scissors
- Hot Glue or Craft Glue
- Cropadile Tool or a basic Hole Punch
- Decorative Ribbon for your handles
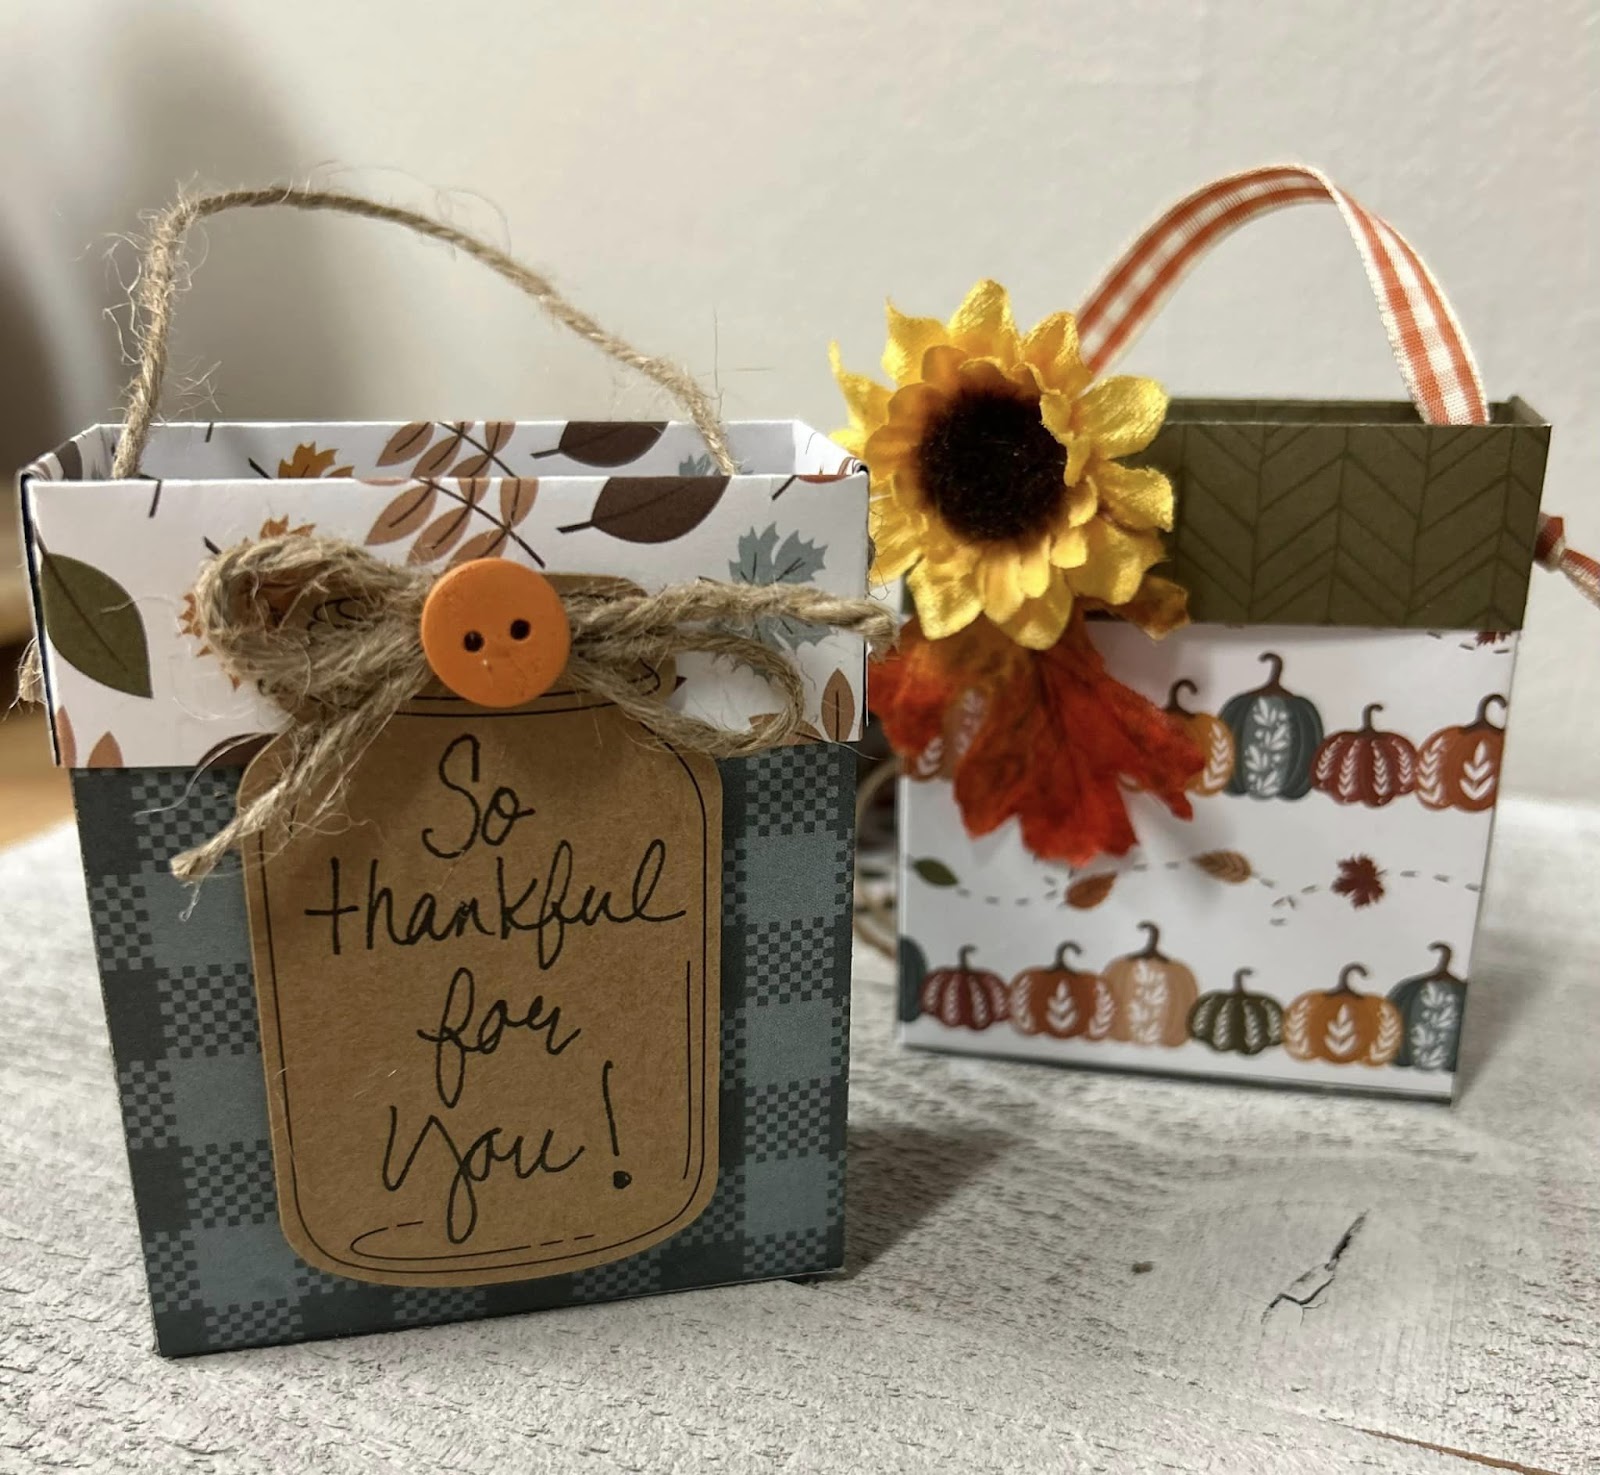
- Embellishments of your choice (see completed project photos in the post – you can use buttons, twines, tags, flowers, or leaves)
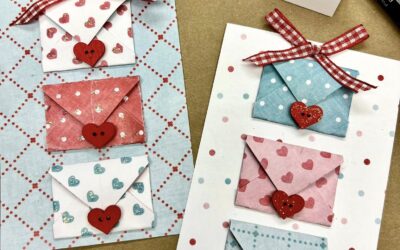
I’m sharing a simple yet adorable way to package small gifts or treats this fall and holiday season! These easy-to-make paper treat bags are perfect for beginners and experienced crafters, requiring only a few basic supplies and minimal time. Make it your own by using different patterns and colors, and adding cute embellishments like buttons, twines, tags, flowers, or leaves.

Learn the Paper Folding Technique to Make Your Gift Bag
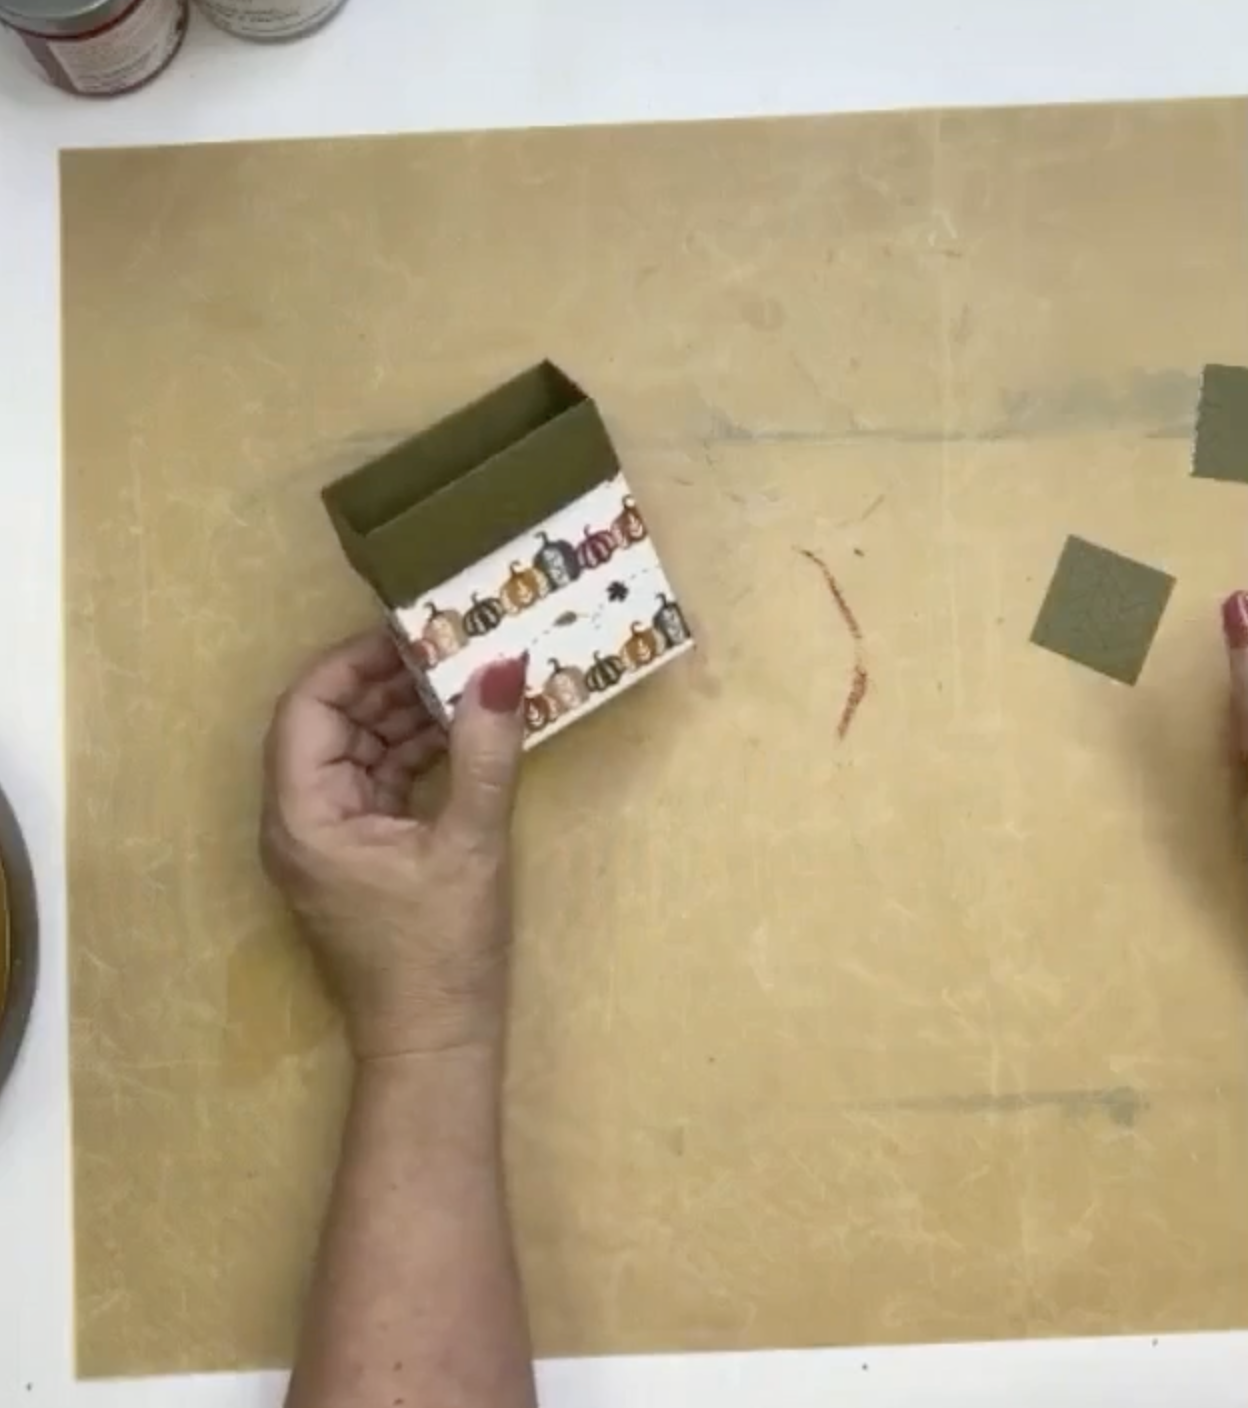
Start by taking your two 6×6 inch squares of patterned paper. Using a scoring tool or a ruler and Frixion Pen, score lines on one of the squares. Score a line at 1 inch along one side, which will form the cuff of your bag. Then, score the remaining three sides at 1.5 inches. On the second square, score all four sides at 1.5 inches.
Now, it’s time to cut and assemble the bag. On the first square, cut out the small square in the corner. This will create an opening for the bag. On the second square, cut slits at the intersections of the 1.5-inch score lines. These slits will allow you to fold the sides of the bag.
Next, apply a small amount of glue to the cuff of the first square and attach it to the second square. Fold the sides of the second square inward and glue them to the inside of the first square. This will create the base of your bag.
Adding a Handle and Embellishments to Your Bag
To add a handle to your bag, punch two holes on opposite sides of the bag. Thread a piece of ribbon or twine through the holes and tie a knot on the inside or outside of the bag. This will create a convenient way to carry your treats.
To personalize your bags, you can add decorative elements like tags, stickers, or dried flowers. Get creative and use a variety of patterns, colors, and textures to create unique and festive bags. You can also add a handwritten message or a cute drawing to the bag.
With just a few simple steps, you can create adorable paper treat bags that are perfect for any occasion!
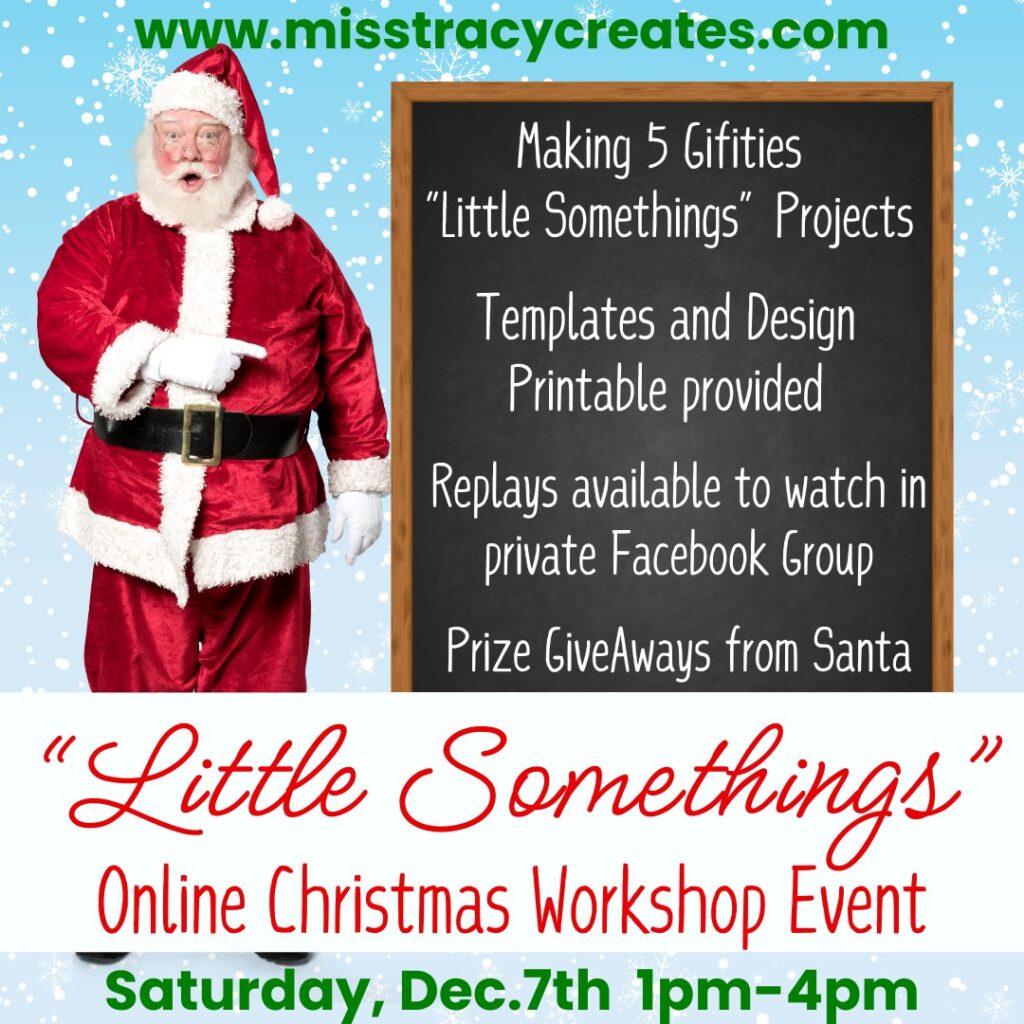
If you’re interested in learning more about creative gift-making techniques, consider signing up for my Little Somethings Online Christmas Workshop Event.
This virtual workshop will be held on December 7th from 1 PM to 4 PM CST. You’ll learn various techniques for creating unique and thoughtful gifts, including personalized tags, decorative packaging, and more.


0 Comments