


Supply List:
- Halloween Fun Mini Napkin Bundle
- Spooky Napkin Value Pack
- Fabric Rope Basket (Target)
- Mod Podge Matte
- Chip Brush
- Hot Glue Gun
- Heat Tool
- Stickles
- Ribbon/Twine
- Pompoms
- Paper Stars
- Halloween Embellishments
Looking for a festive and functional Halloween craft? In this easy tutorial, I’ll show you how to turn a plain cotton rope basket into an adorable candy holder using napkin art and Mod Podge! Whether you’re decorating your desk at work, setting up a candy bar for trick-or-treaters, or making something special for the grandkids, this project is simple, budget-friendly, and so much fun to personalize.

Step 1: Choose and Prepare Your Napkins
Once you’ve picked your Halloween napkins, it’s time to trim them down to the parts you want to use. Use a soft “bubble cut” technique to follow the general shape of the image while removing as much background as you like. If your napkin has multiple plies, carefully separate them so you’re left with just the top printed layer. This step is important – using only the top layer helps the napkin adhere smoothly and keeps your final result crisp and vibrant.
Step 2: Apply Mod Podge to the Basket
Pour a generous amount of Mod Podge Matte into a small container. Use your 1-inch brush to apply it directly onto the basket surface where you want to place your napkin image. Since the cotton rope is highly absorbent, don’t be afraid to use a heavier coat than you might on paper. Make sure to cover the area well so the napkin will stick into all the nooks and curves of the rope. Foam brushes aren’t recommended here – they tend to break down on textured surfaces and can leave behind unwanted residue.
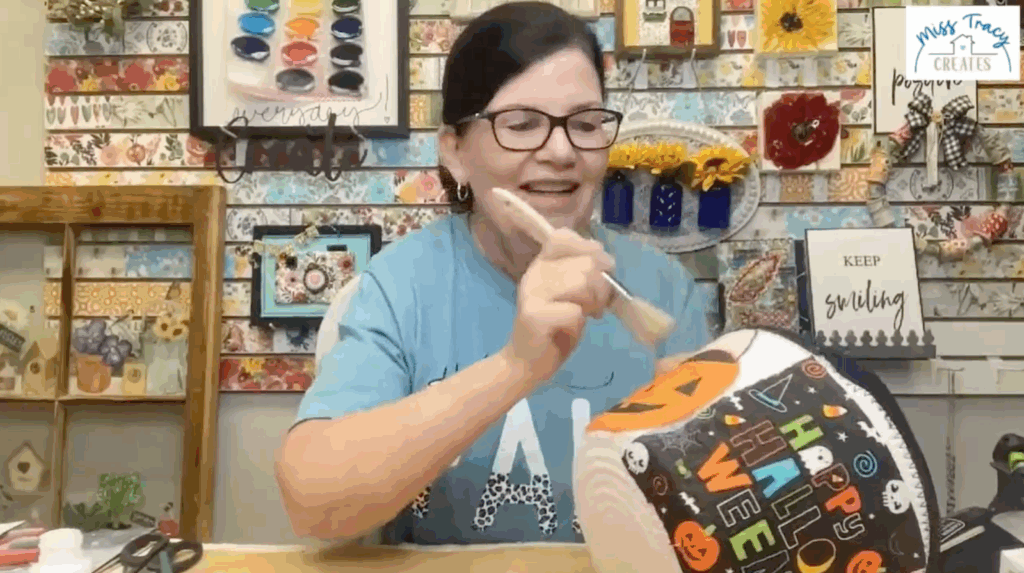
Step 3: Add and Press the Napkin Image
Gently place your napkin cutout onto the Mod Podge-covered area of the basket. Use your fingers to lightly smooth it into place, then switch to your chip brush for the real magic. Using a light tapping or “pouncing” motion, gently press the napkin down into the rope texture without tearing it. Avoid dragging the brush across the napkin. If any parts of your napkin aren’t sticking well, lift them carefully and apply a little more Mod Podge underneath before patting them back into place. This part is where the transformation really starts!
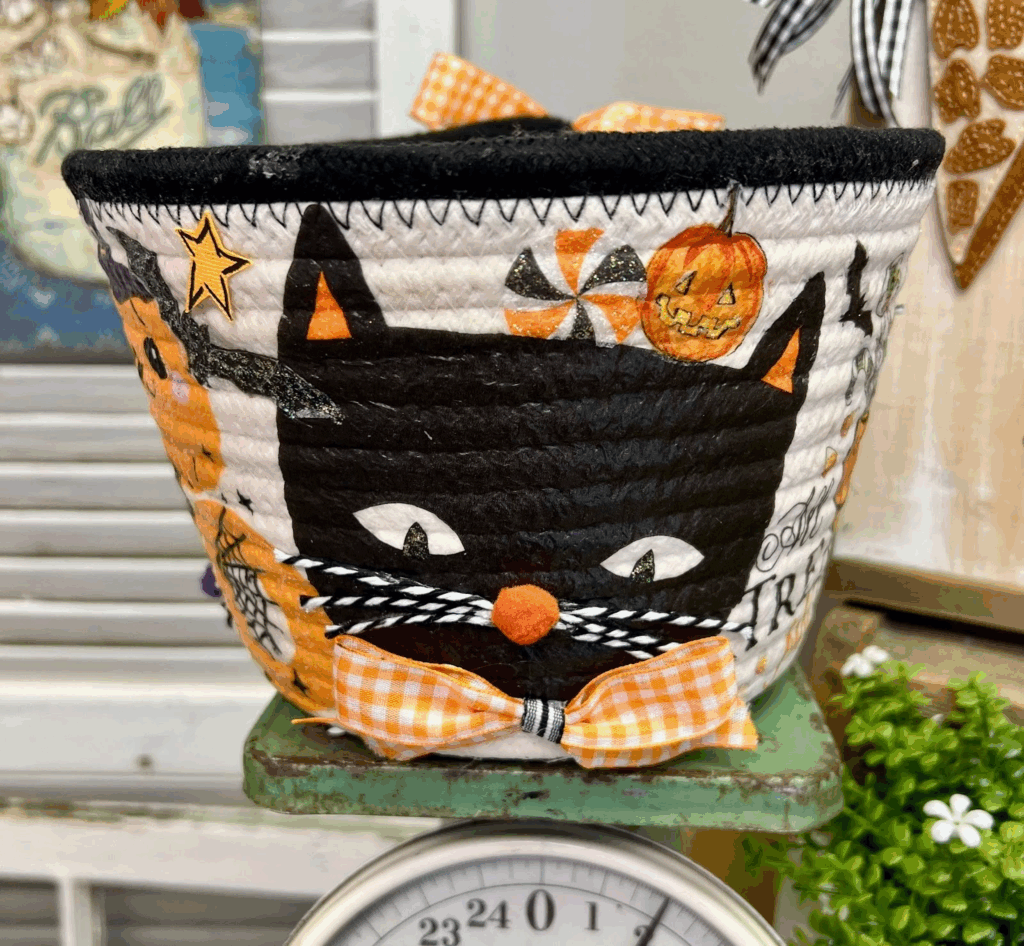
Step 4: Repeat Around the Basket
Keep working your way around the basket, applying napkins wherever you want a pop of Halloween cheer. Be sure to let one section dry before overlapping another, especially if your designs are close together. Use a mix of larger focal napkins and smaller supporting elements to balance your design. Add a black cat to one side, a “Happy Halloween” phrase to the front, and maybe even some little pumpkins or candy cutouts to fill in any empty spaces. The cotton rope will give your designs a wonderful texture that looks handmade
Step 5: Add a Top Coat and Embellishments
Once your napkin designs are fully dry, seal them with a light top coat of Mod Podge Matte. This step not only protects your artwork from wear and tear (or sticky little fingers!) but also helps lock in the napkin’s texture and detail. Let everything dry completely before you start embellishing. Add fun extras like ribbons tied around the rim, pom-pom trim, or a few cute Halloween buttons. You can even add a handmade sign inside the basket or hang a little tag from the handle for an extra festive flair.
If you love a little shimmer, Stickles glitter glue is the perfect way to add sparkle to your project. Use it to outline words, highlight pumpkins, or add glittery accents to your images. Apply small dots directly from the bottle, then use a paintbrush to dab and spread the glitter where you want it. Let it dry completely before handling. Stickles come in several shades – Diamond, Unicorn, and Crystal are great options to match Halloween colors without overpowering the design.
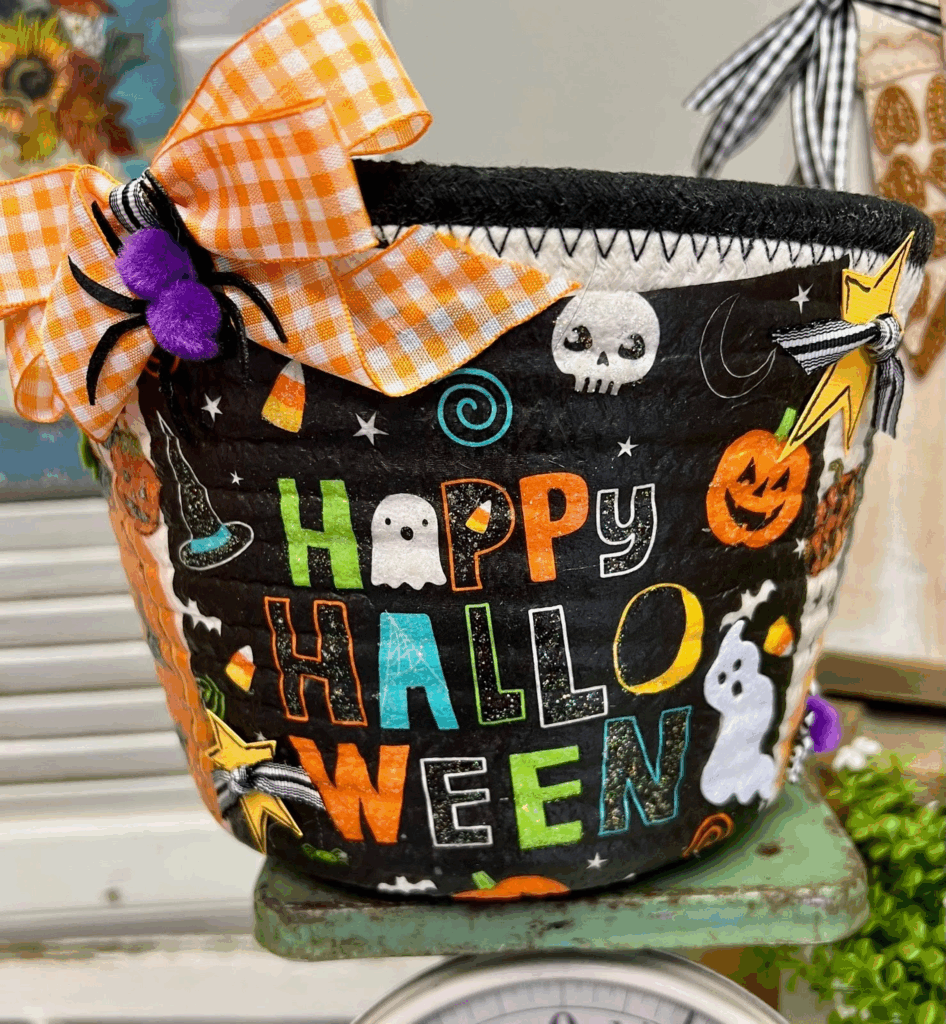
Your Halloween napkinized candy basket is ready to display, gift, or fill with your favorite sweets. It’s the perfect desk decoration, party centerpiece, or little surprise for the trick-or-treaters in your life. And the best part? No two baskets are the same. Each one reflects your creativity and adds a handmade touch to the spooky season.
Watch the full replay here!If you loved this Halloween napkin art project, you’ll love what we do inside the Napkin Club! Each month, members get exclusive tutorials, themed napkin bundles, and access to a vibrant community of crafters who love learning and creating together. We explore fun techniques like this one using napkins on wood, paper, fabric, and more. Click here to learn more!


0 Comments