


Supply List:
- 1/2 Size Composition Book or Journal
- Simplicity Country Chic Paint or White Paint
- Washi Tape/Painters Tape
- Fall Napkin (or any theme you want)
- Mod Podge Matte
- Parchment Paper
- Deli/Bakery Sheets
- Faber Castell Pitt Pens
- Chalk Ink
- Stickles
- Ribbon/Lace
- Embellishments/Wood Tag
- Heat Tool
- Hot Glue Gun
There’s something extra special about crafting in the fall! In this tutorial, I’m sharing how to turn a plain ol’ composition notebook into a one-of-a-kind DIY gratitude journal using napkin art, paint, ribbon, and embellishments. It’s a beautiful way to reflect on your blessings, jot down daily thoughts, or even prep a handmade gift for someone you love.
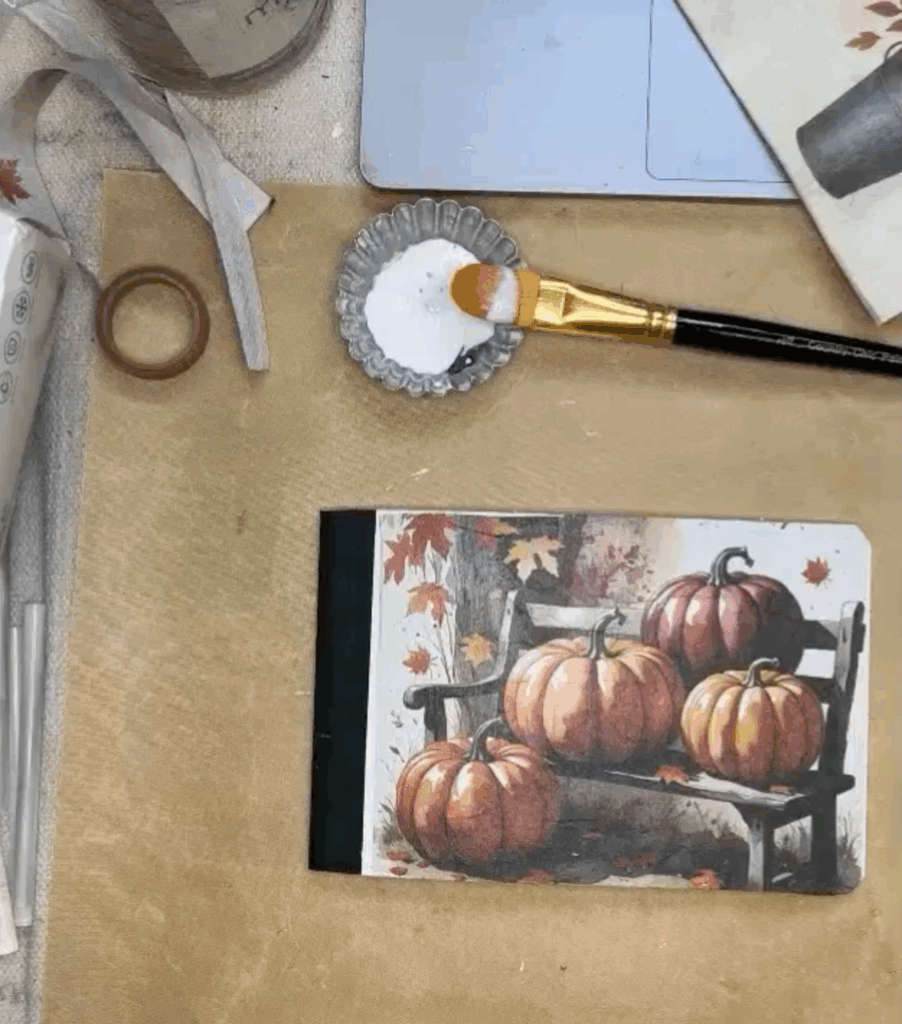
Step 1: Paint and Prep Your Notebook
We started with a standard half-size composition notebook – you can find these just about anywhere. Use washi tape or painter’s tape to cover the black spine area so you don’t paint on it. Using a paintbrush, apply a coat of chalk-style paint in a light neutral color (I used Simplicity) to the front cover.
Let your paint dry fully and then add a second coat. You may have to add a third as well. Repeat this technique on the back cover. This creates the perfect matte surface for your napkin art to stick to and helps the colors really pop.
Step 2: Apply Your Napkin Art
Pick a beautiful fall-themed napkin from your stash – I used one from the Napkin Club’s seasonal bundle that featured pumpkins and cozy tones. Carefully separate the printed top layer from the white backing (a little painter’s tape trick helps here).
Add a thin, even layer of Matte Mod Podge to your painted notebook cover. Gently place your napkin on top, smoothing it out carefully with a clean deli sheet or parchment paper. Once the napkin is placed, gently tear away any excess around the edges or trim with scissors. Let it dry completely before sealing with another coat of Mod Podge Matte.
At this point, remove the washi tape or painter’s tape covering the spine.
Step 3: Add Pen Work and Embellishments
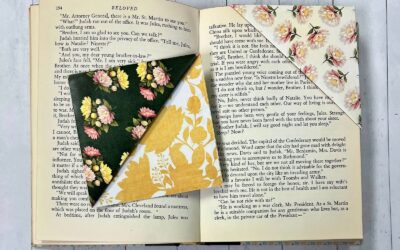
Once sealed, use your favorite black Pitt Pen or archival ink marker to add whimsical outlines, doodles, faux stitching, or scripture verses. This is your journal – make it you!
To give the notebook a finished, vintage-inspired look, use an ink blending tool or makeup sponge to apply brown or sepia ink around the edges of the cover.
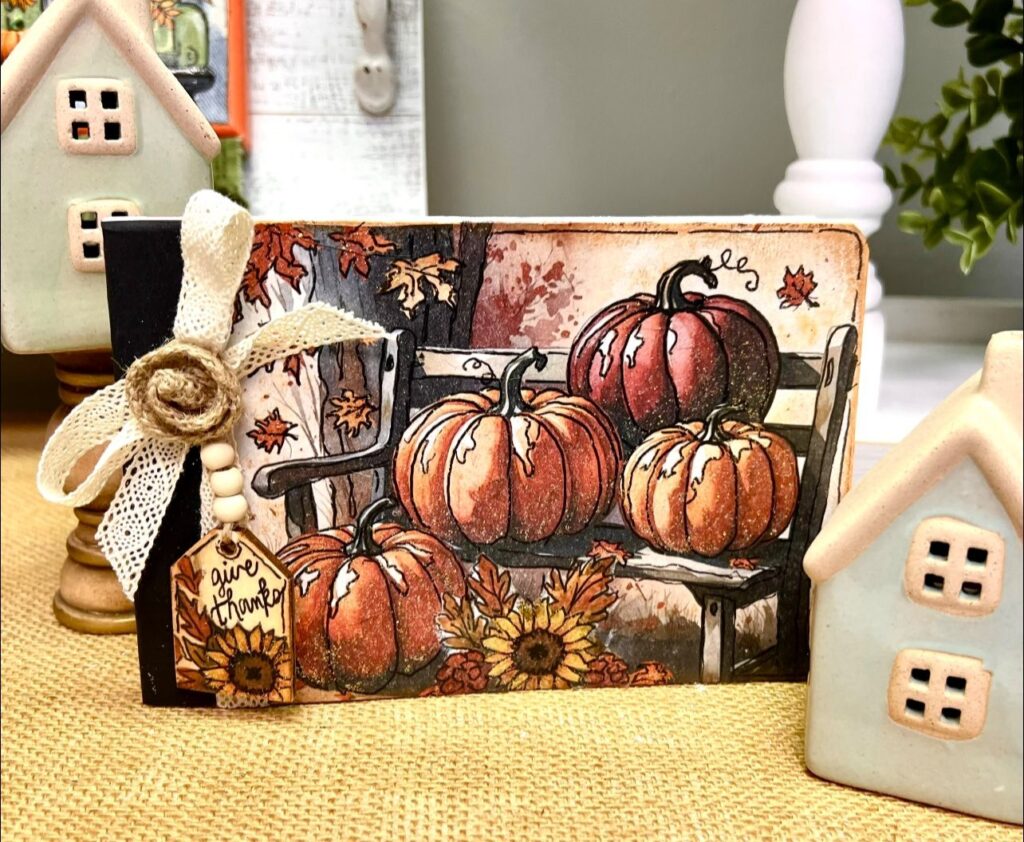
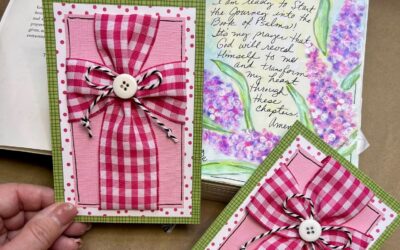
Tie coordinating fall ribbons around the spine, layering textures like burlap, gingham, or sheer gold. You can also add a small wood gift tag using jute or twine. And of course… a little sparkle never hurt anyone! I used Stickles glitter glue in gold and copper to highlight parts of the napkin design and add a bit of shimmer around the edges.

Now that your journal is complete, it’s time to put it to good use! Use it for daily gratitude entries, Bible verses, prayers, reflections, or even memories from this season. These journals also make sweet handmade gifts for teachers, neighbors, or friends at Thanksgiving.
Watch the full replay here!If you enjoyed making this journal, you’ll love being part of the Napkin Club! Each month, we send you a curated bundle of gorgeous napkins for crafting, plus video tutorials, project inspiration, and a community that’s full of joy and encouragement. Click here to learn more!


0 Comments