


Supply List:
- Fabric Scraps
- Needle and Thread
- Scissors
- Wonder Clips
- Iron
- Parchment Paper
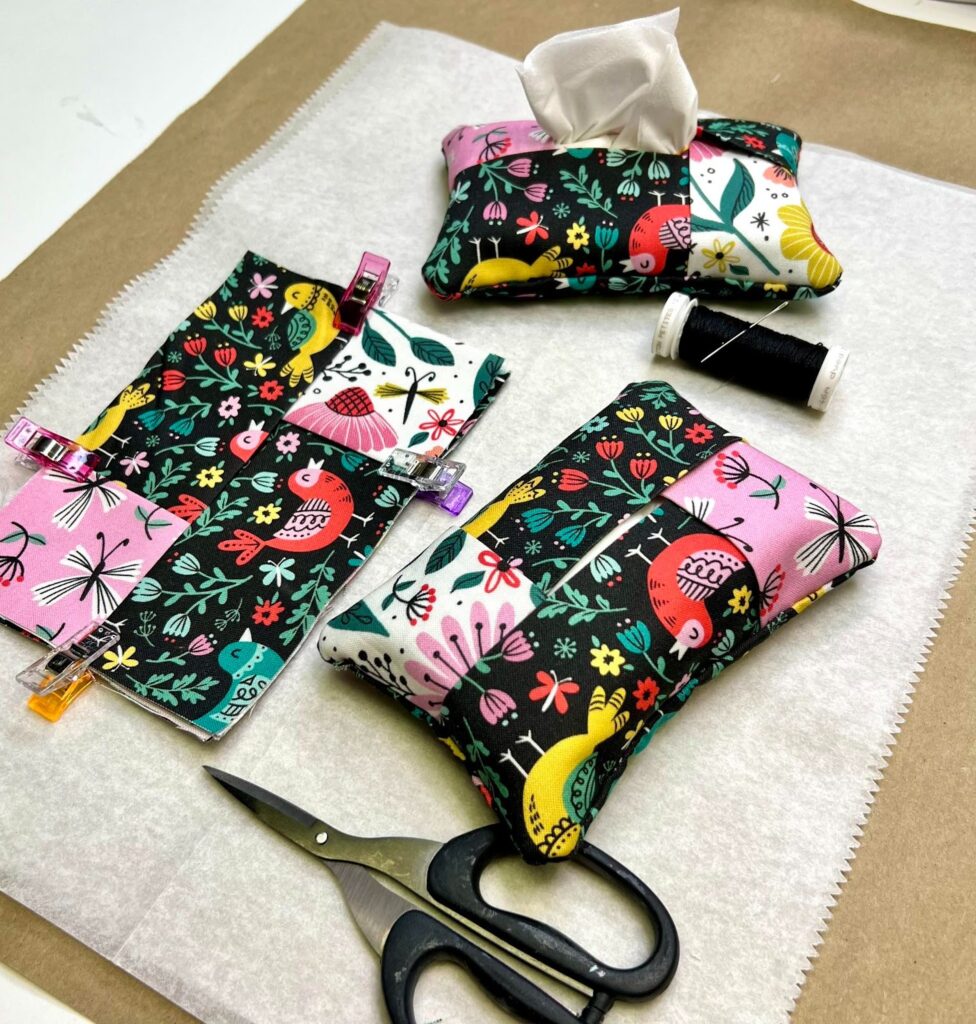
If you’re looking for a small, practical fabric project that’s perfect for beginners, this adorable DIY fabric Kleenex holder is it. These little travel tissue covers are quick to make, scrap-friendly, and make the sweetest handmade gifts. Toss one in your purse, keep one in your car, stash one in your desk drawer, or make a few as thoughtful get-well or stocking stuffer gifts. The best part? You only need five small pieces of fabric and four straight seams. Let’s make one together.
Fabric Cutting Measurements
Cut the following pieces:
You will need three pieces measuring 5 ¾ inches wide by 4 inches tall. These will form the main body of the holder.
You will also need two pieces measuring 4 inches by 4 inches. These will create the crisscross pocket opening.
Step 1: Fold and Press
Take two of the larger 5 ¾ x 4 inch pieces and fold them in half lengthwise. Press them with a hot iron to create a crisp fold. Leave the third large piece flat and unfolded.
Next, fold both 4 x 4 inch pieces in half and press those as well.
When you’re finished, you should have:
- Two folded larger pieces
- One flat larger piece
- Two folded square pieces
Pressing helps everything line up cleanly and makes stitching easier, but if you’re working casually, it’s okay if it’s not perfect.
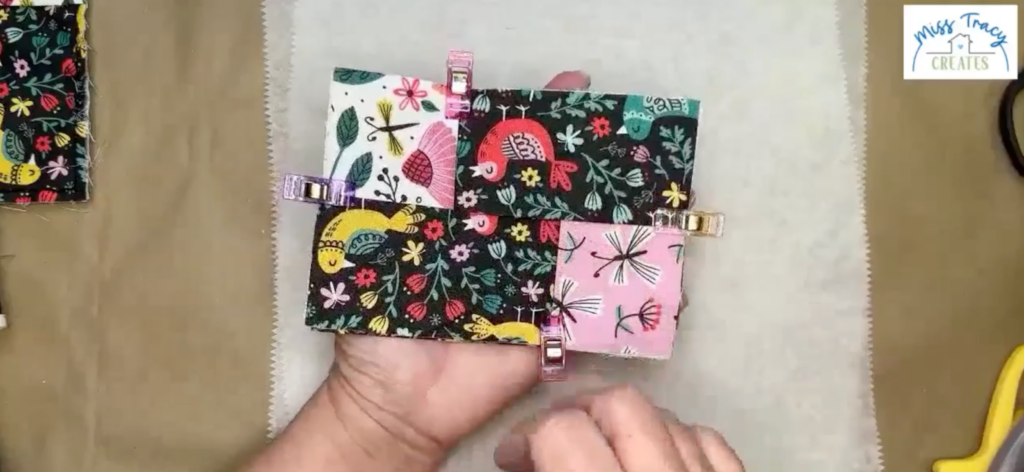
Step 2: Layer the Pieces Correctly
Lay the flat 5 ¾ x 4 inch piece down first, right side facing up. This is your base layer.
Now place one folded large piece on top of it. The folded edge should face toward the center, and the raw edges should line up along the outside.
Place the second folded large piece on the opposite side, again with the folded edge toward the center and raw edges aligned along the outside.
Now lift one side and place a folded 4 x 4 square underneath, making sure the folded edge faces inward and the raw edges align with the outer edges of the stack. Repeat on the opposite side with the second folded square.
When layered correctly, all raw edges should be on the outside perimeter, and all folded edges should meet toward the center.
Clip everything in place with Wonder Clips or pins to hold the layers securely.
Step 3: Stitch Around All Four Edges
Now it’s time to stitch! If you’re using a sewing machine, simply sew a straight stitch around all four sides, about ¼ inch from the edge.
If you’re hand stitching, use a back stitch. Stitch all the way around the outer edges, making sure you catch all fabric layers. The stitching does not need to be perfect. It will be hidden inside the finished holder.
Take your time at the corners and pivot as needed. The key is making sure all layers are securely stitched together.
Step 4: Trim and Round the Corners
Before turning it right side out, trim and slightly round off the corners. This reduces bulk and helps your finished corners look smoother.
Be careful not to cut too close to your stitching line.
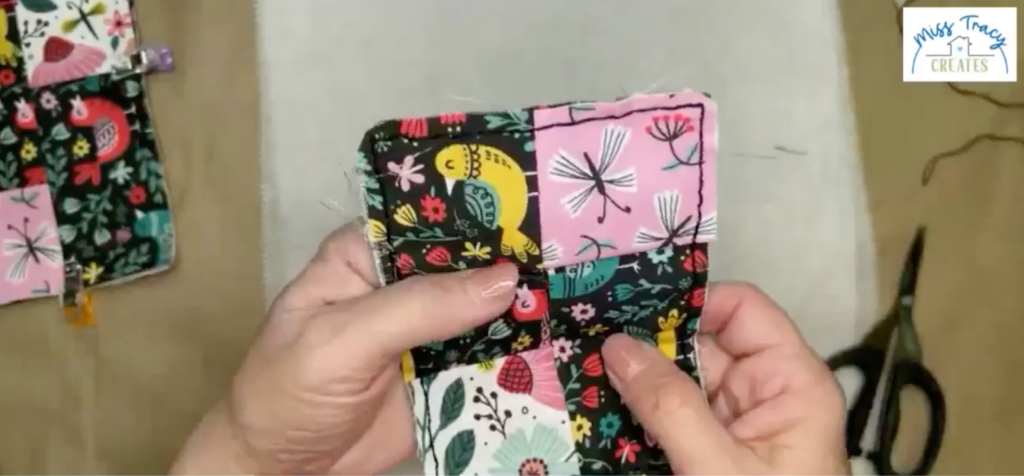
Step 5: Turn Right Side Out
Turn the entire piece inside out through one of the center openings. Gently push out the corners using your fingers or the end of a paintbrush or chopstick.
If you notice a seam opening or realize you stitched too close to the edge, simply turn it back wrong-side out and reinforce that seam. It’s an easy fix. Once turned, smooth everything flat.
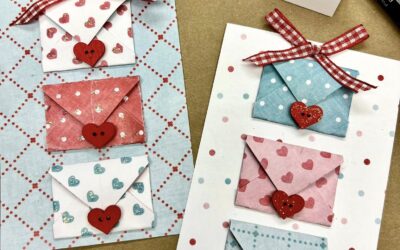
You now have a crisscross pocket opening in the center – and your Kleenex holder is formed!
Step 6: Insert the Travel Kleenex Pack
Open the plastic wrapping of your travel tissue pack just enough so tissues can be pulled through.
Slide the entire wrapped pack into the fabric holder through the center opening. Adjust it so the tissue slot lines up nicely under the crisscross fabric opening. Pull one tissue up slightly and you’re done.
Once you’ve made your first basic holder, you can start having fun.
Add decorative stitching along the edges. Use contrasting thread for a pop of color. Stitch on a small label or button. Add trim or ric rac. Use holiday fabrics for seasonal gifts. Try school colors, baby prints, or even masculine patterns. You can keep it simple or embellish it as much as you’d like!

Want to Go Further with Fabric?
If this little project sparked something in you and you’d love to explore more creative fabric projects – from hand stitching to thread doodling to dimensional fabric art – you might love joining us inside the Fabric Fan Club. We experiment, build, stitch, doodle with thread, and learn together in a relaxed, encouraging environment! Join the club here!


0 Comments