

Supply List:
- Apple Printable Template (found in Create & Connect FB Group)
- Red, Green and Brown Fabric and Felt Scraps
- Red Patterned Paper Scraps
- Red, Green, Brown and White Cardstock Scraps
- Scotch Quick Dry Liquid Glue
- Hot Glue
- Pop Dots or Foam Tape
- Chalk Inks
- Faber Castell Pitt Pens
- Ribbon
- Twine
- Buttons
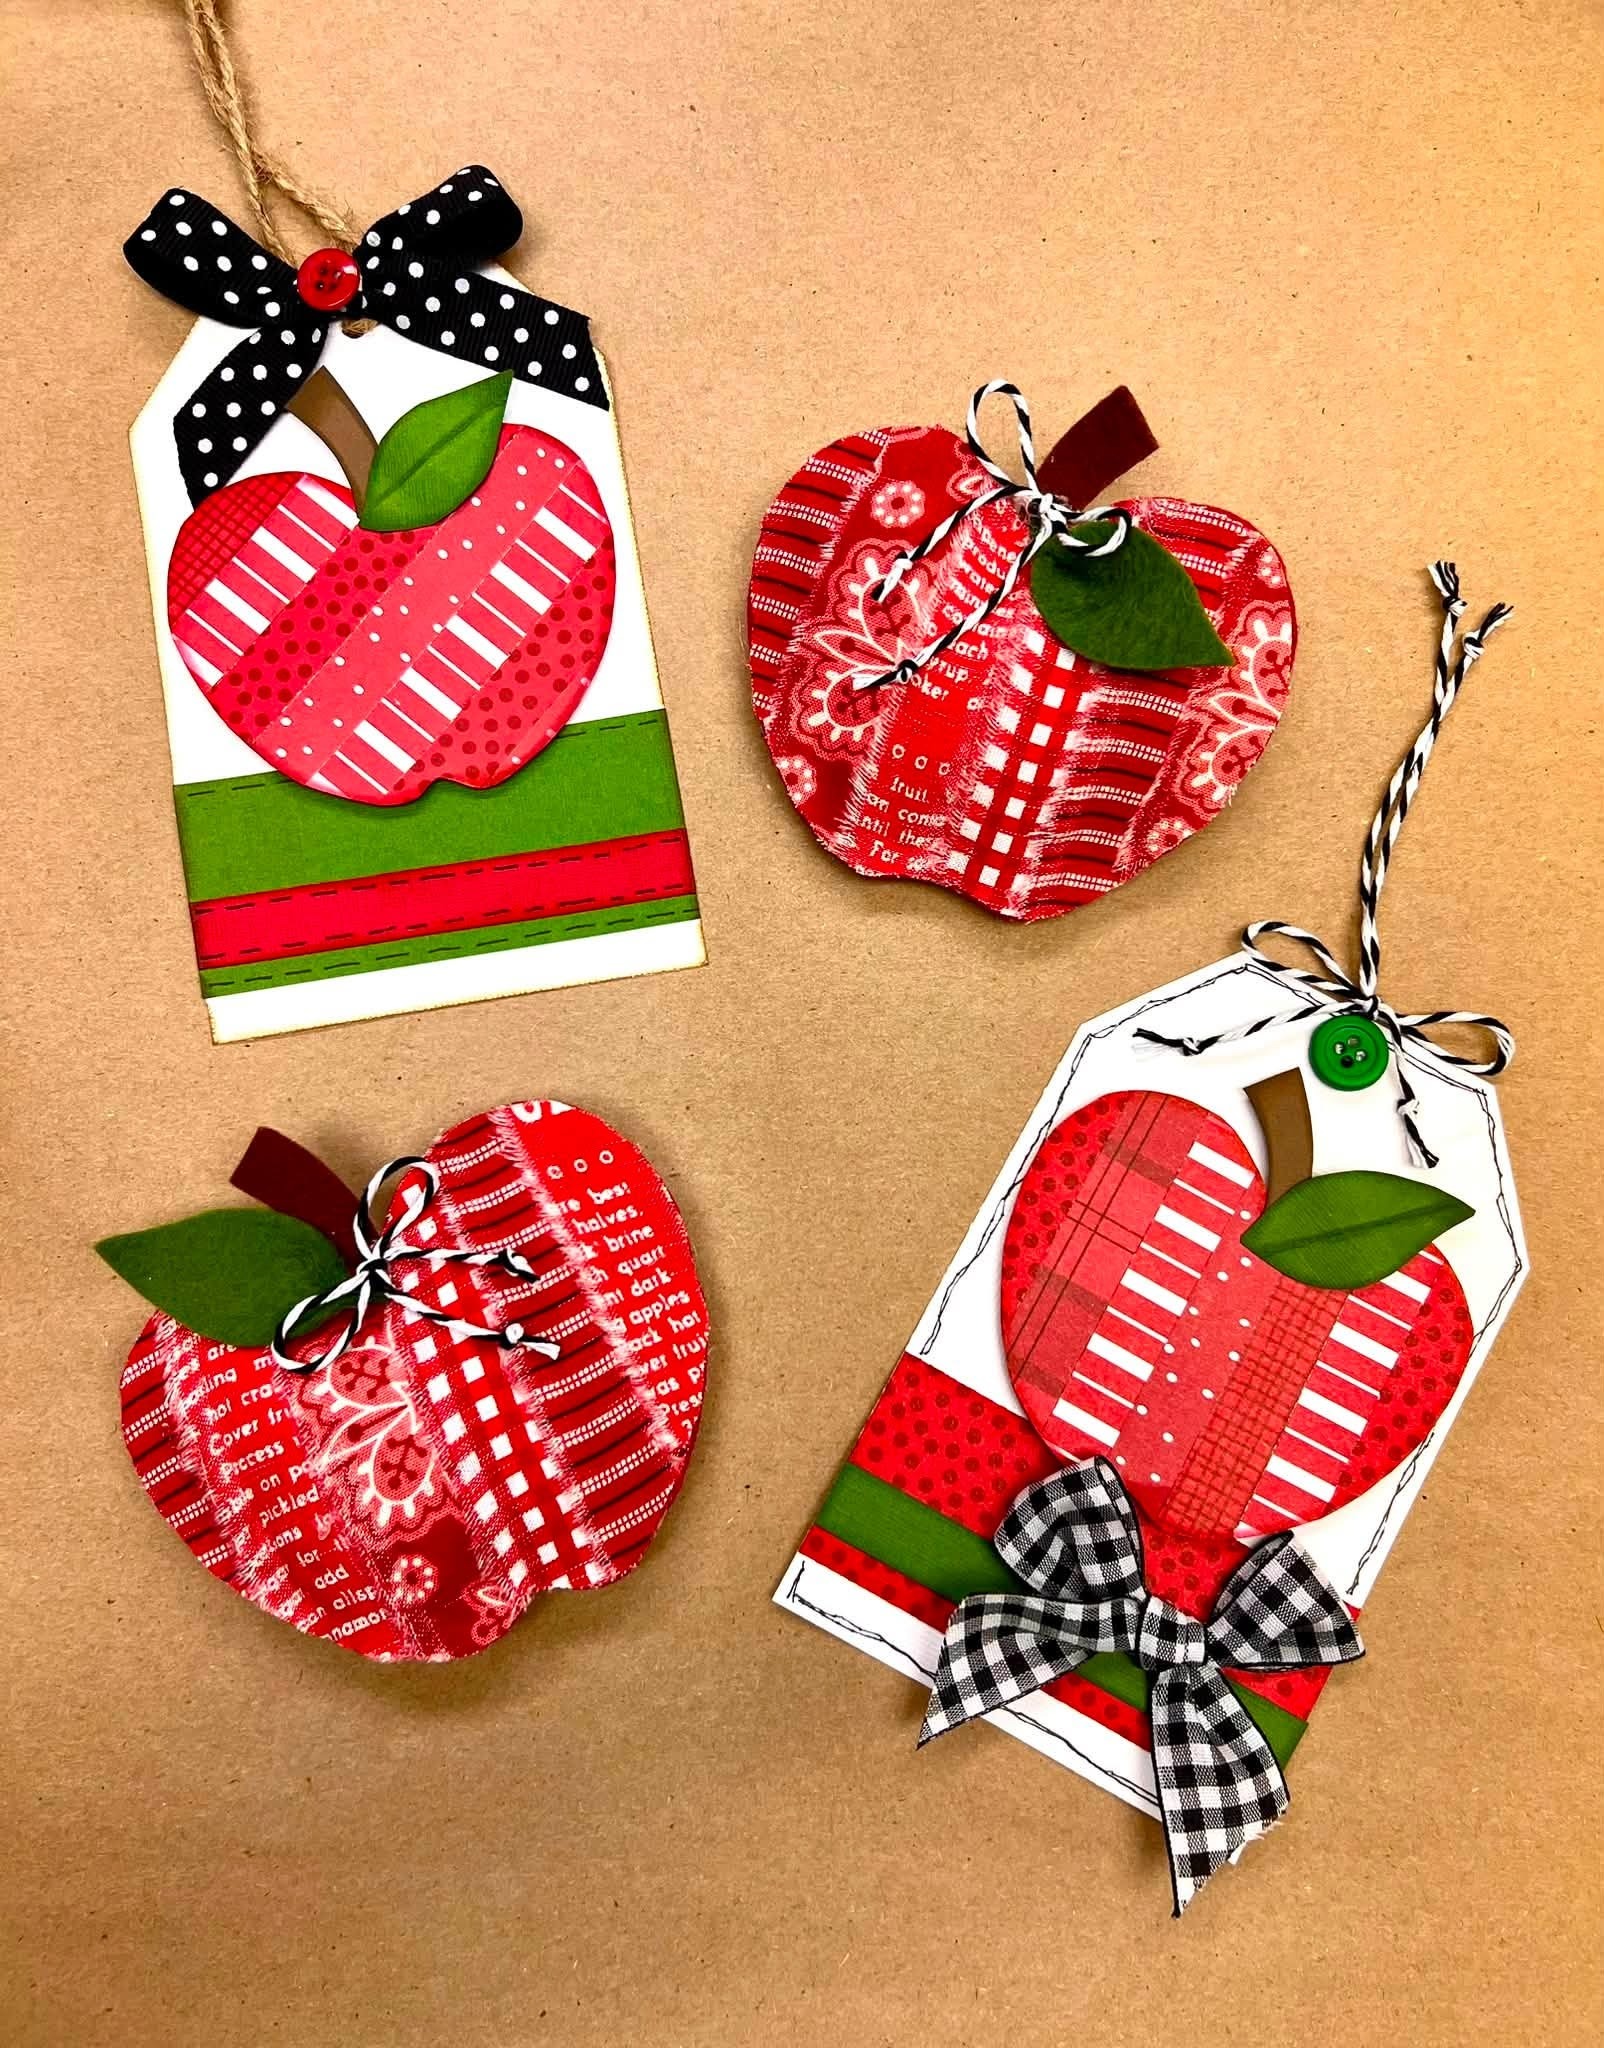
If you have a bin full of leftover paper and fabric scraps, this is the perfect project to help you put them to good use. These adorable scrap apple crafts are easy, colorful, and beginner-friendly, and you can make them using supplies you probably already have in your craft room.
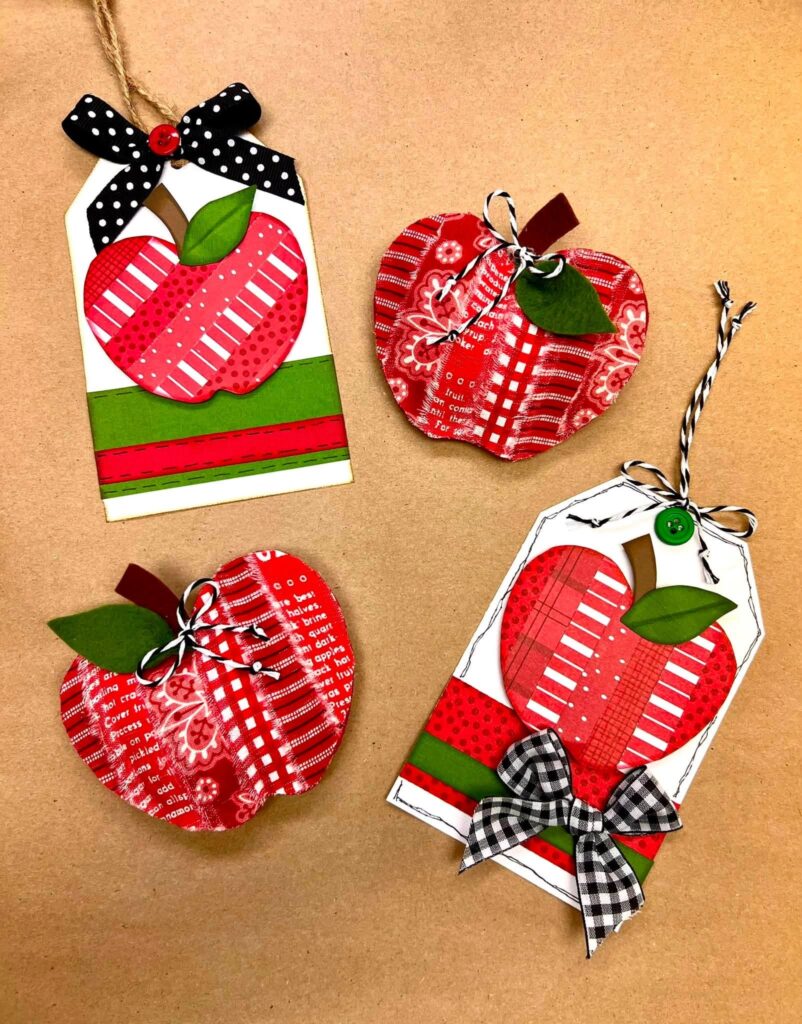
For this project, we made two different versions: a paper-pieced apple using scrapbook paper scraps and a no-sew stuffed fabric apple using torn fabric strips and felt. Both versions use the same free apple template, and both are a fun way to create something seasonal for back-to-school time, early fall decorating, teacher gifts, tags, cards, bowl fillers, banners, and more.
How to Make the Scrap Paper Apple
Step 1: Trace and Cut the Apple Base
Start with the smaller apple from the free template. Trace the shape onto the back of a piece of red cardstock and cut it out.
This cardstock apple will act as the base for all of the paper strips, so it does not matter if your tracing lines remain visible on the back.
Step 2: Cut Your Paper Scraps into Strips
Gather several red patterned paper scraps and cut them into strips about 1/2 inch wide. You can use coordinating patterns or mix everything together for a more eclectic look. Stripes, plaids, polka dots, florals, Christmas papers, text prints, and solids can all work well.
The strips do not have to be the same length because you will trim everything later.
Step 3: Glue the Paper Strips onto the Apple
Begin in the center of the cardstock apple and apply a small amount of craft glue directly to the base. Lay your first strip across the apple. You can position the strips vertically, horizontally, or on a diagonal. Continue adding strips side by side until the entire apple is covered.
Let each strip extend beyond the edges of the cardstock. There is no need to trim them as you work.
Step 4: Trim Around the Apple Shape
Once all of the strips are glued down, flip the apple over so the cardstock side is facing up.
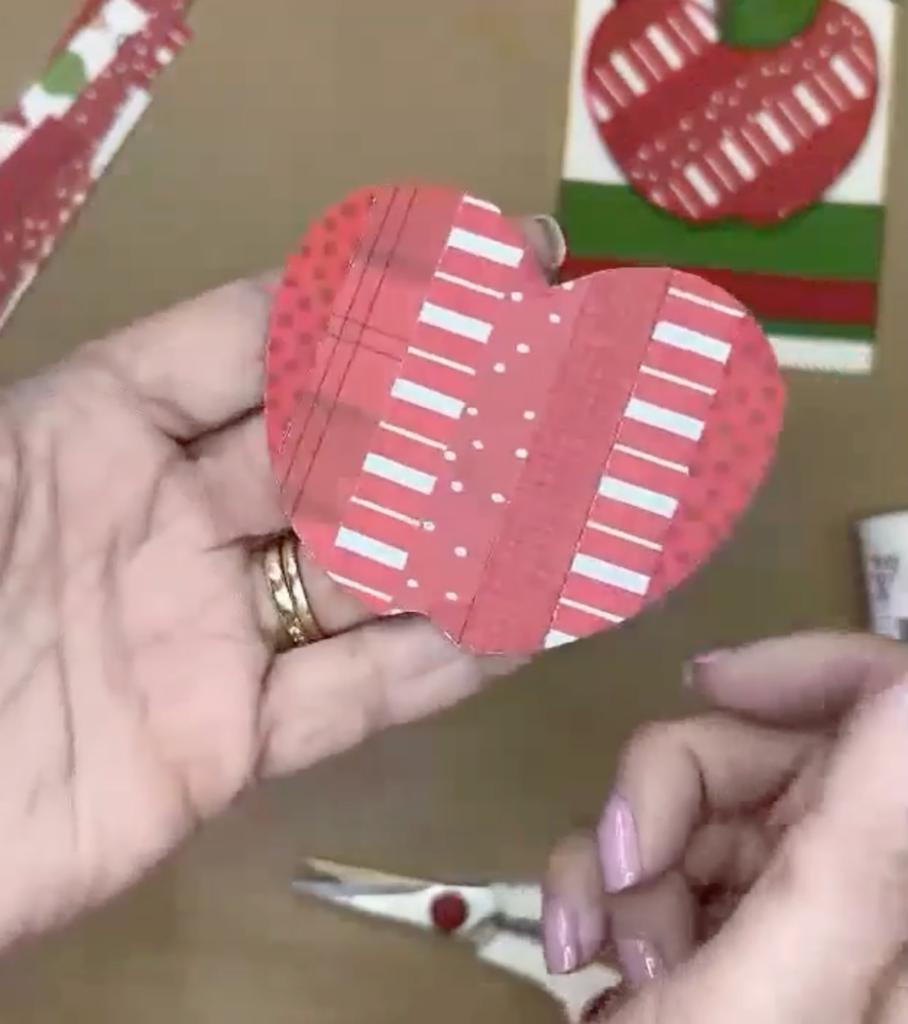
Use the cardstock apple as your cutting guide and carefully trim away all of the excess paper around the outside edge. Go slowly around the curves so you maintain the apple shape. When finished, turn it over for the big reveal.
Step 5: Ink the Edges
Use red or brown chalk ink to lightly shade around the outside edge of the apple. This little bit of contrast gives the paper piecing more definition and helps all of the individual strips feel like one finished piece. Use the pointed corner of the ink pad to reach into the small dip at the top of the apple.
Step 6: Add the Stem & Leaf
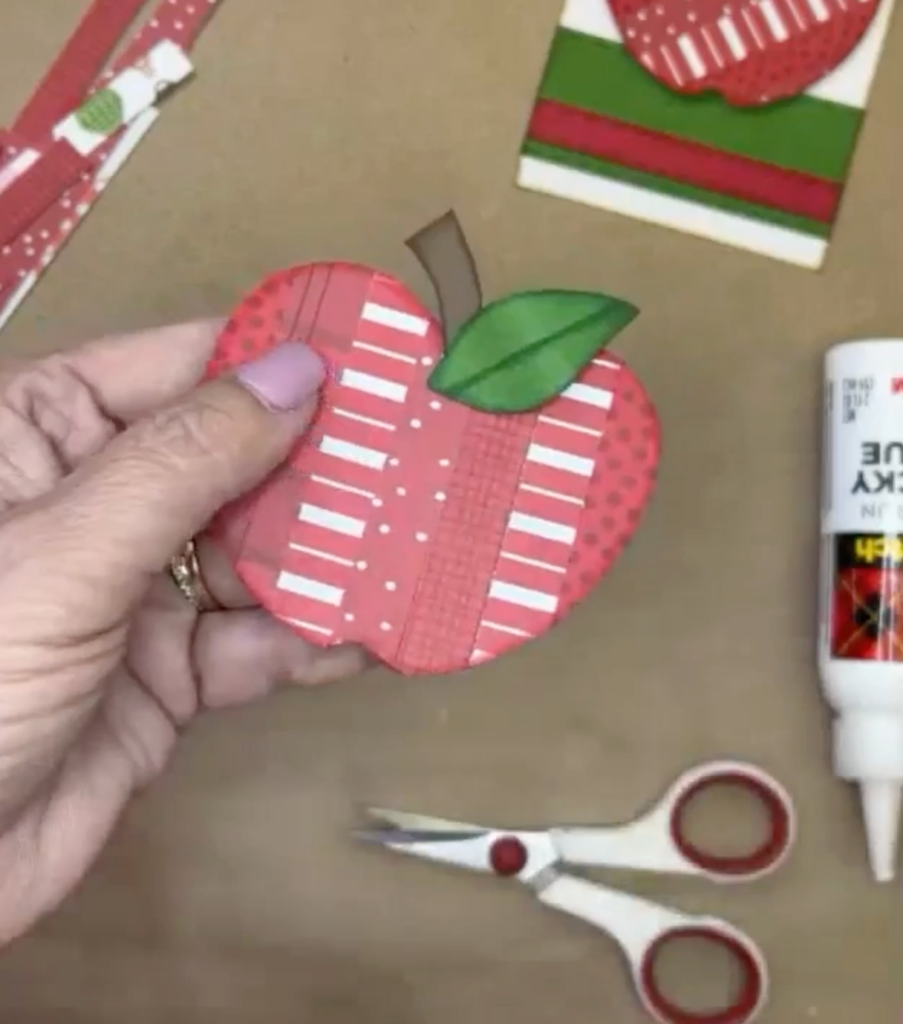
Trace the stem from the template onto brown cardstock or patterned paper and cut it out. Ink the edges with brown chalk ink if desired, then glue the stem behind the top of the apple.
Trace and cut the leaf from green paper. Fold the leaf lightly in half lengthwise, then brush green chalk ink along the folded edge. When you open it, the darker line looks like the center vein of the leaf.
Ink the outside edges, bend the leaf slightly for dimension, and glue only the lower portion to the apple so the tip can lift away from the surface.
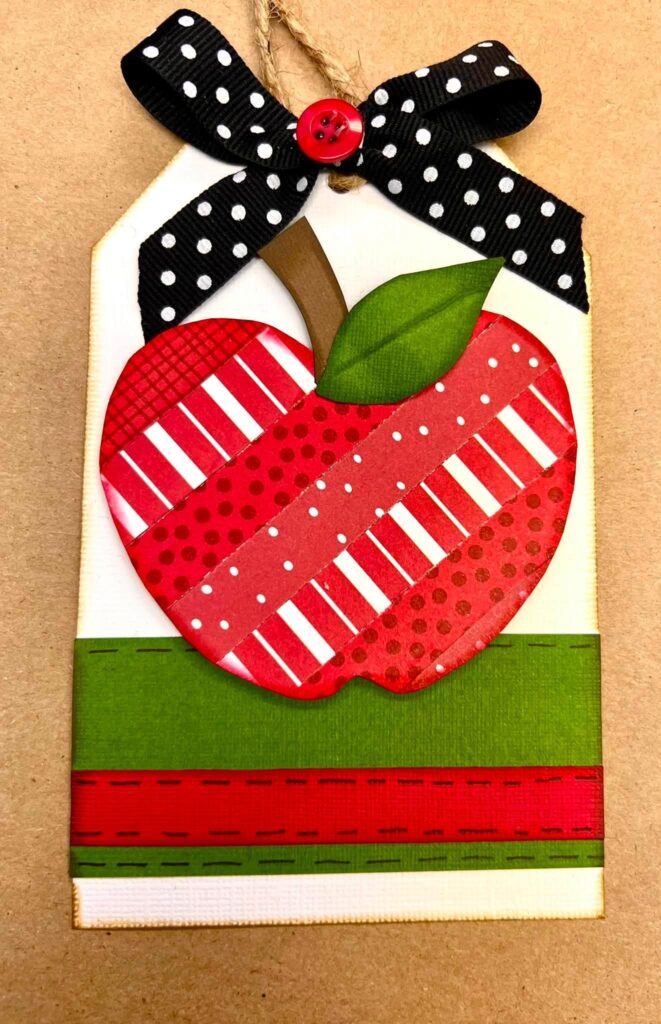
Step 7: Turn the Apple into a Tag
To create a simple tag, cut cardstock to approximately 3 1/2 x 5 1/2 inches. Trim one upper corner at an angle. Take the small piece you removed, flip it over, and use it as a template to cut the matching angle on the opposite side. This gives you two even tag corners without measuring.
Punch a hole near the top and add ribbon or twine. Use foam dots to attach the finished paper apple to the tag for extra dimension. Add leftover paper strips, ribbon, pen work, or a button to finish it.
This tag would be adorable on a teacher gift, lunchbox note, back-to-school package, or handmade card.
How to Make the No-Sew Fabric Scrap Apple
Step 1: Cut Two Felt Apple Shapes
Use the larger apple from the free template for the stuffed fabric version.
Trace and cut two identical apple shapes from felt. One will become the front base and the other will become the back. Also cut the larger stem from brown felt and the larger leaf from green felt.
Wool felt works beautifully, especially if you plan to stitch your apple, but regular craft felt can also be used.
Step 2: Tear Fabric Scraps into Strips
Gather several red fabric scraps. Make a small snip in the edge of the fabric and tear it into strips about 1/2 inch wide. Tearing rather than cutting gives the fabric a soft, frayed edge and adds lots of texture. Pull away any long loose threads.
If you prefer a cleaner look, you can cut the strips with scissors instead.
Step 3: Cover the Front Apple with Fabric
Place one felt apple on your work surface. Add hot glue near one edge and lay your first fabric strip across the felt. Position the torn edge so it remains visible.
Continue layering strips across the apple. Add a little glue over the edge of the previous strip and then across the felt underneath so each new piece overlaps slightly.
Keep alternating colors and patterns until the entire apple is covered.
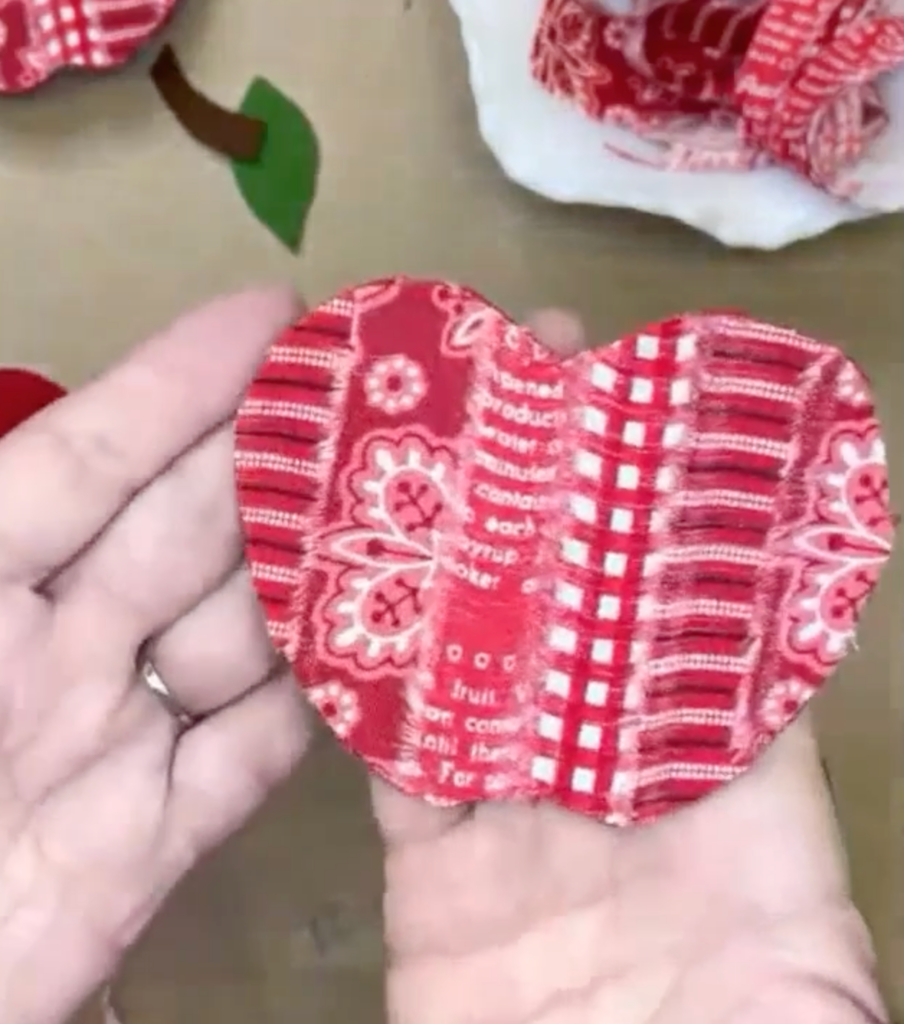
Step 4: Trim Away the Extra Fabric
Turn the apple over and trim around the felt shape, removing all of the fabric hanging beyond the edge.
Check the front once you finish and add tiny dots of glue anywhere a strip needs to be secured. At this point, you could stop and use the apple as a flat fabric embellishment for a banner, wreath, gift, or seasonal display.
Step 5: Add the Felt Stem
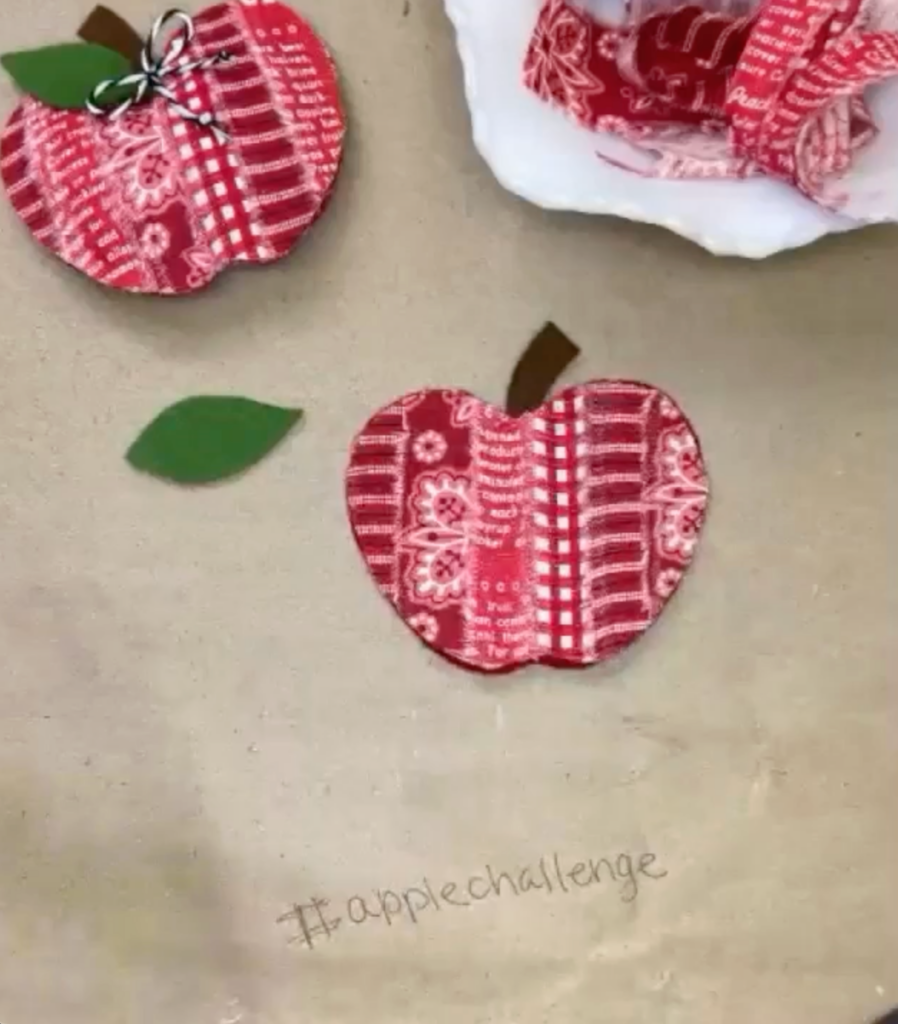
Place the second felt apple behind the decorated front. Glue the bottom of the brown felt stem to the inside of the back apple so the stem will be sandwiched between the two layers. This keeps the attachment point hidden.
Step 6: Glue the Two Apple Layers Together
Apply a line of hot glue near the edge of the back apple, starting around the top and working down both sides. Do not glue the bottom closed yet.
Lay the decorated front apple over the back and press the edges together firmly. Pinch around the seam to make sure the glue has bonded well. Leave a generous opening along the bottom for stuffing.
Step 7: Add the Polyfill
Pull off small pieces of polyfill and begin filling the apple through the open bottom.
Start by pushing a little stuffing into the two rounded “shoulders” at the top. Continue adding small amounts through the middle and sides. For a no-sew project, keep the apple lightly stuffed. Too much filling can put pressure on the glued seams and create ripples.
If you choose to stitch your apple instead, you can add more stuffing.
Step 8: Close the Bottom
Once you are happy with the fullness, add hot glue along the remaining open edge. Press and pinch the felt together until the glue has cooled and the seam feels secure.
Trim away any small pieces of polyfill that may be peeking through.
Step 9: Shape and Attach the Leaf
Add a small dot of hot glue near the base of the felt leaf and pinch it together slightly. This creates a natural curve and gives the leaf more dimension.
Glue the leaf near the stem. Let it point upward, downward, or sideways depending on the look you want.
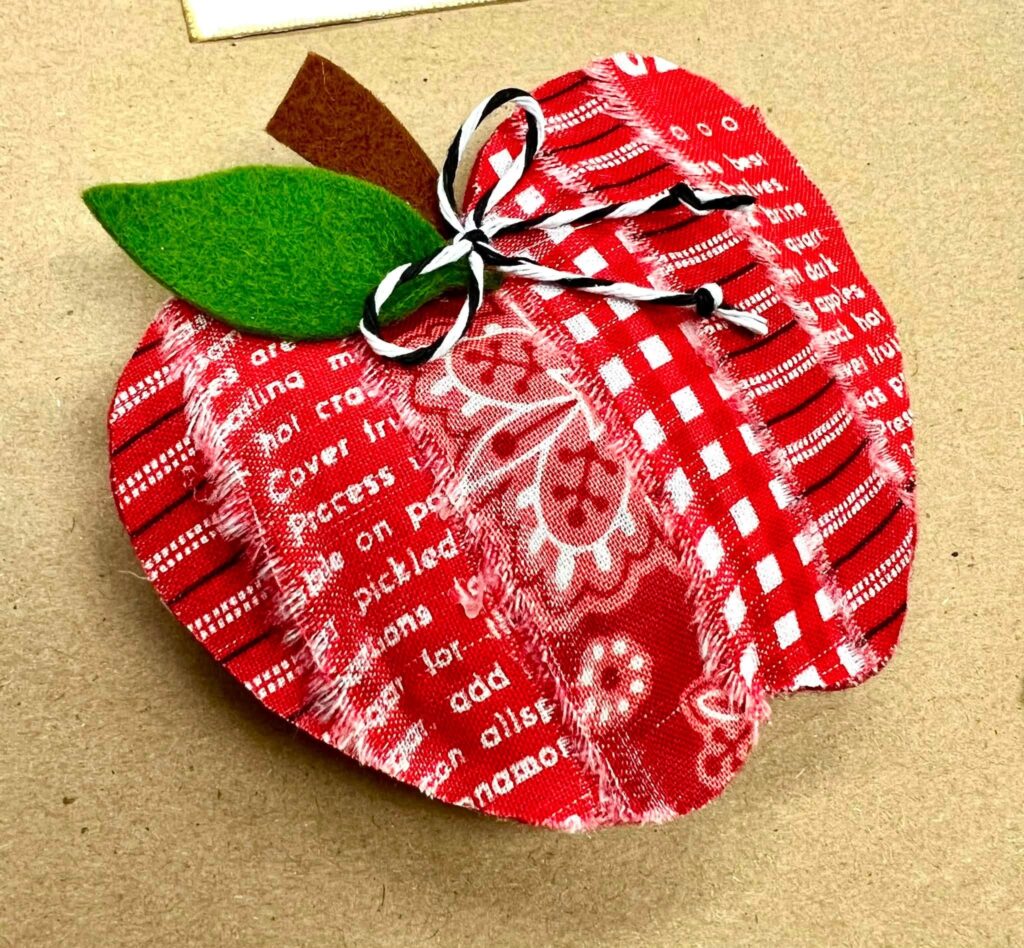
Step 10: Add a Baker’s Twine Bow
Tie a small bow from black-and-white baker’s twine and glue it near the leaf and stem.
A simple twine bow works especially well because it adds detail without covering too much of the torn fabric texture. You can also add a button, tiny tag, charm, ribbon, or other embellishment if you want to personalize your apple.
Optional: Make a Hand-Stitched Version
If you enjoy hand stitching, use a temporary fabric glue stick instead of hot glue when layering the fabric strips onto the felt.
Once the front is complete, stitch around the outside of the apple using a blanket stitch, back stitch, or your favorite decorative stitch. Leave an opening for stuffing, add the polyfill, and finish stitching the apple closed.
You can also stitch veins into the leaf or add decorative “doodle with thread” details across the front.
Creative Ways to Use Your Scrap Apples
The paper apples are perfect for cards, tags, scrapbook pages, lunchbox notes, teacher gifts, gift bags, banners, and back-to-school projects.
The stuffed fabric apples make adorable early fall bowl fillers. Tuck several into a dough bowl, basket, or tiered tray, mix them with pumpkins and fall leaves, or add a skewer before closing the bottom so you can place the apple into a floral arrangement.
You could also tuck them into wreaths, attach them to garlands, or create several to make an apple-themed banner.
And remember, apples do not have to be red. Try green, yellow, pink, or even a mix of colors.
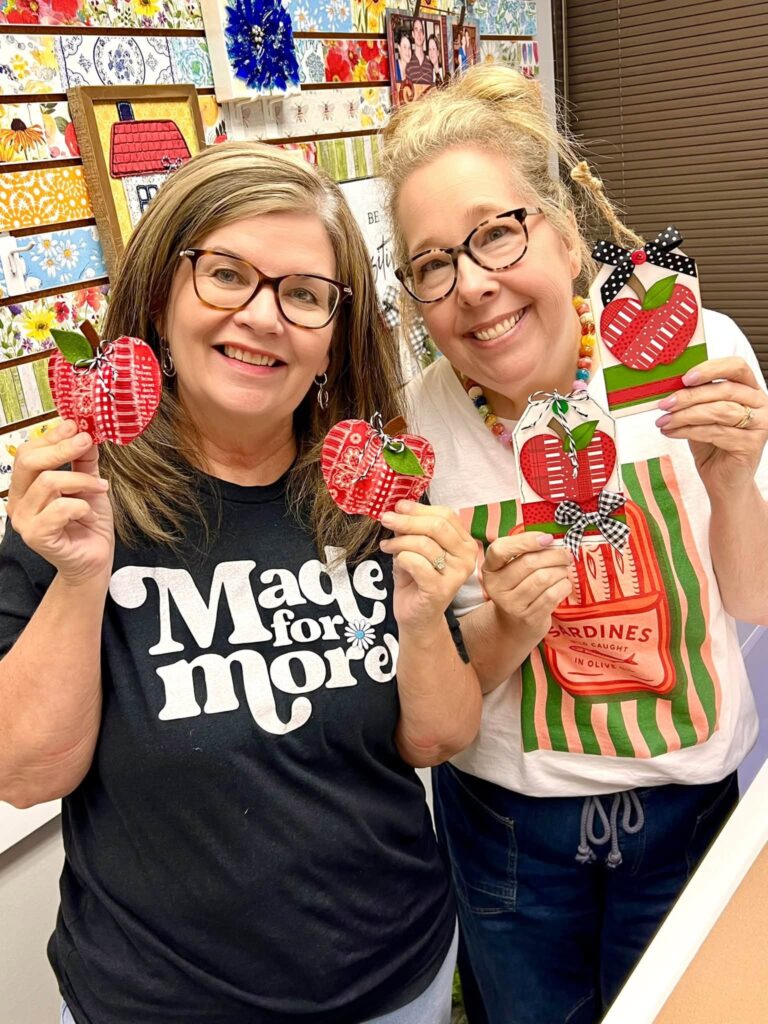
These scrap apple crafts are simple enough for beginners but open-ended enough to make completely your own. They are also a great reminder that some of the cutest projects can come from the supplies we almost throw away.
Pull out your red paper scraps, fabric pieces, ribbon ends, felt leftovers, and other lovely leftovers and see what you can create! One little apple may turn into a whole bowl, a banner, a teacher gift, or the beginning of a brand-new fall craft idea.
Love Crafting with Paper or Fabric?
If this project has you excited to dig into your scraps and keep creating, come craft with us! Paper lovers can join the Paper Crafters ClubHouse for creative paper projects, techniques, and plenty of inspiration for using what’s already in your stash. And if fabric is more your thing, the Fabric Fan Club is where we play with fabric, felt, hand stitching, and all kinds of fun textile projects. Whichever you love (or maybe both!) there’s a creative community waiting for you.


0 Comments