Supply List:
- Variety of Ribbons, Laces, Fabrics, Trim, etc. (cut them into 14-inch pieces)
- Thimble or Bead Cap
- Variety of Beads, Pearls, etc.
- Wire – 20 or 24 gauge is my preference
- Wire Cutters and Needle Nose Pliers
- Jump Rings
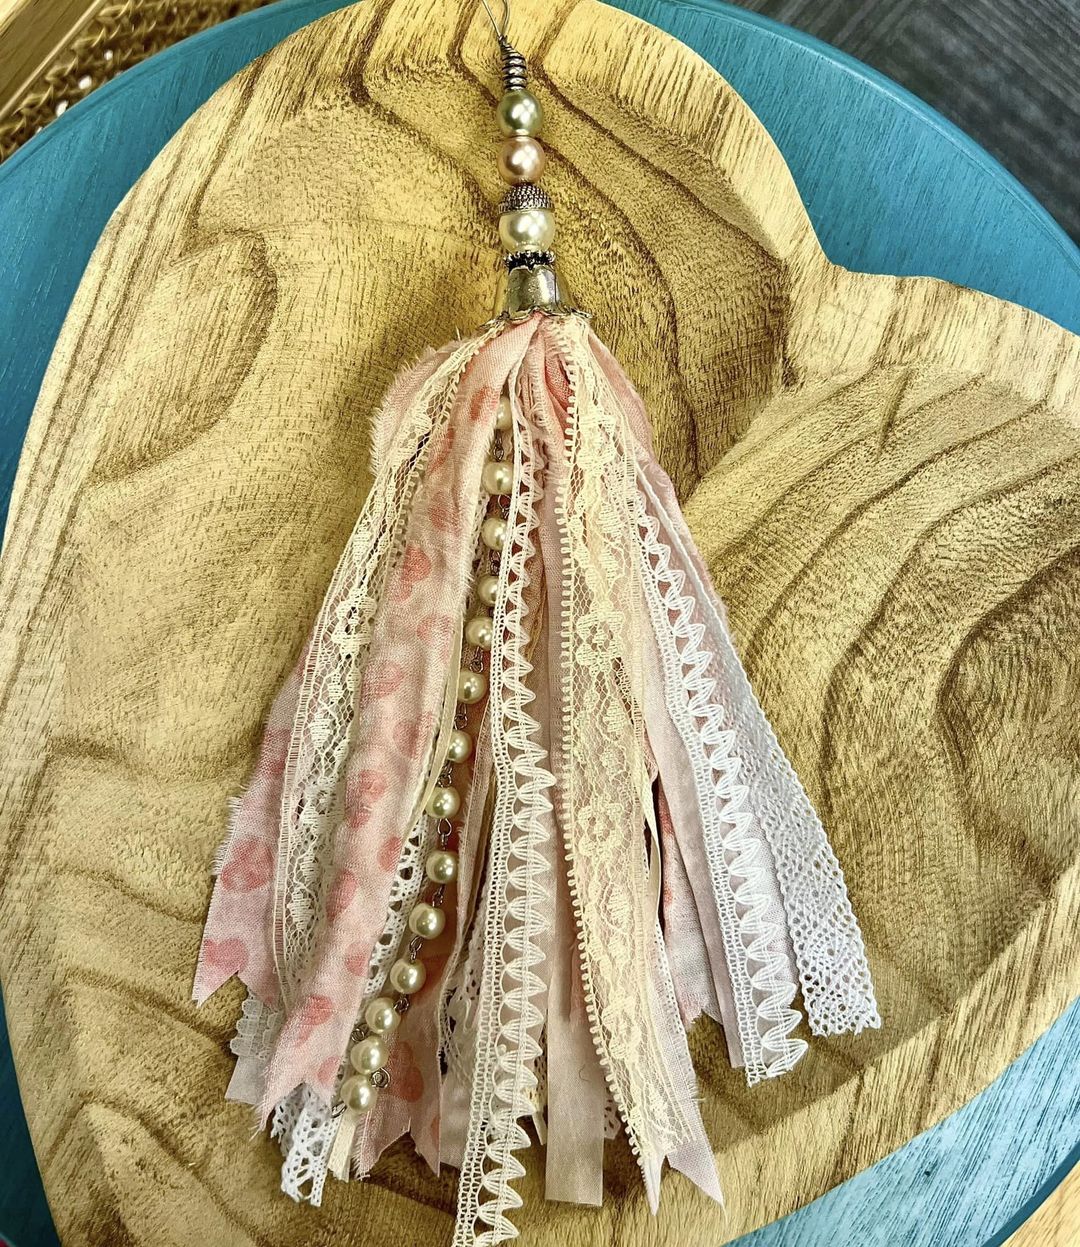
Transform your stash of ribbons, laces, trims, and fabrics into a pretty tassel! These tassels not only enhance a long necklace but also add a charming touch when attached to purses, tote bags, crossbody bags, and more. You can even incorporate them into your home decor projects. I love making these and will show you my step-by-step process!
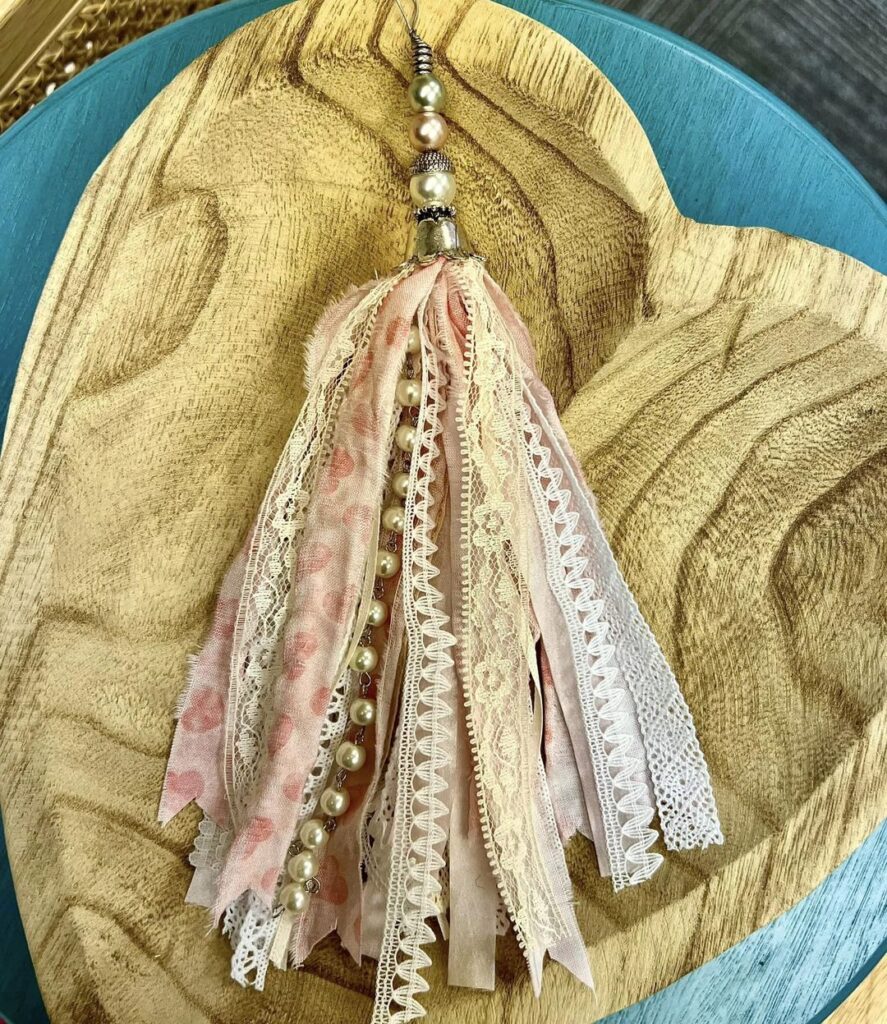
Make a Tassel Necklace with Scraps
Look in your stash and grab whatever ribbons, laces, fabrics, and trim that you would like to use in your tassel. Cut each piece to 14 inches long. If you would like to use fabric strips, you can easily tear them. Cut a few slits in a piece of fabric and rip it. This will give you a really nice frayed edge too.
Start by layering your pieces on top of each other. Then, cut a 14-inch piece of 20 or 24-gauge wire and wrap it around the middle of your pile of scraps. Then, twist your wire like a bread tie.
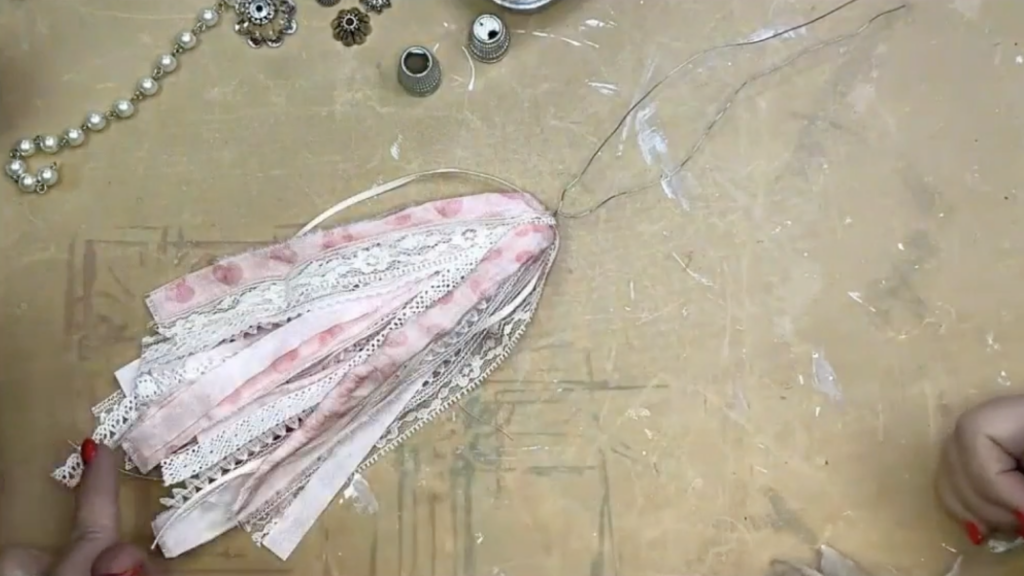
Creating a Tassel Topper
Thimbles make great toppers for your tassel, but there are a few things that you will need to do to add one! First, puncture a hole in the top with a nail and hammer. If you get a large hole or the whole top comes off, that’s okay. You could also use a bead cap. Pull the wire through your thimble or bead cap. Then, feel free to add any other beads on top.
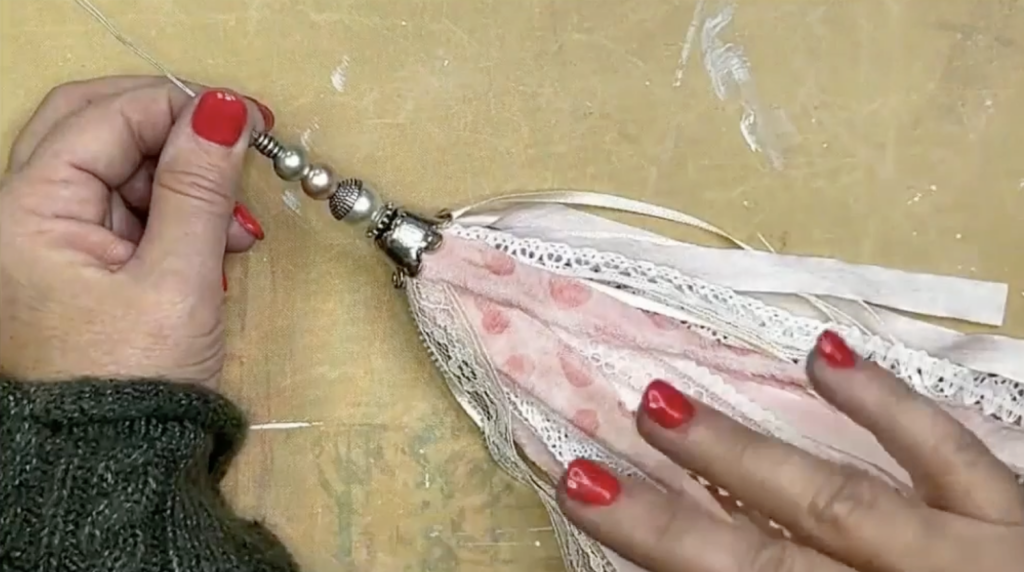
Create a loop with your wire by wrapping it around your pinky finger. Then, twist the excess wire around the loop and use wire cutters to trim it. Use needle nose pliers to crimp that wire that you cut.
At this point, I’m going to add a strand of pearls into my tassel. Take a jump ring and split it apart with your pliers. Attach the ring to the top of your pearl strand then attach the strand to one of your laces and close your jump ring. Anything else that you would like to add in, you can use a jump ring to do that!
Smooth your fabric down into your hands and trim off any pieces of your tassel that are straggling. You could also cut in some flag ends or leave them be!
If you would like to make your tassel into a necklace, you can buy a necklace chain in the jewelry department of any craft store and loop your tassel onto it.
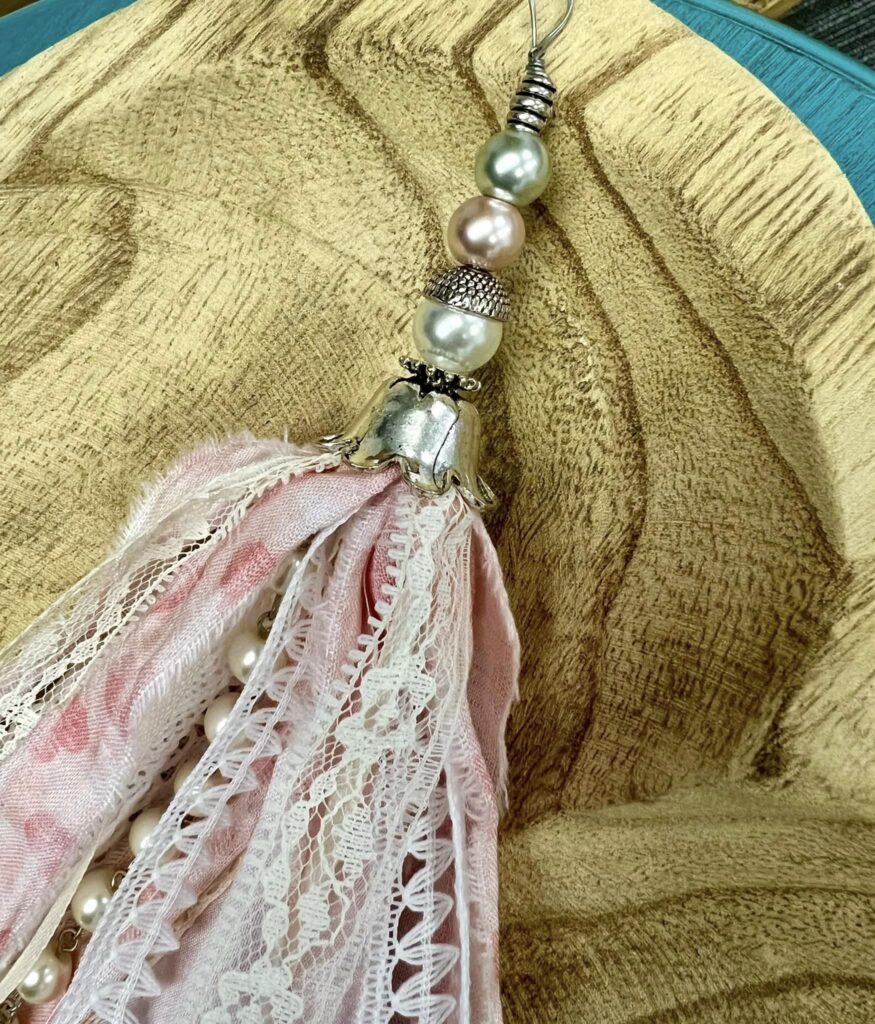
Use whatever you have in your stash and make your tassel uniquely yours! These make excellent gifts and also add a cute touch when attached to purses, tote bags, crossbody bags, gifts, and more.
I go LIVE on my Facebook page every Friday at 11 am CST for a fun and easy Craft-n-Chat Session. Come learn something new while creating something beautiful!
If you love creating with me, check out my online creative memberships! They are all a little different, and each is designed to ignite your imagination, inspire your craft, and connect you with fellow art enthusiasts. If you’re a creative looking for an online space to learn and thrive, we have something for everyone! Check them out HERE!






0 Comments